1. Click "Operations"

2. Click "Work Orders"

3. Click on the dropdown arrow of the "List or Tile" view

4. Select Map from the dropdown

5. This should take you to the Maps page and you should be able to see all your Site pins on the Map

6. Click on the lasso tool icon from the small navigation bar.
Note: Lasso tool allows you to select Sites from different regions and it can be of any shape allowing you to easily choose Sites

7. Click on the Map to get started and drag your cursor to select multiple Sites.
Note: To select Sites from a Lasso tool you should click on the screen every time after each step you've drawn your selection

8. After you've selected your Sites, you should see a filter button on the top. Click on the filter button
Note: If you want to redo your selection, click on the clear button and start again by selecting the Lasso icon

9. Click "Network" on the top navigation bar

10. Click "Sites" from the sub-menu

11. Click on the Filter icon to the top left corner

12. You should be able to see your selected Map region
Note: After you select and filter Sites from Map Lasso tool they'll be automatically be available under "Sites" module as shown here

13. Click on the filter icon again to slide them out

14. Click on the main check box to select all Sites in bulk

15. Click the count "All 145" next to your main checkbox

16. Click on the "Advanced Scheduler" green icon to dispatch Work Orders at bulk

17. Now you should see a pop-up. Select a Trade

18. Select a Service

19. Select an ETA, ETC, Trip Close and Work Order Generation Date as per your preference

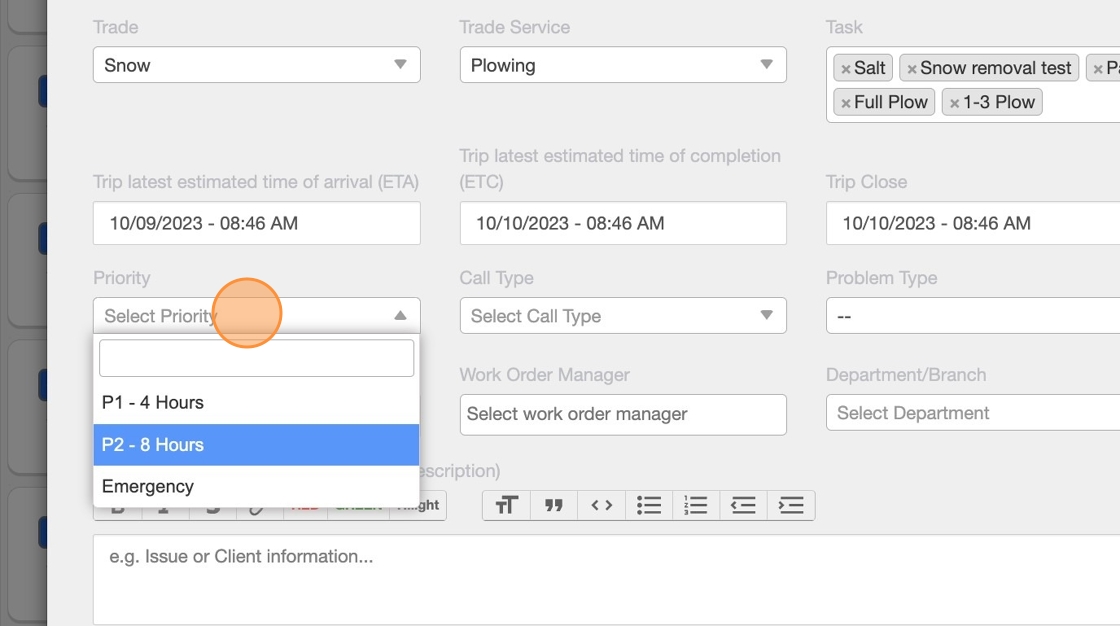
20. Select a Priority
21. Click this checkbox if you'd like the Work Orders to be dispatched to your Vendors.
Note: This will automatically be available on your tech's mobile app and they can directly check-in without any additional steps to acknowledge receipt

22. Click on the blue button "Apply"

23. You should see a dropdown to assign Vendors/Team Members/Region Team Member in bulk. Select "Assignee Type" from the second row.
Note: This second row is used to bulk assign Assignees and Billing Methods. The first row on top is used to filter the Sites from the list shown here

24. Select a Vendor

25. Click the blue button "Apply". This will automatically assign the Vendor you chose to all the Sites.
Note: If you've add a Vendor at the Site level under "Service Rates" the Vendors will be automatically assigned and you don't have to follow this step

26. Click on the blue button "Schedule" at the bottom

27. You should be able to see a progress bar showing you the WO creation
