How To Use Advanced Scheduler to Schedule and Dispatch Work Orders for Multiple Sites
1. Click "Network"

2. Click "Sites"

3. Select the main checkbox

4. You should see a button to select all Sites.

5. Click on the green icon to use the Advanced Scheduler. This allows you to assign different Assignee Types and bulk dispatch Work Orders for multiple Sites

6. Select a Trade

7. Select a Service

8. Select an EAT, ETC, Trip Close and Work Order Generation Date

9. Select a Priority

10. Click the "Send work order updates to vendor" field to send all Work Orders via email to your Vendor

11. Click this checkbox to uncheck and this will dispatch the Work Orders and make them available to Vendors on mobile application

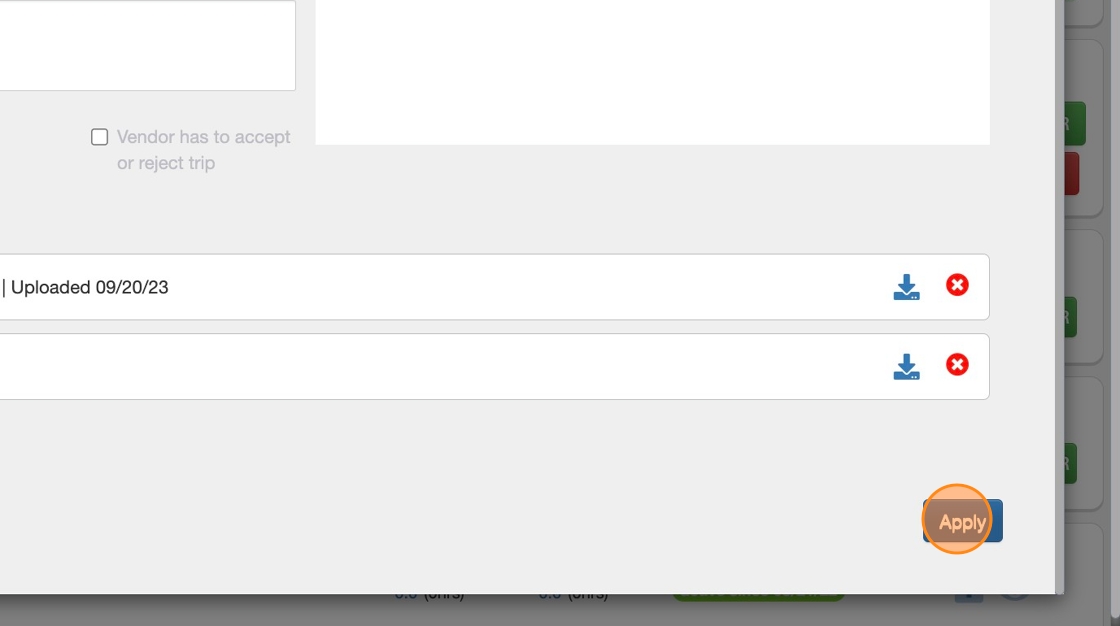
12. Click the button "Apply"

13. Select an Assignee Type

14. If you've selected Assignee Type as a Vendor in your previous step, you should be able to see a list of all Vendors in this list. Select any one Vendor to apply them to all Sites. This means all these Work Orders will be sent to the same Vendor.
Note: You can filter Sites and dispatch these Work Orders to different Vendors too

15. Click the blue button "Apply"

16. This will apply your Vendor to all Sites indicating Work Orders will be dispatched to the Vendor you've selected

17. Click "Schedule"

18. You should be able to see a progress bar indicating Work Orders are being generated. In case there are any errors, the progress bar will allow you to view the errors at the end. If there are no errors, the progress bar will turn green

