How to set Before and after photos under a Service
This explains how to activate and make these photo sections mandatory for technicians on-site, as well as how to add more photo categories and set a maximum count for each category
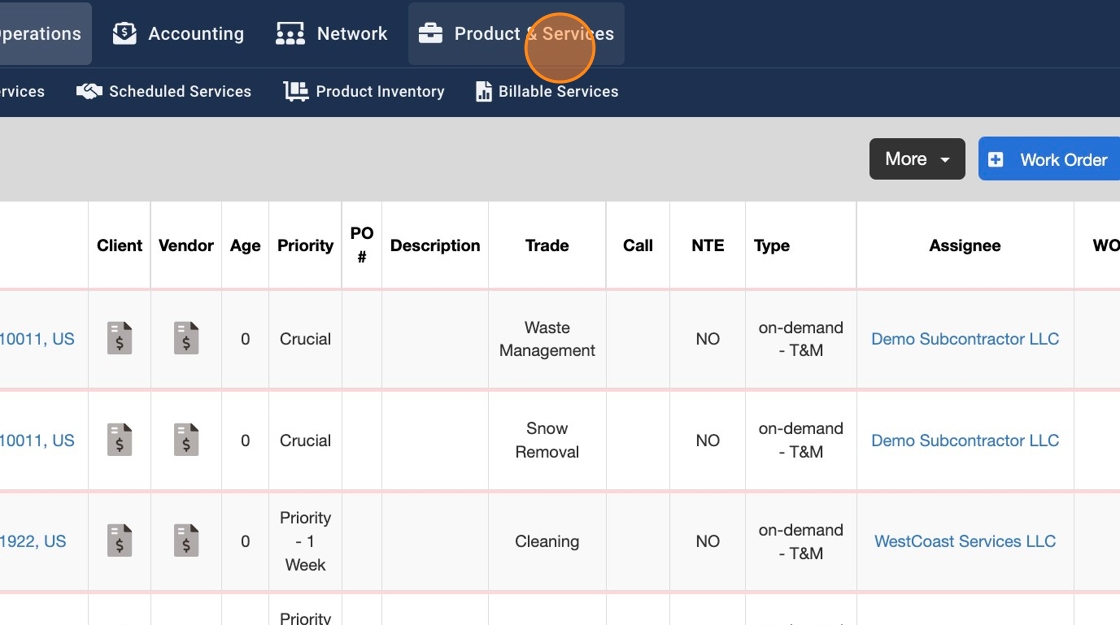
1. Click "Product & Services"
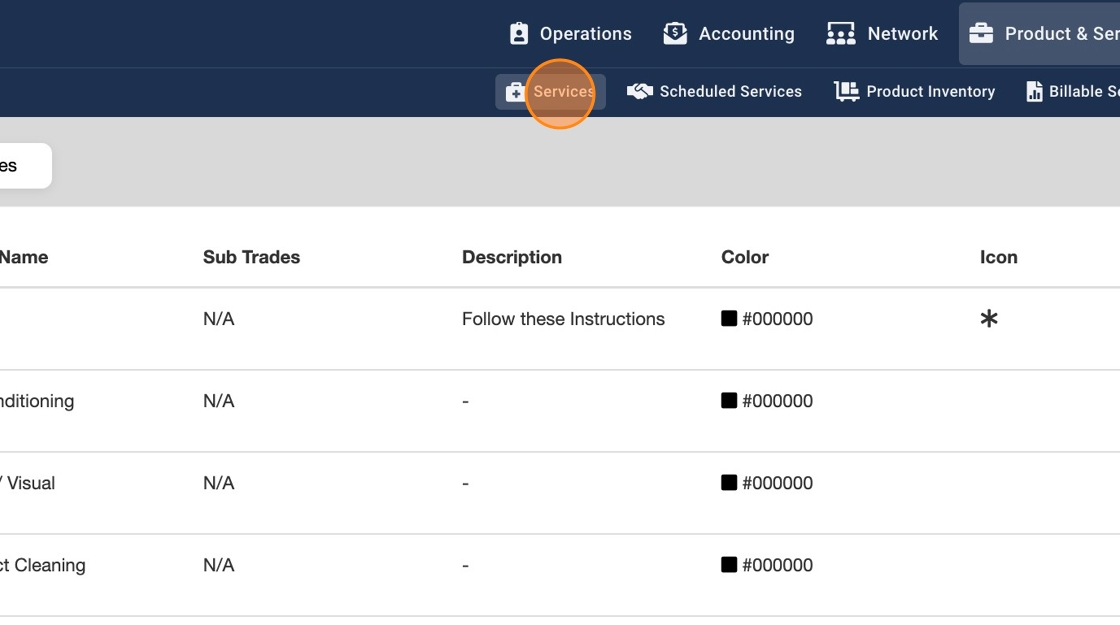
2. Click "Services"
3. You should see a default list of all Trades. Click on the Trade row to view Services under the Trade
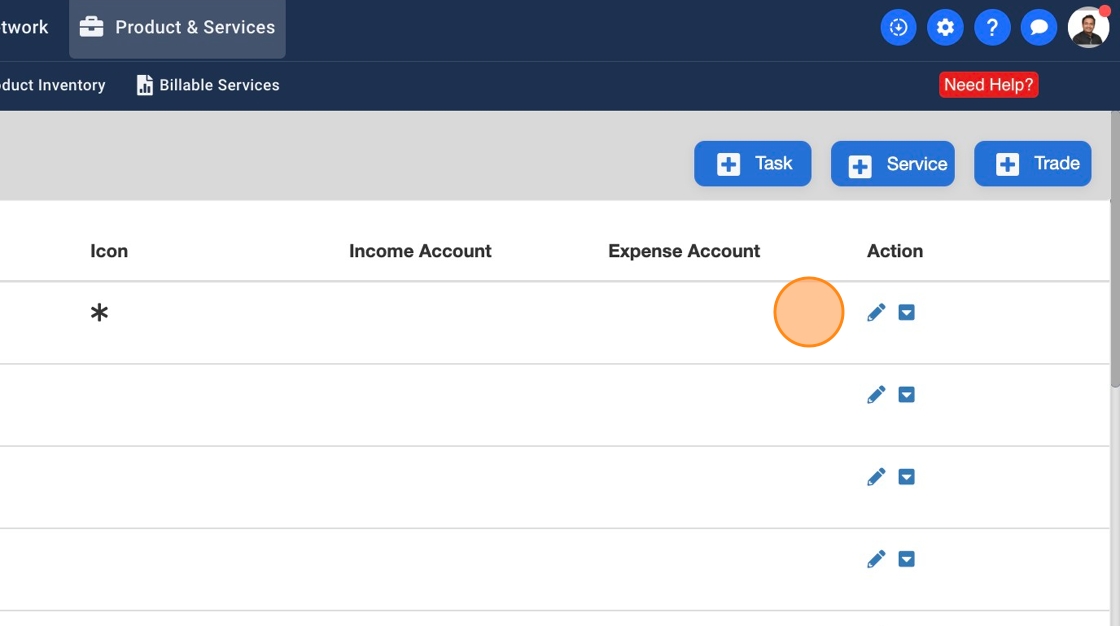
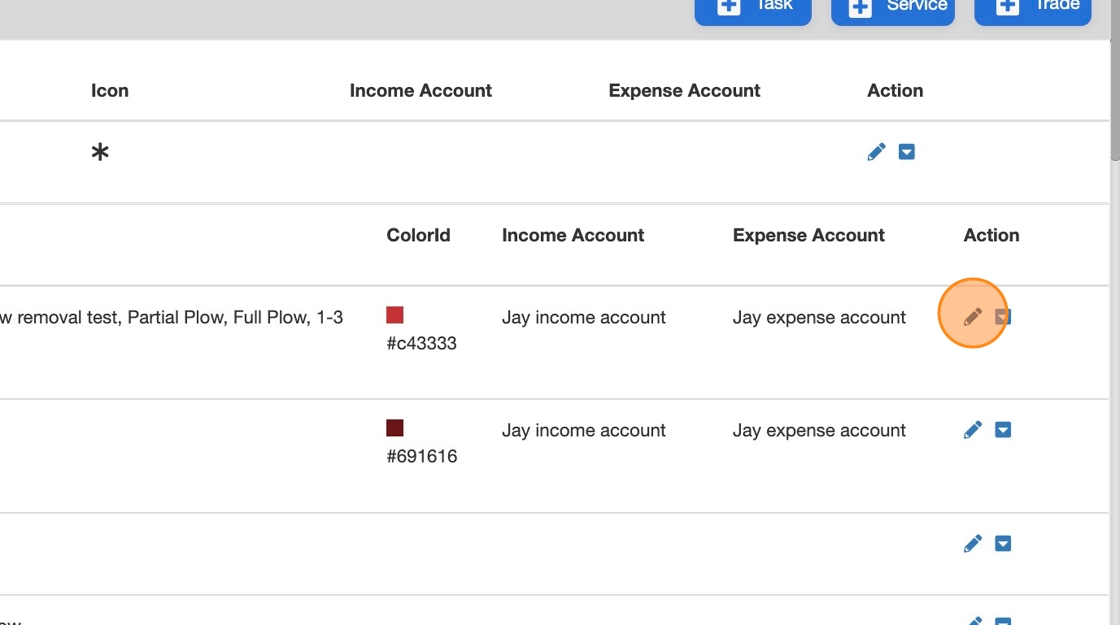
4. Click on the pencil icon of Service to add/update Service settings
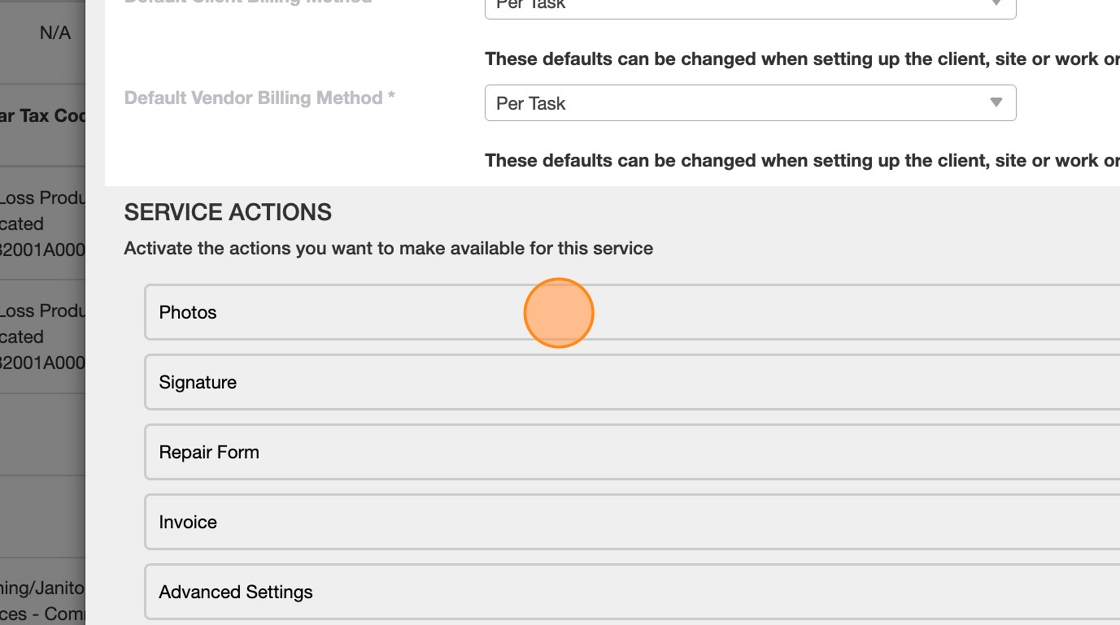
5. You should see a pop-up, scroll down and click on Photos
6. You should see another pop-up to enter a count for Before and After photos
Note: Both these sections can only take 40 count by default. This means your technicians on the field can only upload 40 pictures in both these sections separately.

7. Click this number field and enter a count for After Photos

8. Click "ON" under "Activate" column for the Before Photos section to be available to your technician on site

9. Click "ON" under "Activate" column for the After Photos section to be available to your technician on site
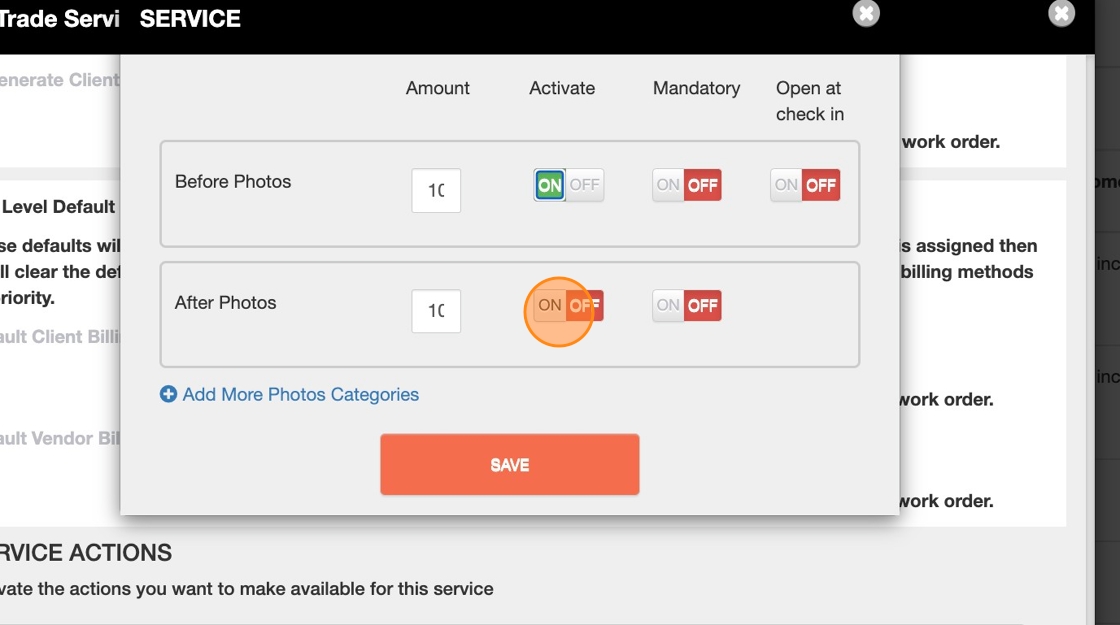
10. You can also make Before Photos as a mandatory field for your technicians on site. Click "ON" to make it mandatory

11. You can also make After Photos as a mandatory field for your technicians on site. Click "ON" to make it mandatory

12. If you want your technician on site to upload Before Photos as soon as they he/she checks in to a Trip, click "ON" under the column "Open at check in"

13.
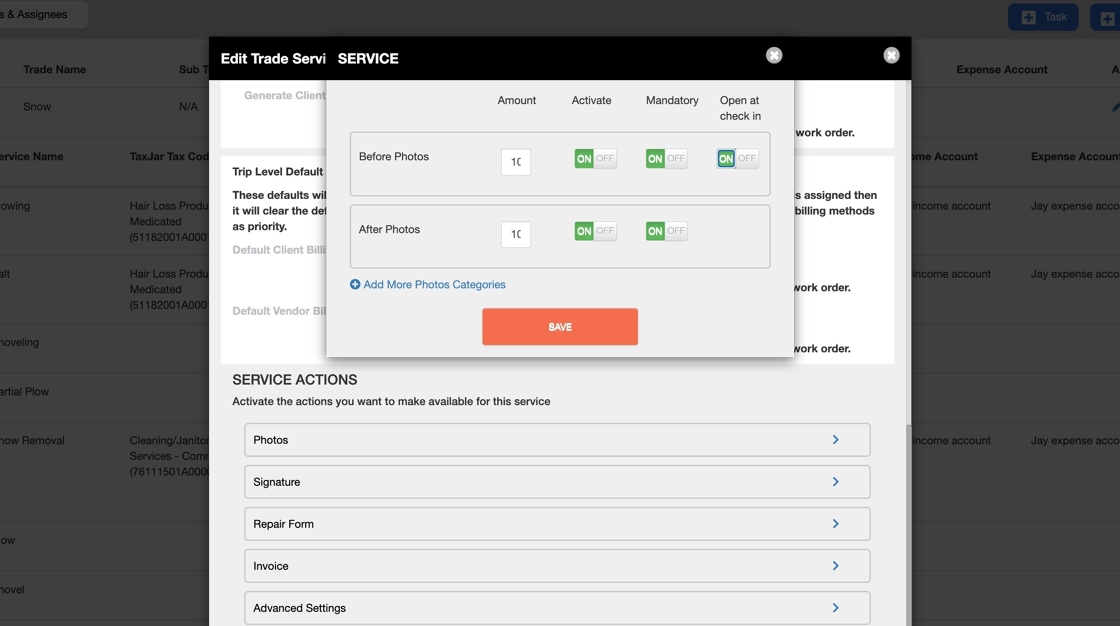
14. Click "Add More Photos Categories" if you'd like your technicians to add more than 40 pictures and name the section

15. Click the "Label" field to enter a name

16. Click this number field to enter a count. If you enter 50 your technician on site will have the ability to upload 50 photos under this section
Note: The new photo category doesn't have a photo limit. You can enter as many as 200 or more

17. Click "ON" to activate this section

18. You can make this section mandatory. Click "ON" under the Mandatory column
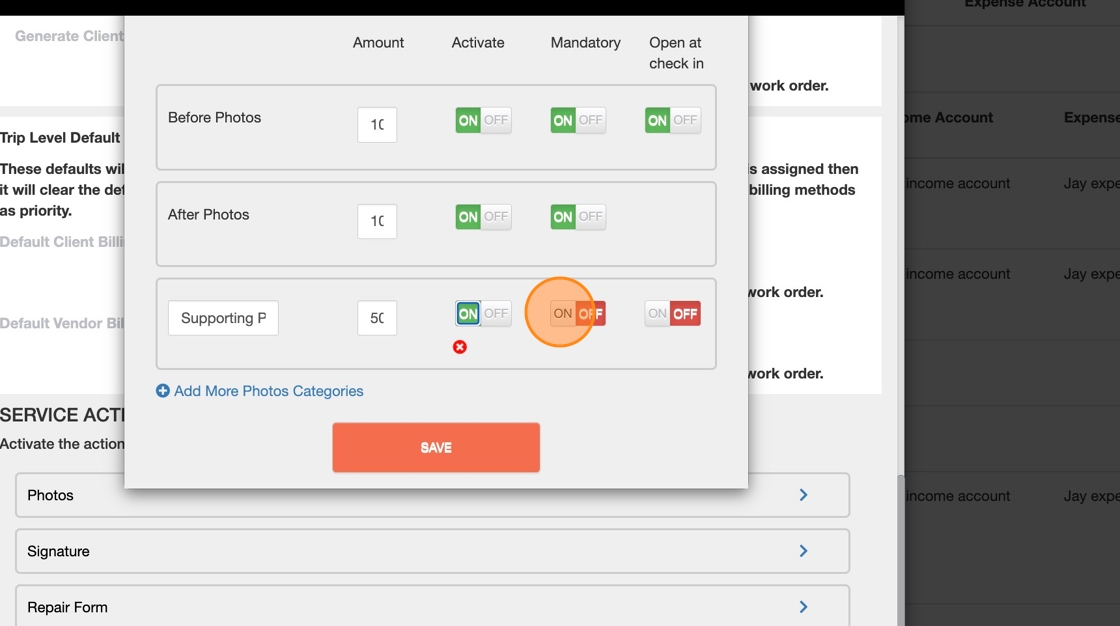
19. Click Save

20. The Photos section pop-up will go away as soon as you save it. Scroll down and click Save to apply changes
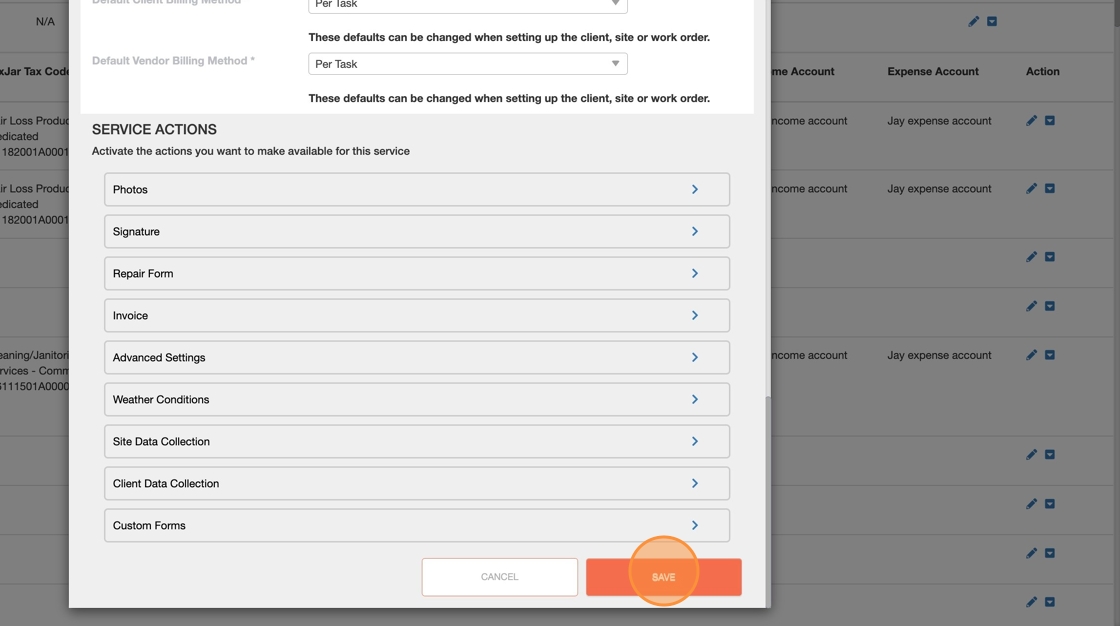
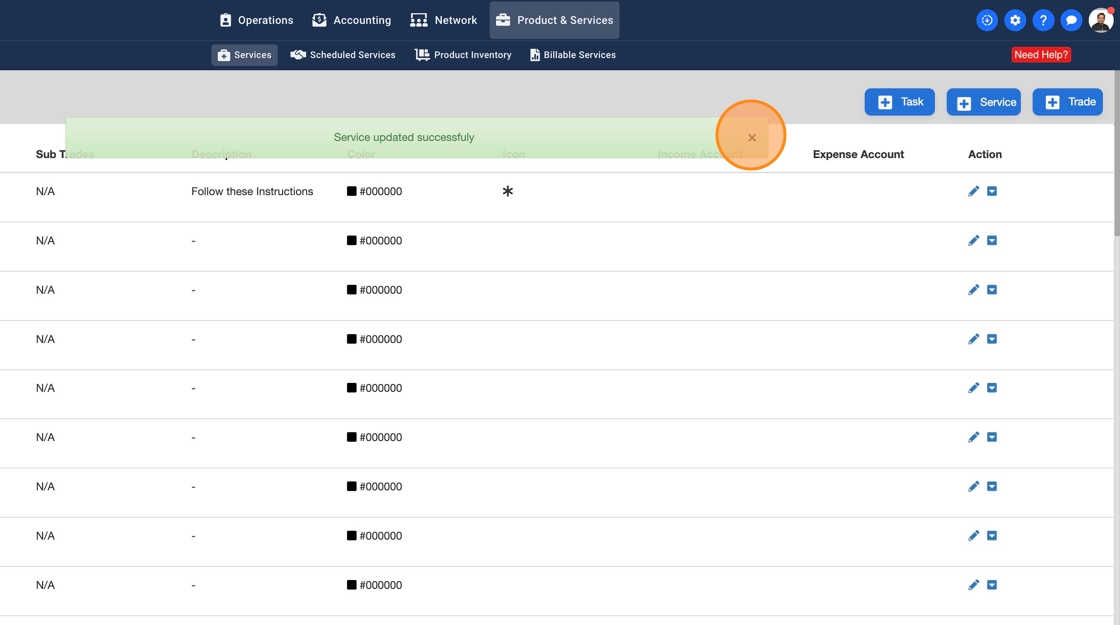
21. You should see a success confirmation modal pop-up. Click "×" to close the pop-up
