1. Click "Network"

2. Click "Vendors"

3. Double-click on the Vendor's name

4. Click "EDIT"

5. Click any field to edit

6. Click "SAVE"

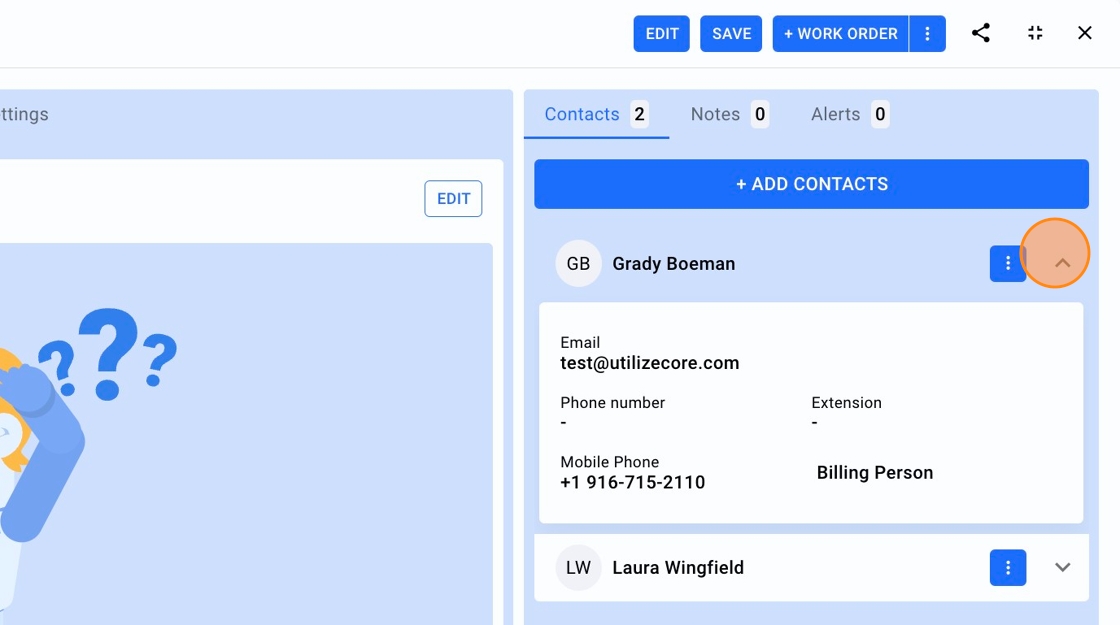
7. To add new Contacts to the Vendor click "+ ADD CONTACTS"

8. Click the "Email*" field and enter an email

9. Click the "Mobile phone*" field and enter a number

10. Click the "First Name*" field and enter a name

11. Click the "Last Name*" field and enter the last name
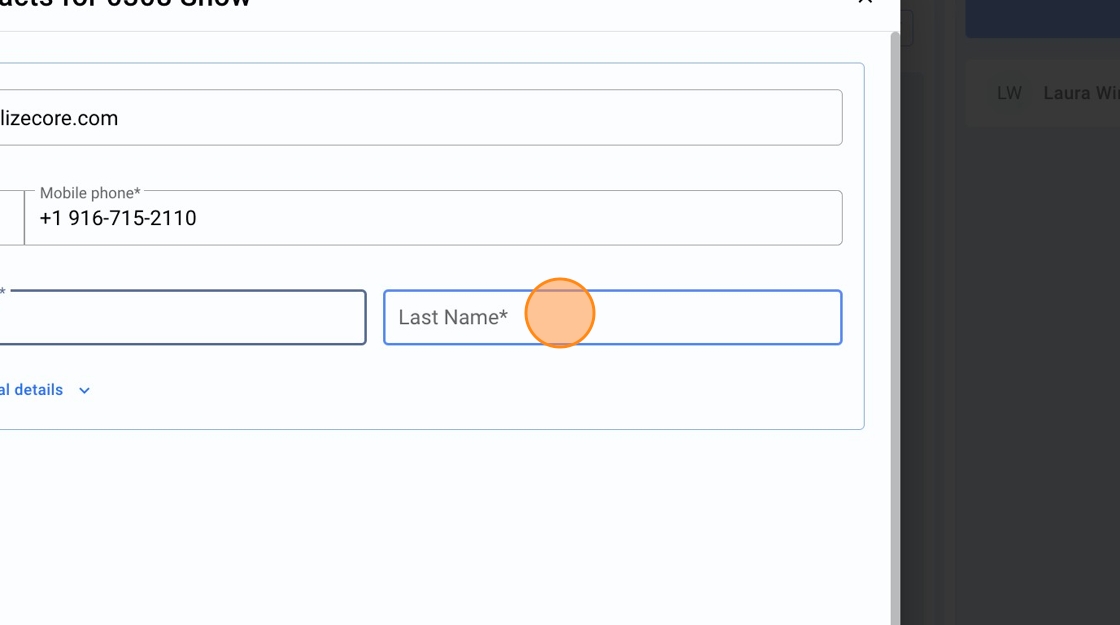
12. Click this button to expand more details

13. Here you can upload a profile picture of the person, Title, phone number and extension.

14. Click "Hide optional details" to collapse

15. Click "ADD" to add a new Contact

16. Click the cross icon to remove the new added Contact

17. Click "ADD"

18. You should see a success tool tip. Click on the cross icon to remove the tool tip icon

19. You can further expand the contact details to view the contact

20. Click on the same collapsible arrow
21. Click on Compliance section to upload Vendor compliance documents

22. Click "ADD"

23. You should see a pop-up, Click "Upload Document" to add the new document

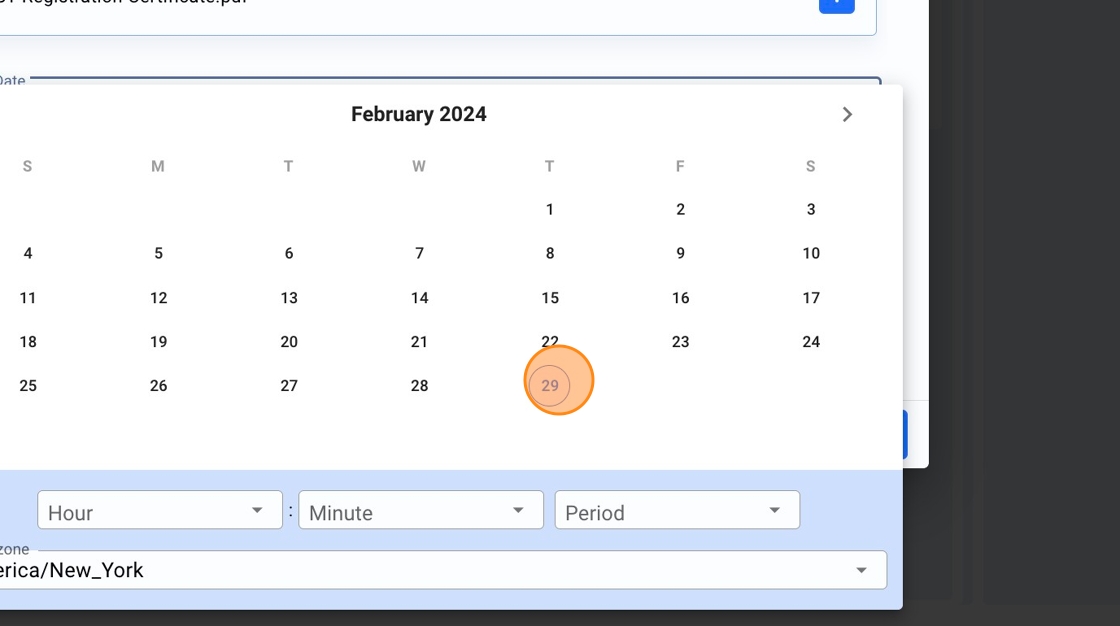
24. Click the "Begin Date" field to enter the compliance start date

25. Select a Date
26. Click the "Hour" field and enter the starting Hour

27. Click the "Minute" field to enter the minute

28. Click the "Period" field to select "AM" or "PM"

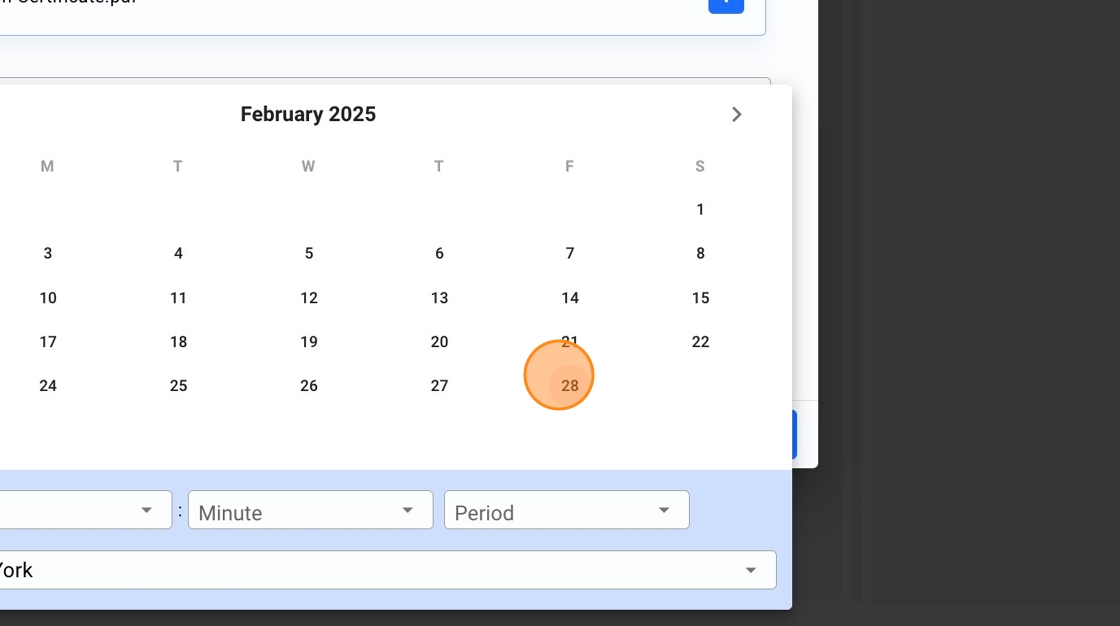
29. Click the "Expiration Date" field.

30. Click "2024" year to select a different year

31. Select a Year

32. Click on any month

33. Select a date
34. Click here to select an Hour

35. Click here to enter the minute

36. Click the "Period" field to select "AM" or "PM"

37. Click the "Auto approve document" field in case you want the document approved automatically.

38. Click "Save"

39. You should see a success tool-tip. Click on the cross icon to remove it.

40. Click "ACCEPT" to approve the document. Please note, in this instance, the auto approve checkbox wasn't selected.

41. You should see a success tool-tip. Click on the cross icon to remove it.

42. Click here to see the Support Trades. You can also modify them

43. Click "EDIT" to enter new Trades

44. Click this checkbox to select Trades individually
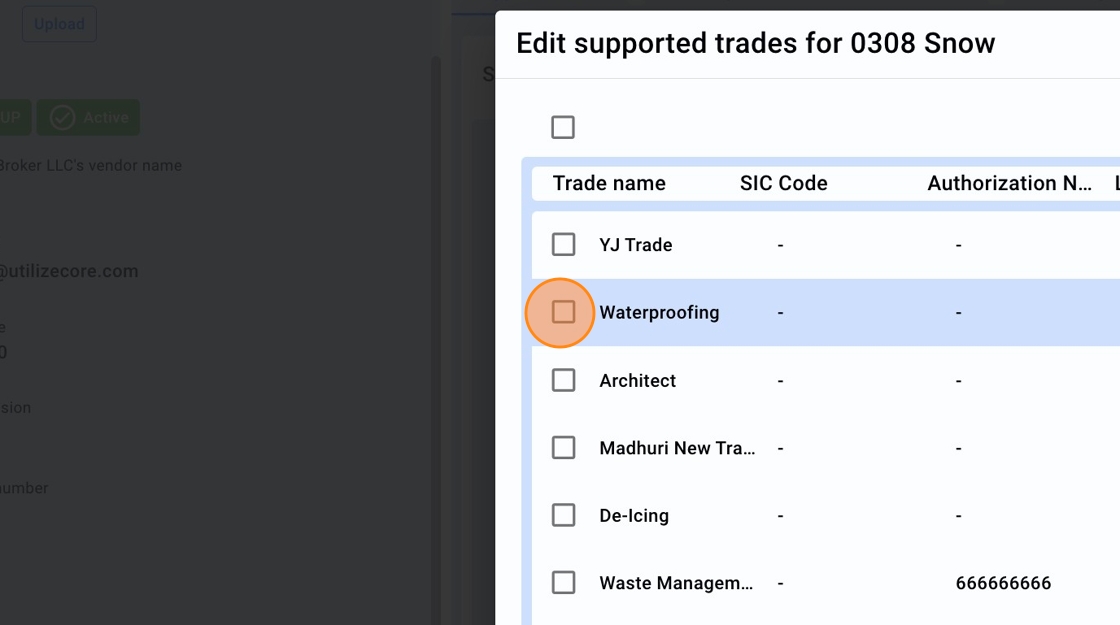
45. Click this checkbox to select all your Trades in one go

46. Click "SAVE"

47. Close the success tool tip

48. Click "SAVE" to save changes

49. Click the cross icon on the top right corner to close the Vendors page
