How To Invite/Add A New Vendor To Your Network In the Newer Version
Learn how to add Vendors into your UtilizeCore network.
1. Click "Network"
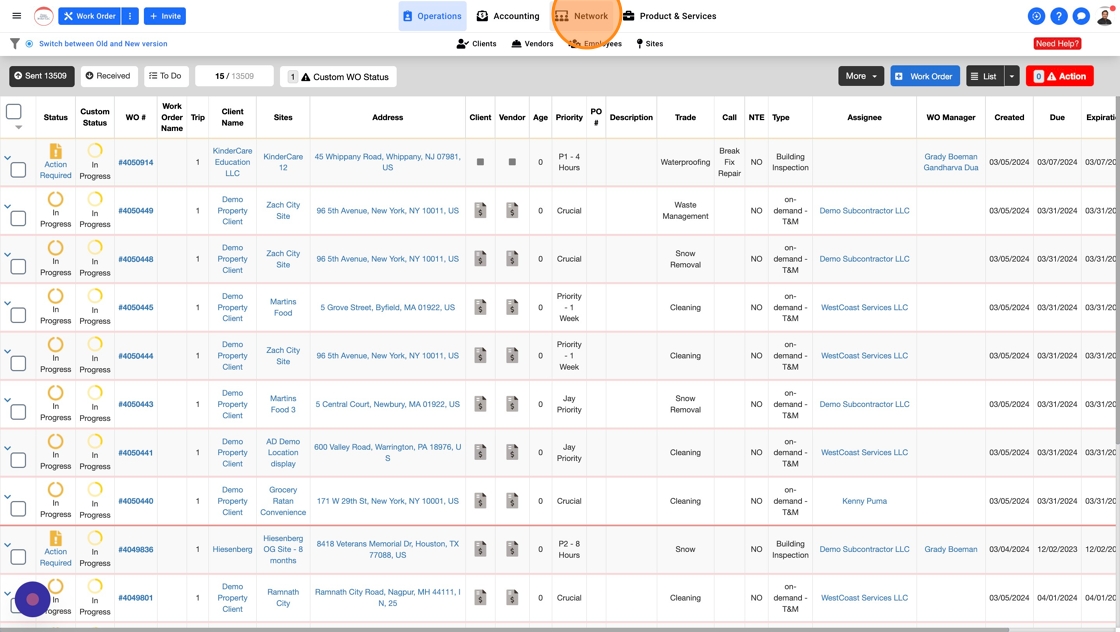
2. Click "Vendors"

3. Click "Switch between Old and New version"

4. Click on the round "+" button

5. Enter the Name of the Vendor

6. Click "ADD NEW VENDOR"

7. Click the "Legal Address*" field and enter an address

8. Select the address from the dropdown list

9. Click "Edit optional details" to expand and view more details

10. Here you can add additional Vendor details

11. Click the "Auto approve vendor (ON to turn vendor active or OFF to keep vendor inactive)." field. By selecting this Checkbox the Vendor will automatically move under the "Active" list of Vendors.
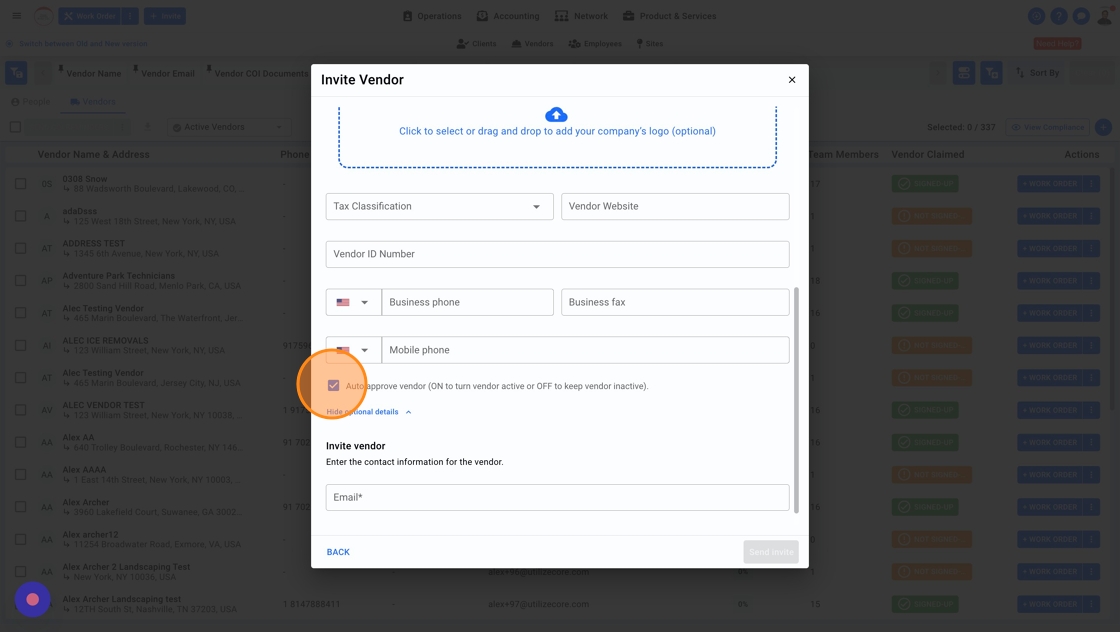
12. Click the "Auto approve vendor (ON to turn vendor active or OFF to keep vendor inactive)." field. By removing this selection, this Vendor will move under the "Pending" list and you have an option to Accept or Reject the Vendor

13. Click "Hide optional details" to hide extra details

14. Click the "Email*" field to enter an email

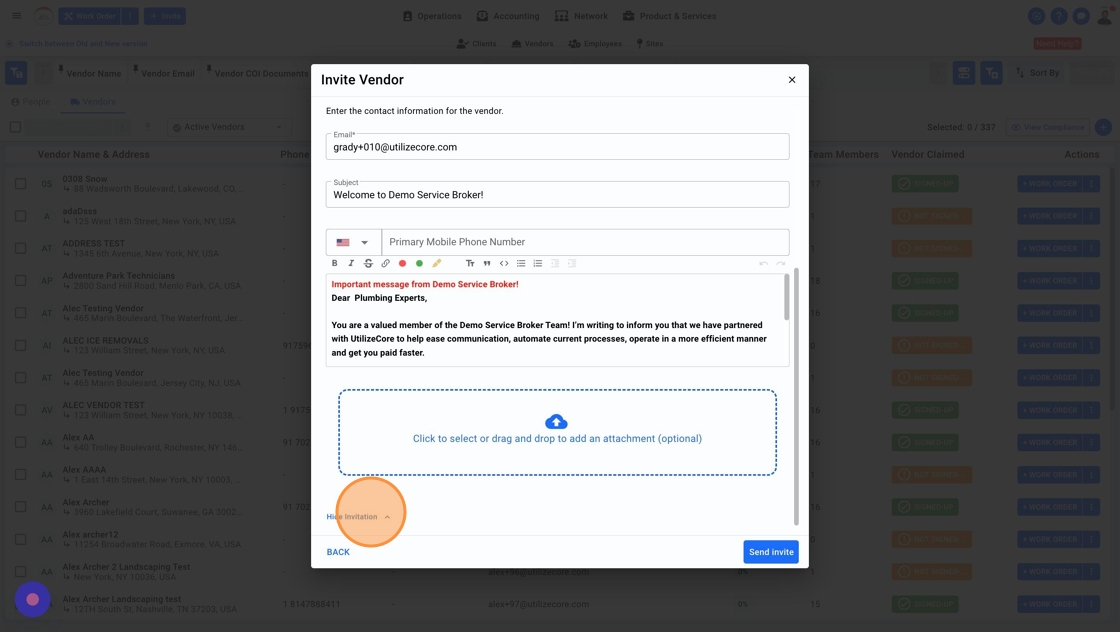
15. Click this button to edit invitation details such as message or attach an additional document with the invitation.
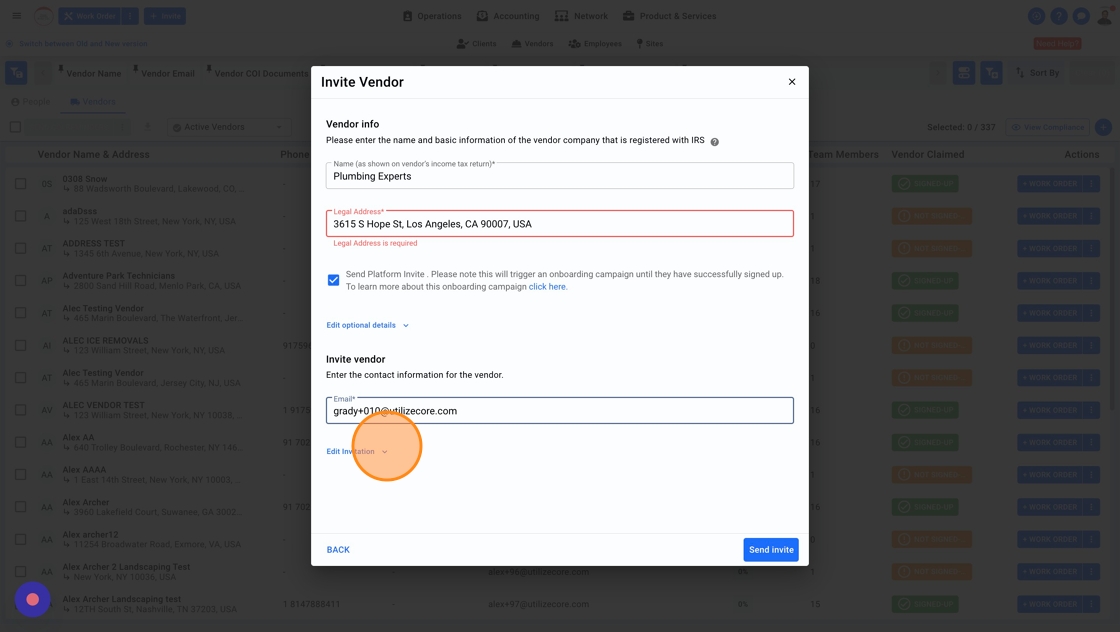
16. Click "Hide Invitation" to hide details
17. Click this button to edit Invitation details
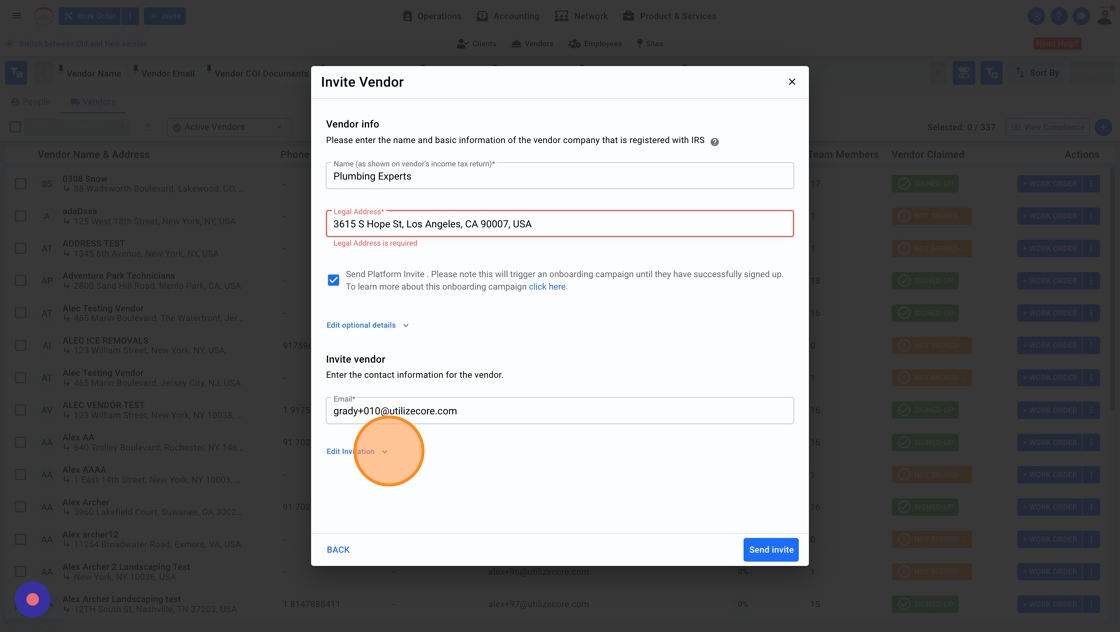
18.

19. Click "Hide Invitation"

20. Click "Send invite"

21. You should see a success modal pop-up. Click on the cross icon to remove this modal pop-up

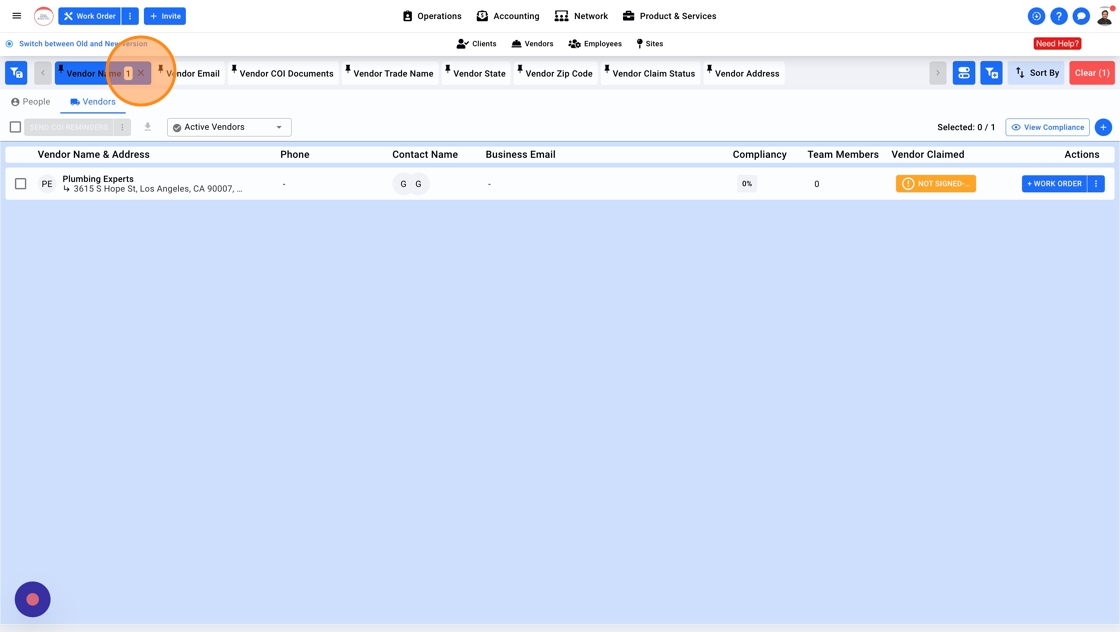
22. Click "Vendor Name" filter to view your newly invited Vendor in the Active list

23. You should see a pop-up with all the Vendor names. Enter your Vendor name in the search filed and select your Vendor

24. Click "APPLY"
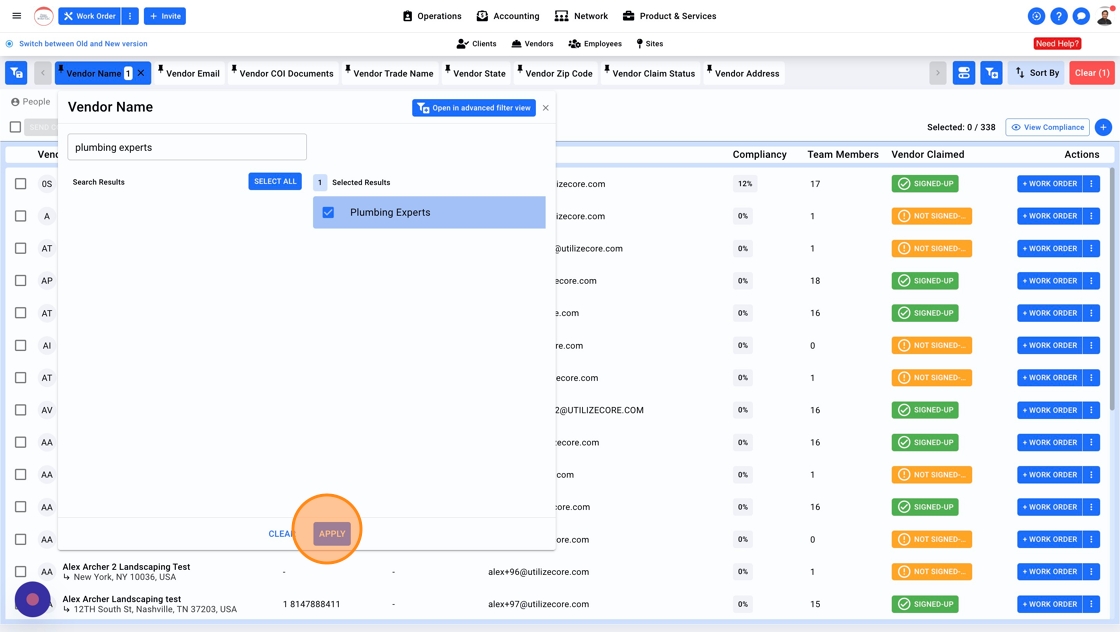
25. This will show you the newly invited Vendor

26. Click on the cross icon to remove the filter
