How To Create a New Purchase Order From The New Version
This guide provides step-by-step instructions on how to create a purchase order in the new UI. It covers everything from selecting a vendor to adding line items and sending the PO.
1. Click "Operations"

2. Click "Purchase Orders" and make sure to click on the text 'Switch between new and old version' on the top left corner when you're in the Purchase Orders page

3. Click on the plus icon on the right corner

4. Select a Vendor, this is a mandatory step. Only after selecting a Vendor you can continue adding PO line items

5. Click the "Work Order" field to select a WO in case the PO is connected to a Work Order

6. Click the "Estimated Time of Arrival" field to select an ETA for the arrival (this is not mandatory)

7. Click "ADD LINE ITEM" to add a new Line Item

8. Click the "Type*" field to enter an Item Type from the drop down

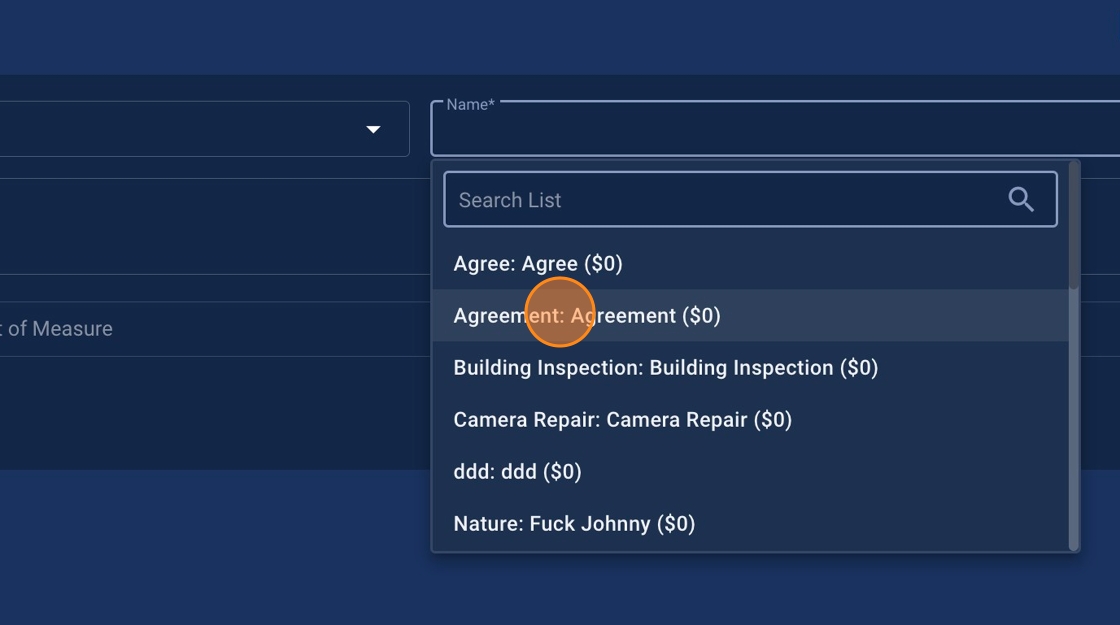
9. Click the "Name*" field and select an Item Name from the dropdown field

10. Enter a Unit Price

11. Enter a Quantity

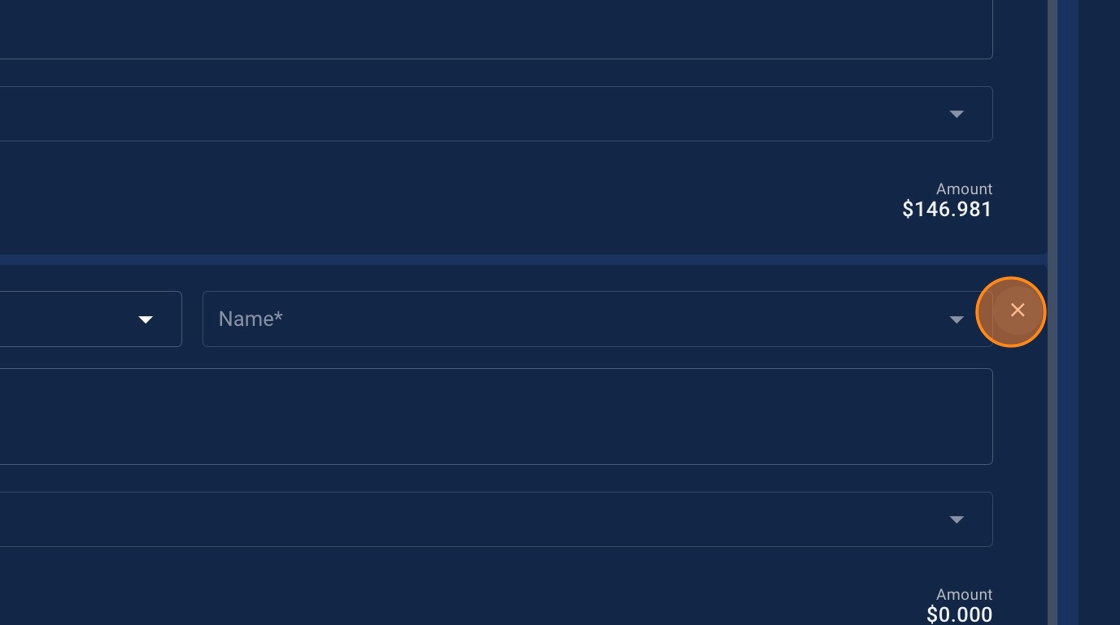
12. Click on the cross icon "X" to remove the line item

13. You should see a pop-up, click "DELETE" to remove the line item

14. Click on the blue button "Save And Send" to send the PO

15. Click on the three dots to see other status options

16. Click "Save As Draft" in case you want to edit the PO later before sending the PO to your Client

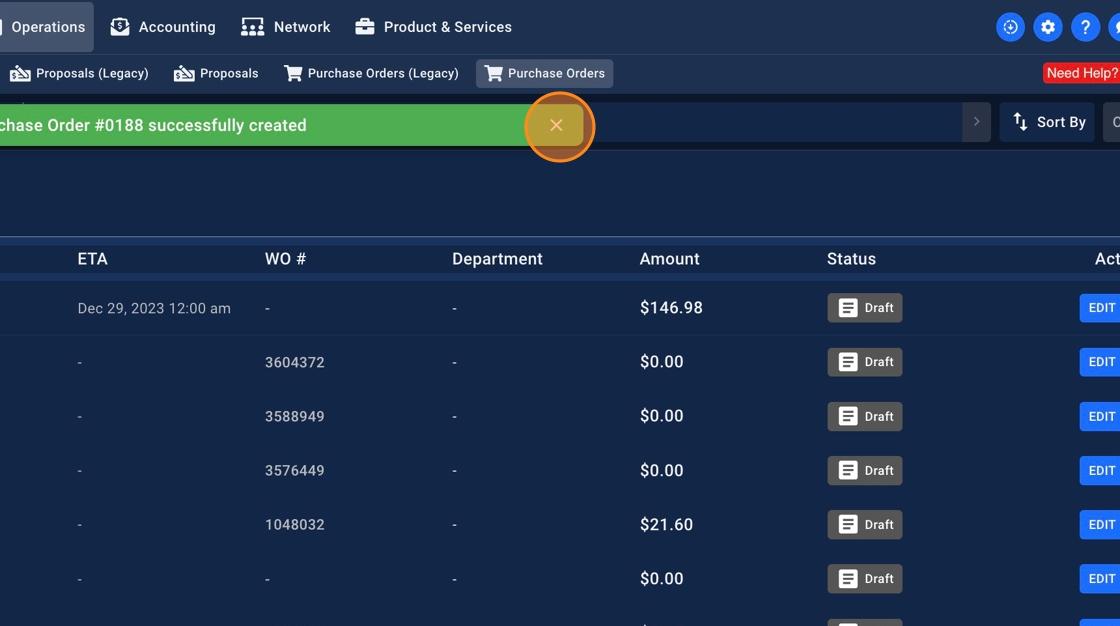
17. You should see a success modal pop-up. Click on the cross icon to close the modal pop-up

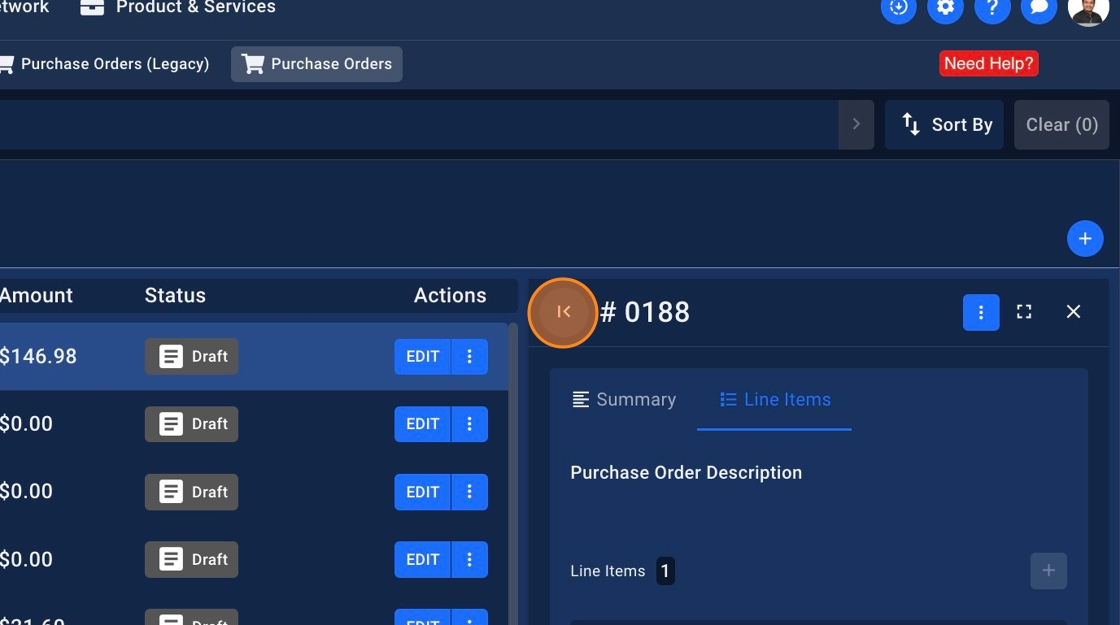
18. As soon as you save the PO as a Draft, it'll appear under the "To Be Sent PO". You can click on the PO number to view the PO details.

19. Click on the side arrow to expand the view

