How To Create Invoices Based on Completed Work Order - Custom Frequency
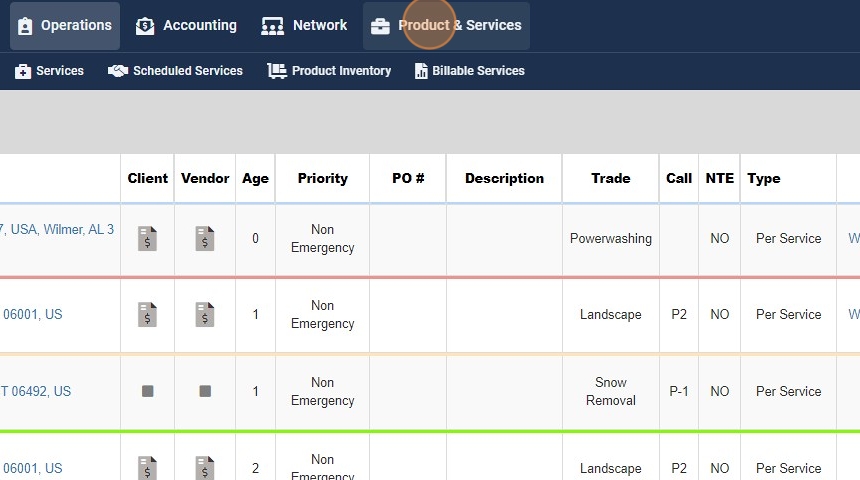
1. Navigate to Products & services module --> Scheduled Services
2. Click "Product & Services"

3. Click "Scheduled Services"

4. Click "Scheduled Service"

5. Click "Select Client"

6. Select the client you wish to use

7. Select any site from the client

8. You can hit the "X" and remove multiplier

9. Click "save & continue"

10. Click "+ ADD SCHEDULED SERVICE"

11. Select "Equipment testing, maintenance & inspection" and hit continue

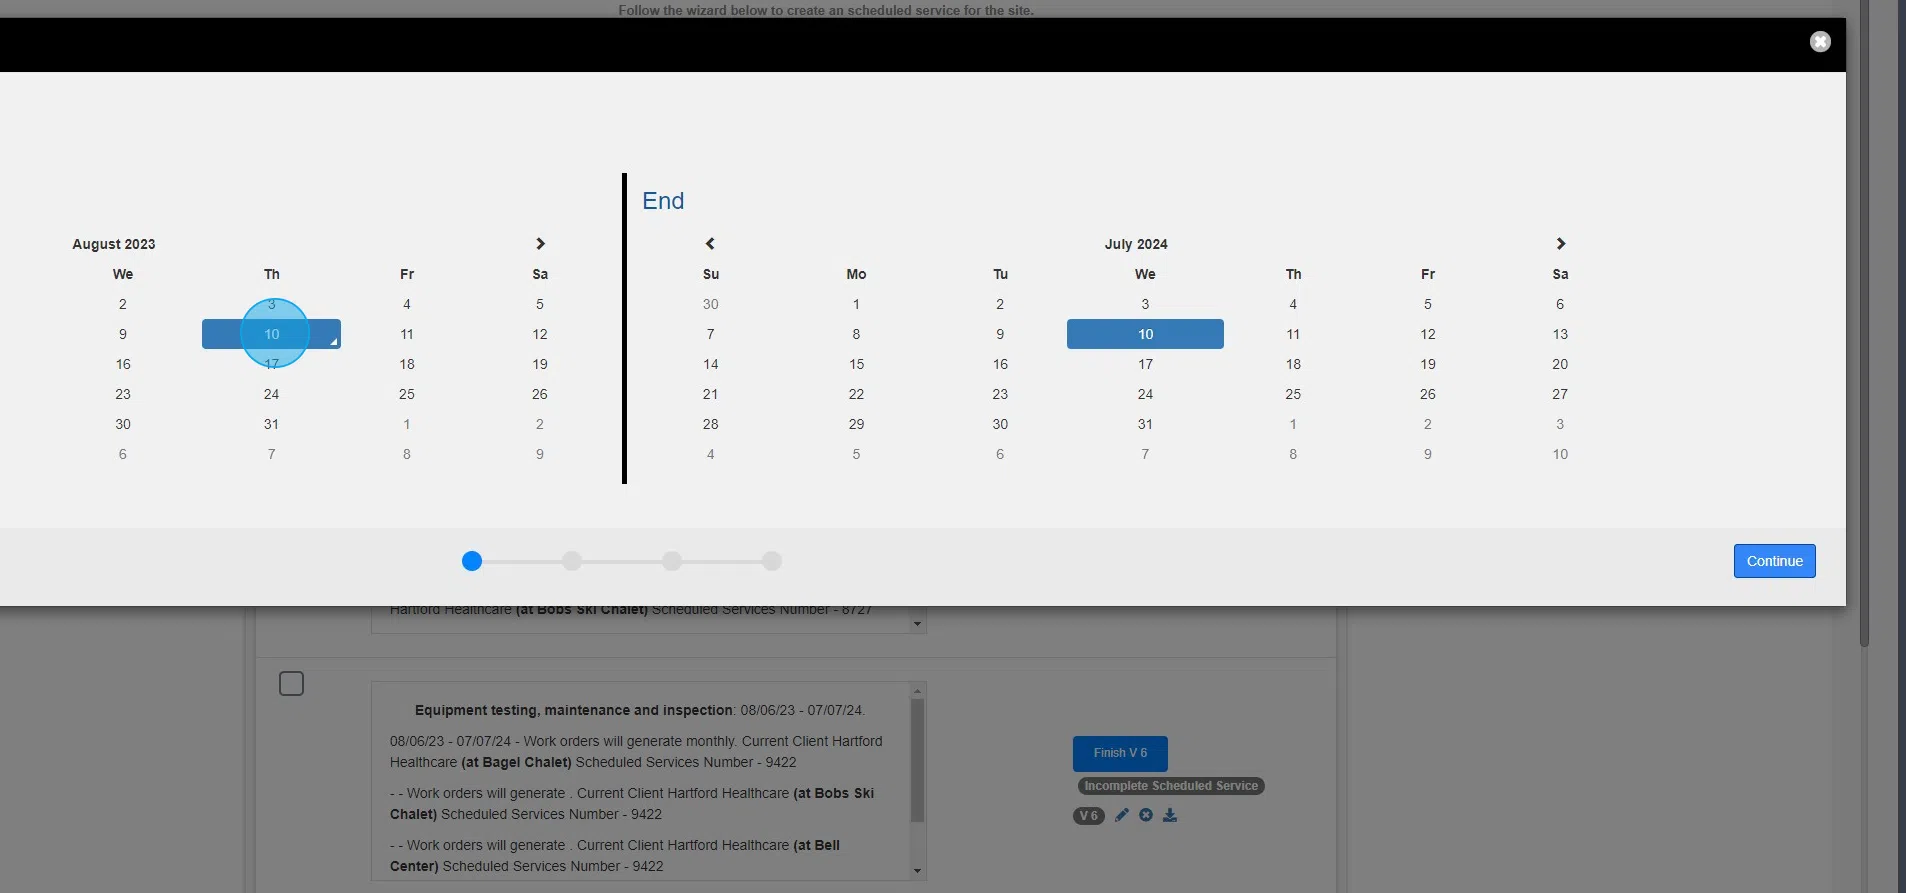
12. Choose your date range and click continue

13. Click "New Agreement" then continue

14. Enter a custom ID if you prefer

15. Choose "invoice based from completed work order" and hit continue

16. Next click select item box and choose from the dropdown

17. Click the check box next to "bulk assign services" then hit "press + bulk assign services"

18. Click "Bulk Assign Services"

19. You have a few options for vendor preferences. I am going to highlight by turning vendor approval's off

20. Click "ASSIGN THE VENDORS ASSOCIATED or Manual"

21. Click "Service to Work Order and Invoice"

22. Click "Select Service"

23. Choose your service from drop down menu

24. Click this image.

25. Then click save

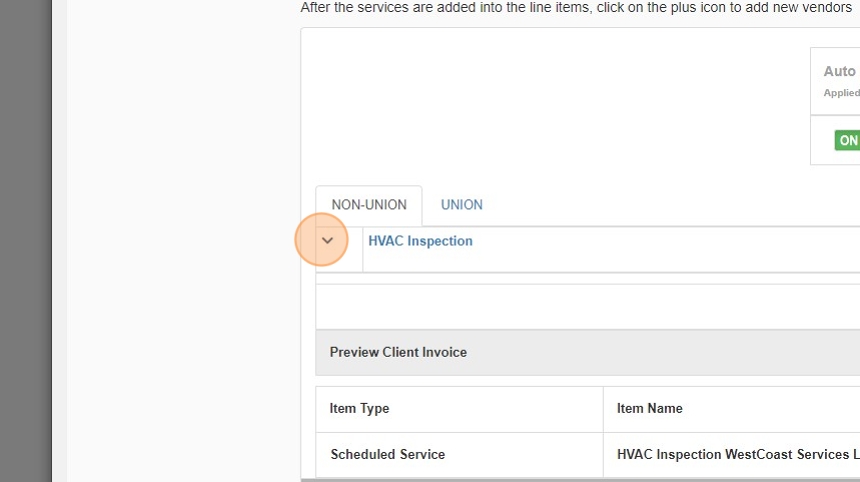
26. Click the downward facing arrow next to a service to see rates/vendor/more information

27. Click the blue box with a "+" if we want to change a site vendor to a new vendor or team member

28. Select assign vendor manually

29. Click this button.

30. Click "Vendor"

31. Define your range for work order range frequency

32. Click "Vendor"

33. choose priority

34. Click "Select Vendor"

35. Choose your desired service provider

36. Click save

37. Click "Bulk Schedule Work Order Frequency"

38. Select the WO specifics you prefer.. WO Description, call type, problem type and uncheck the dispatch work order button.

39. Now you can define the WO frequency. In this example I am using a custom WO frequency. Select "custom"

40. Now you can choose the WO generation date/ETA/ETC/Expiration and hit save WO

41. Click "SAVE WO". For a custom frequency you have to generate and save each individual WO.

42. Choose save & exit to leave the agreement in "draft" form. Select Activate to make this a live agreement where WO's will generate as defined

