Learn how to onboard a vendor and send professional invitations through the UtilizeCore platform. This guide covers the process of locating a vendor, edit invitation details, and attaching necessary documentation to ensure a seamless onboarding experience.
Search and Invite a Vendor
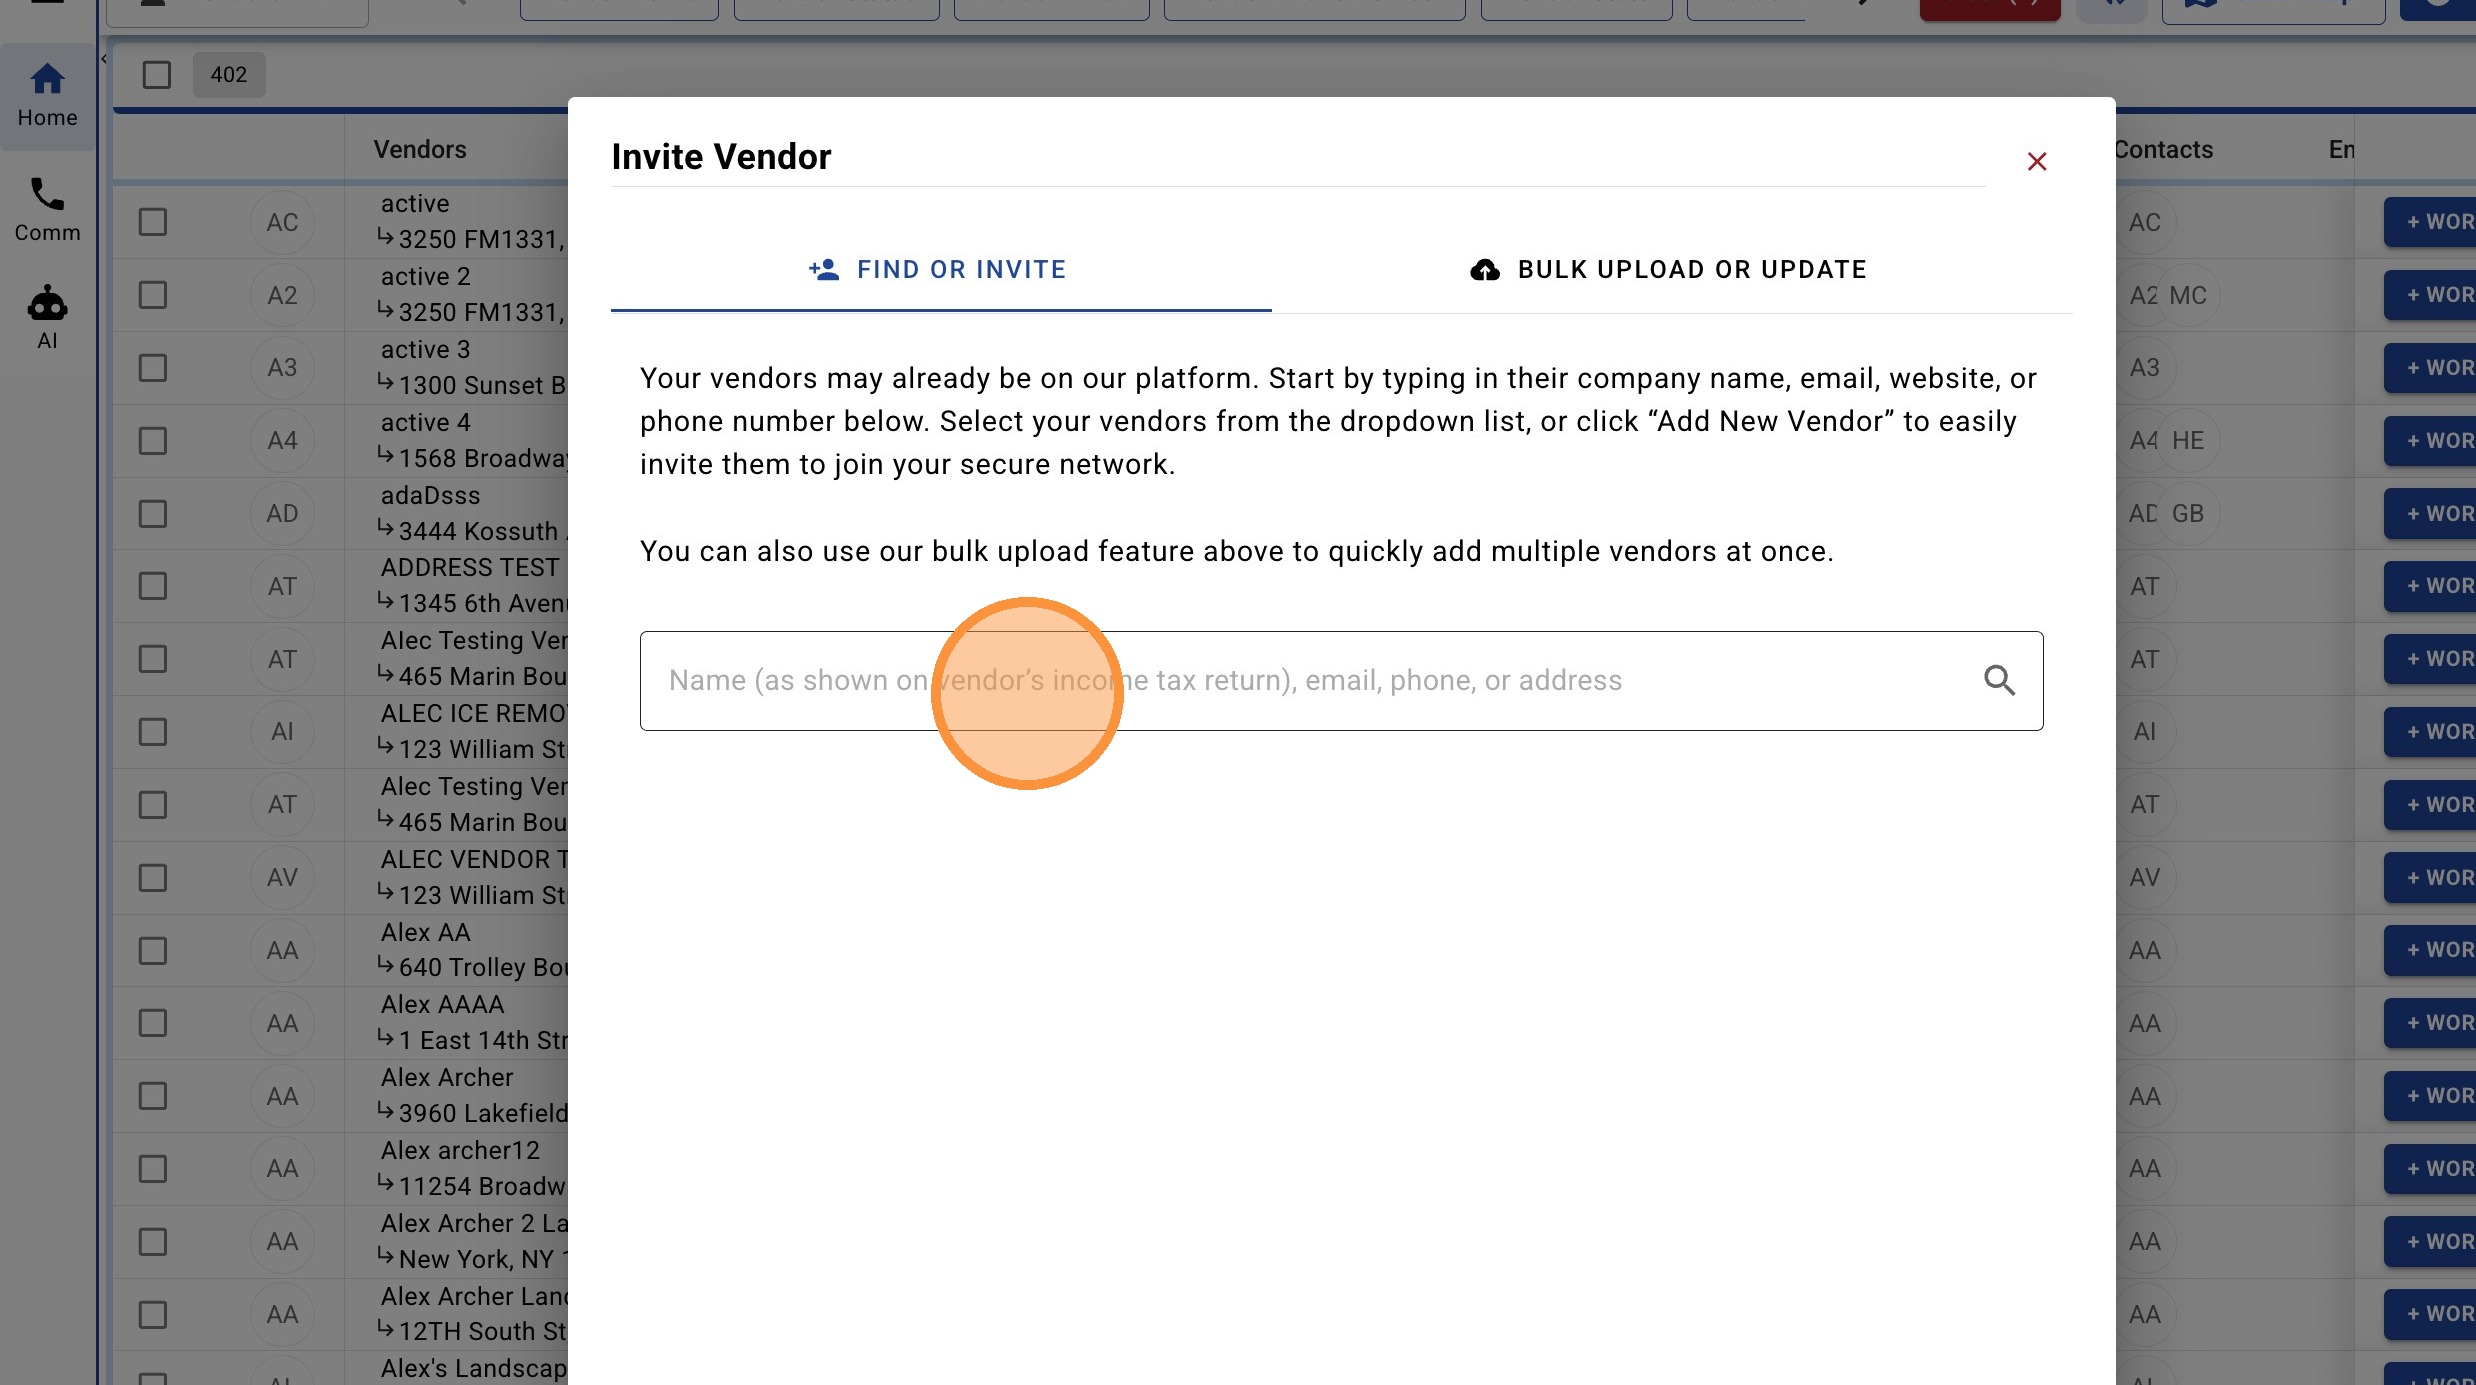
1. Navigate to the Vendor Module, then click "+ VENDOR".

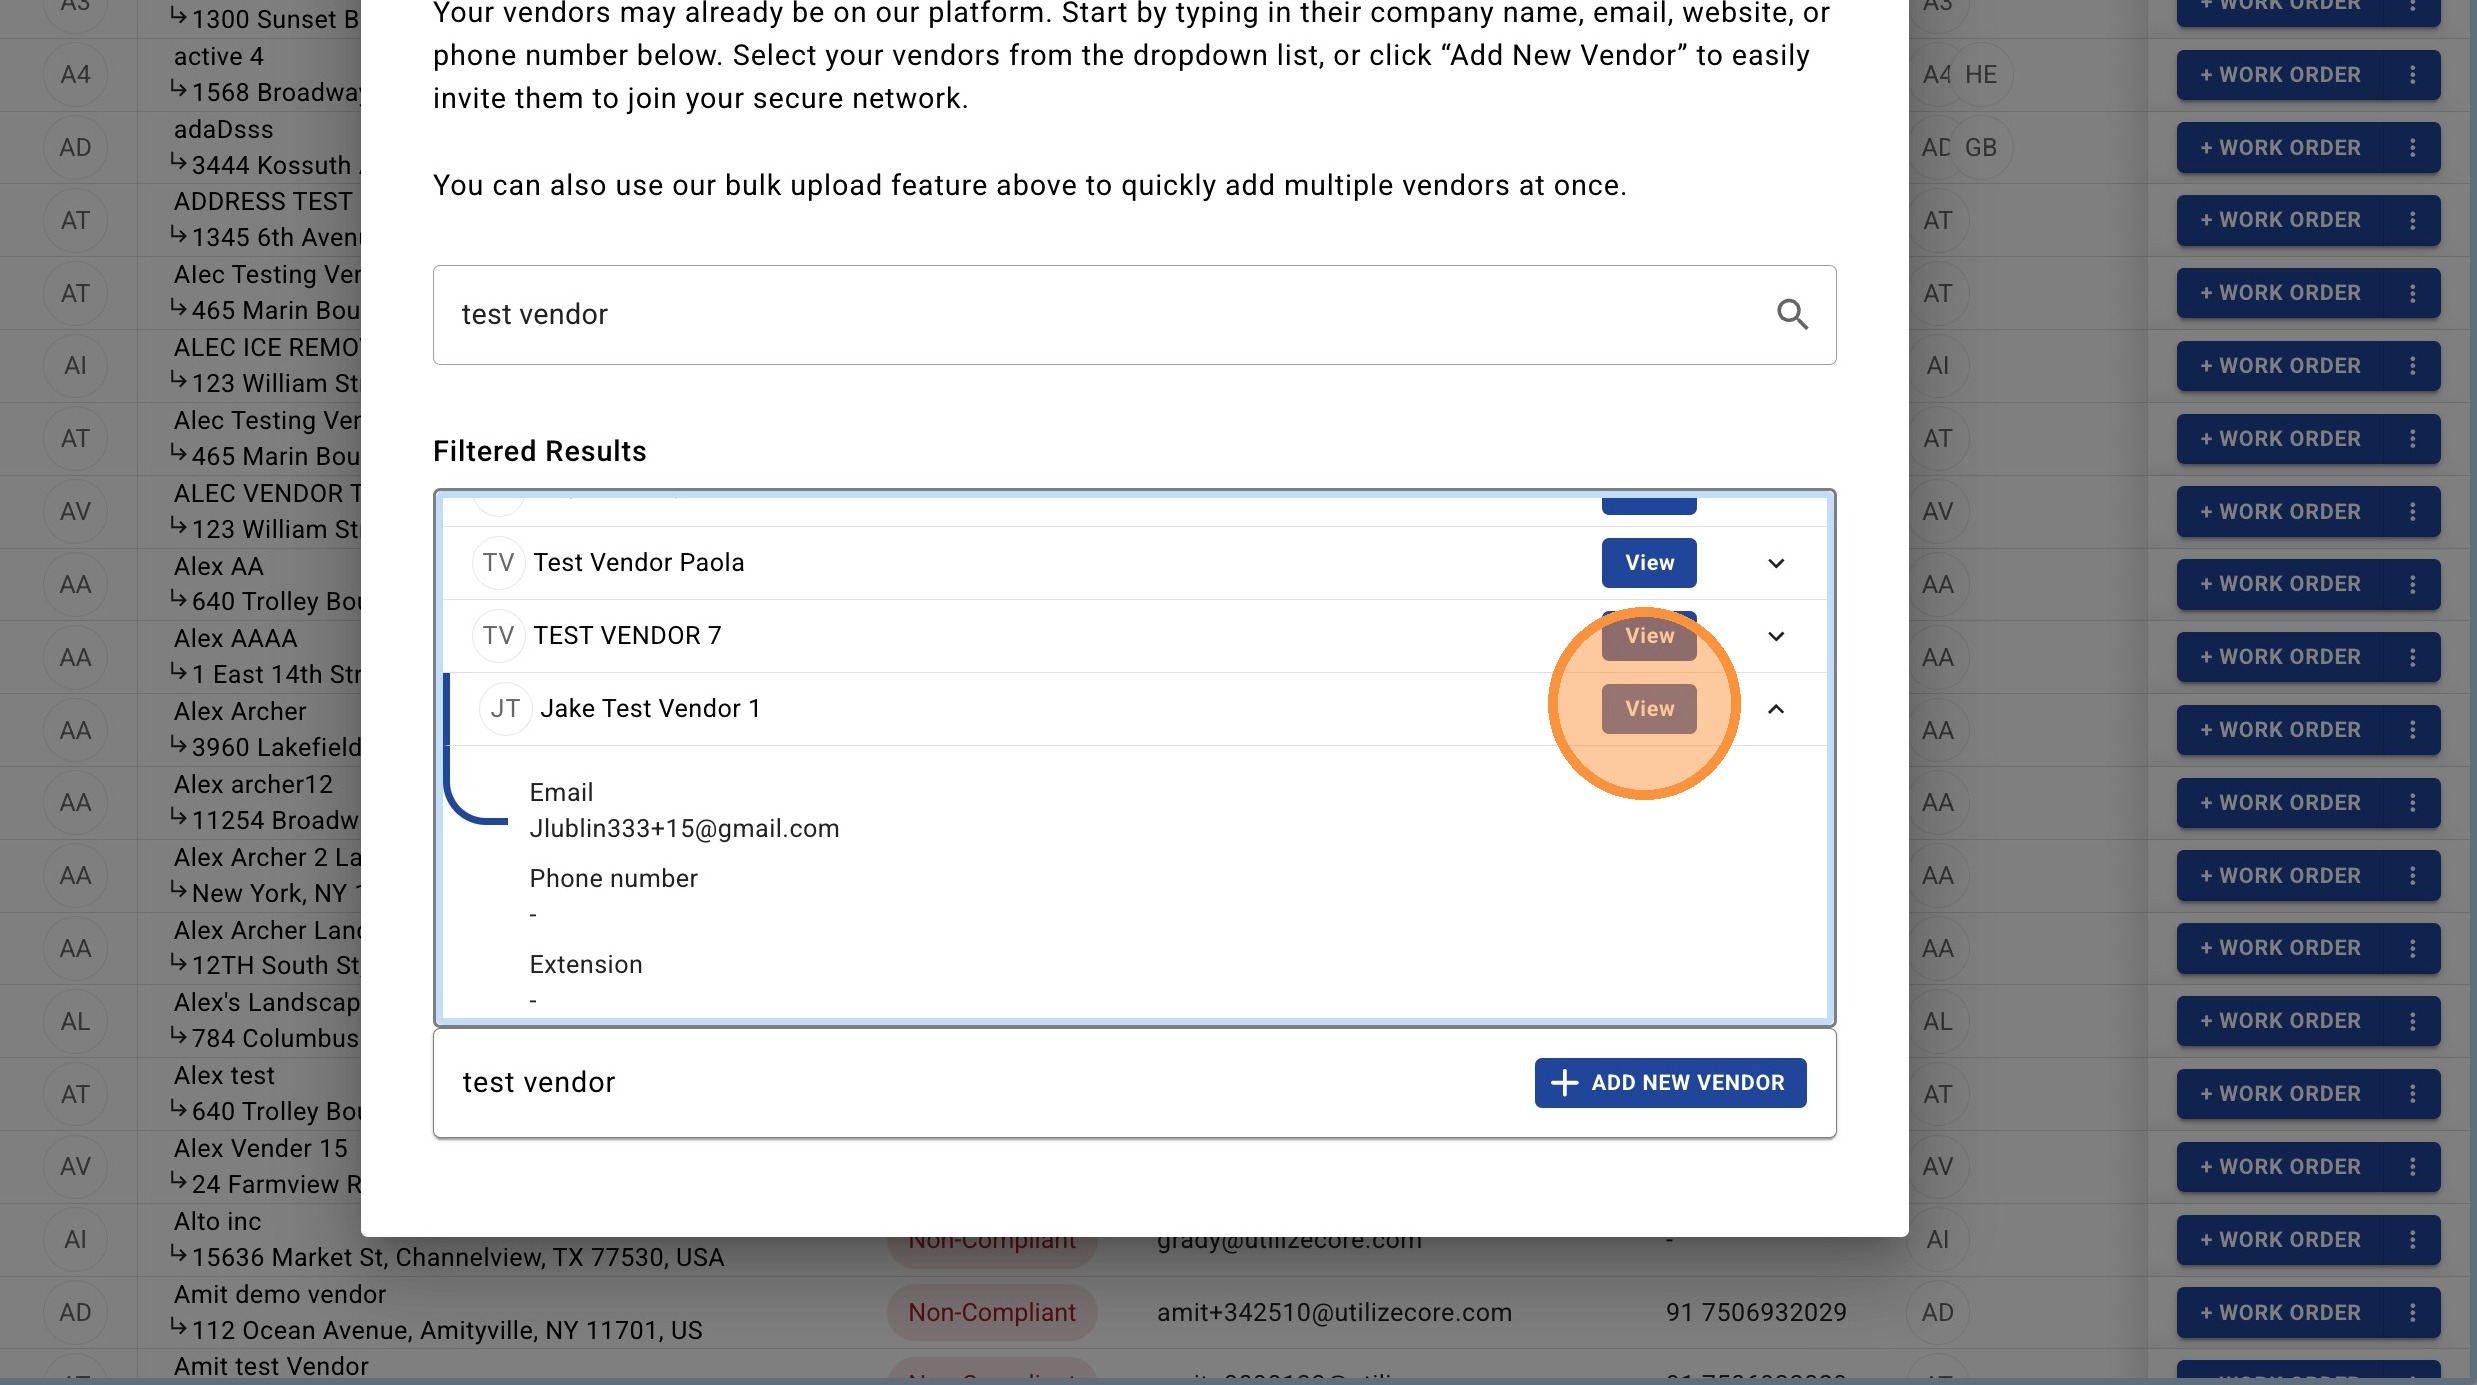
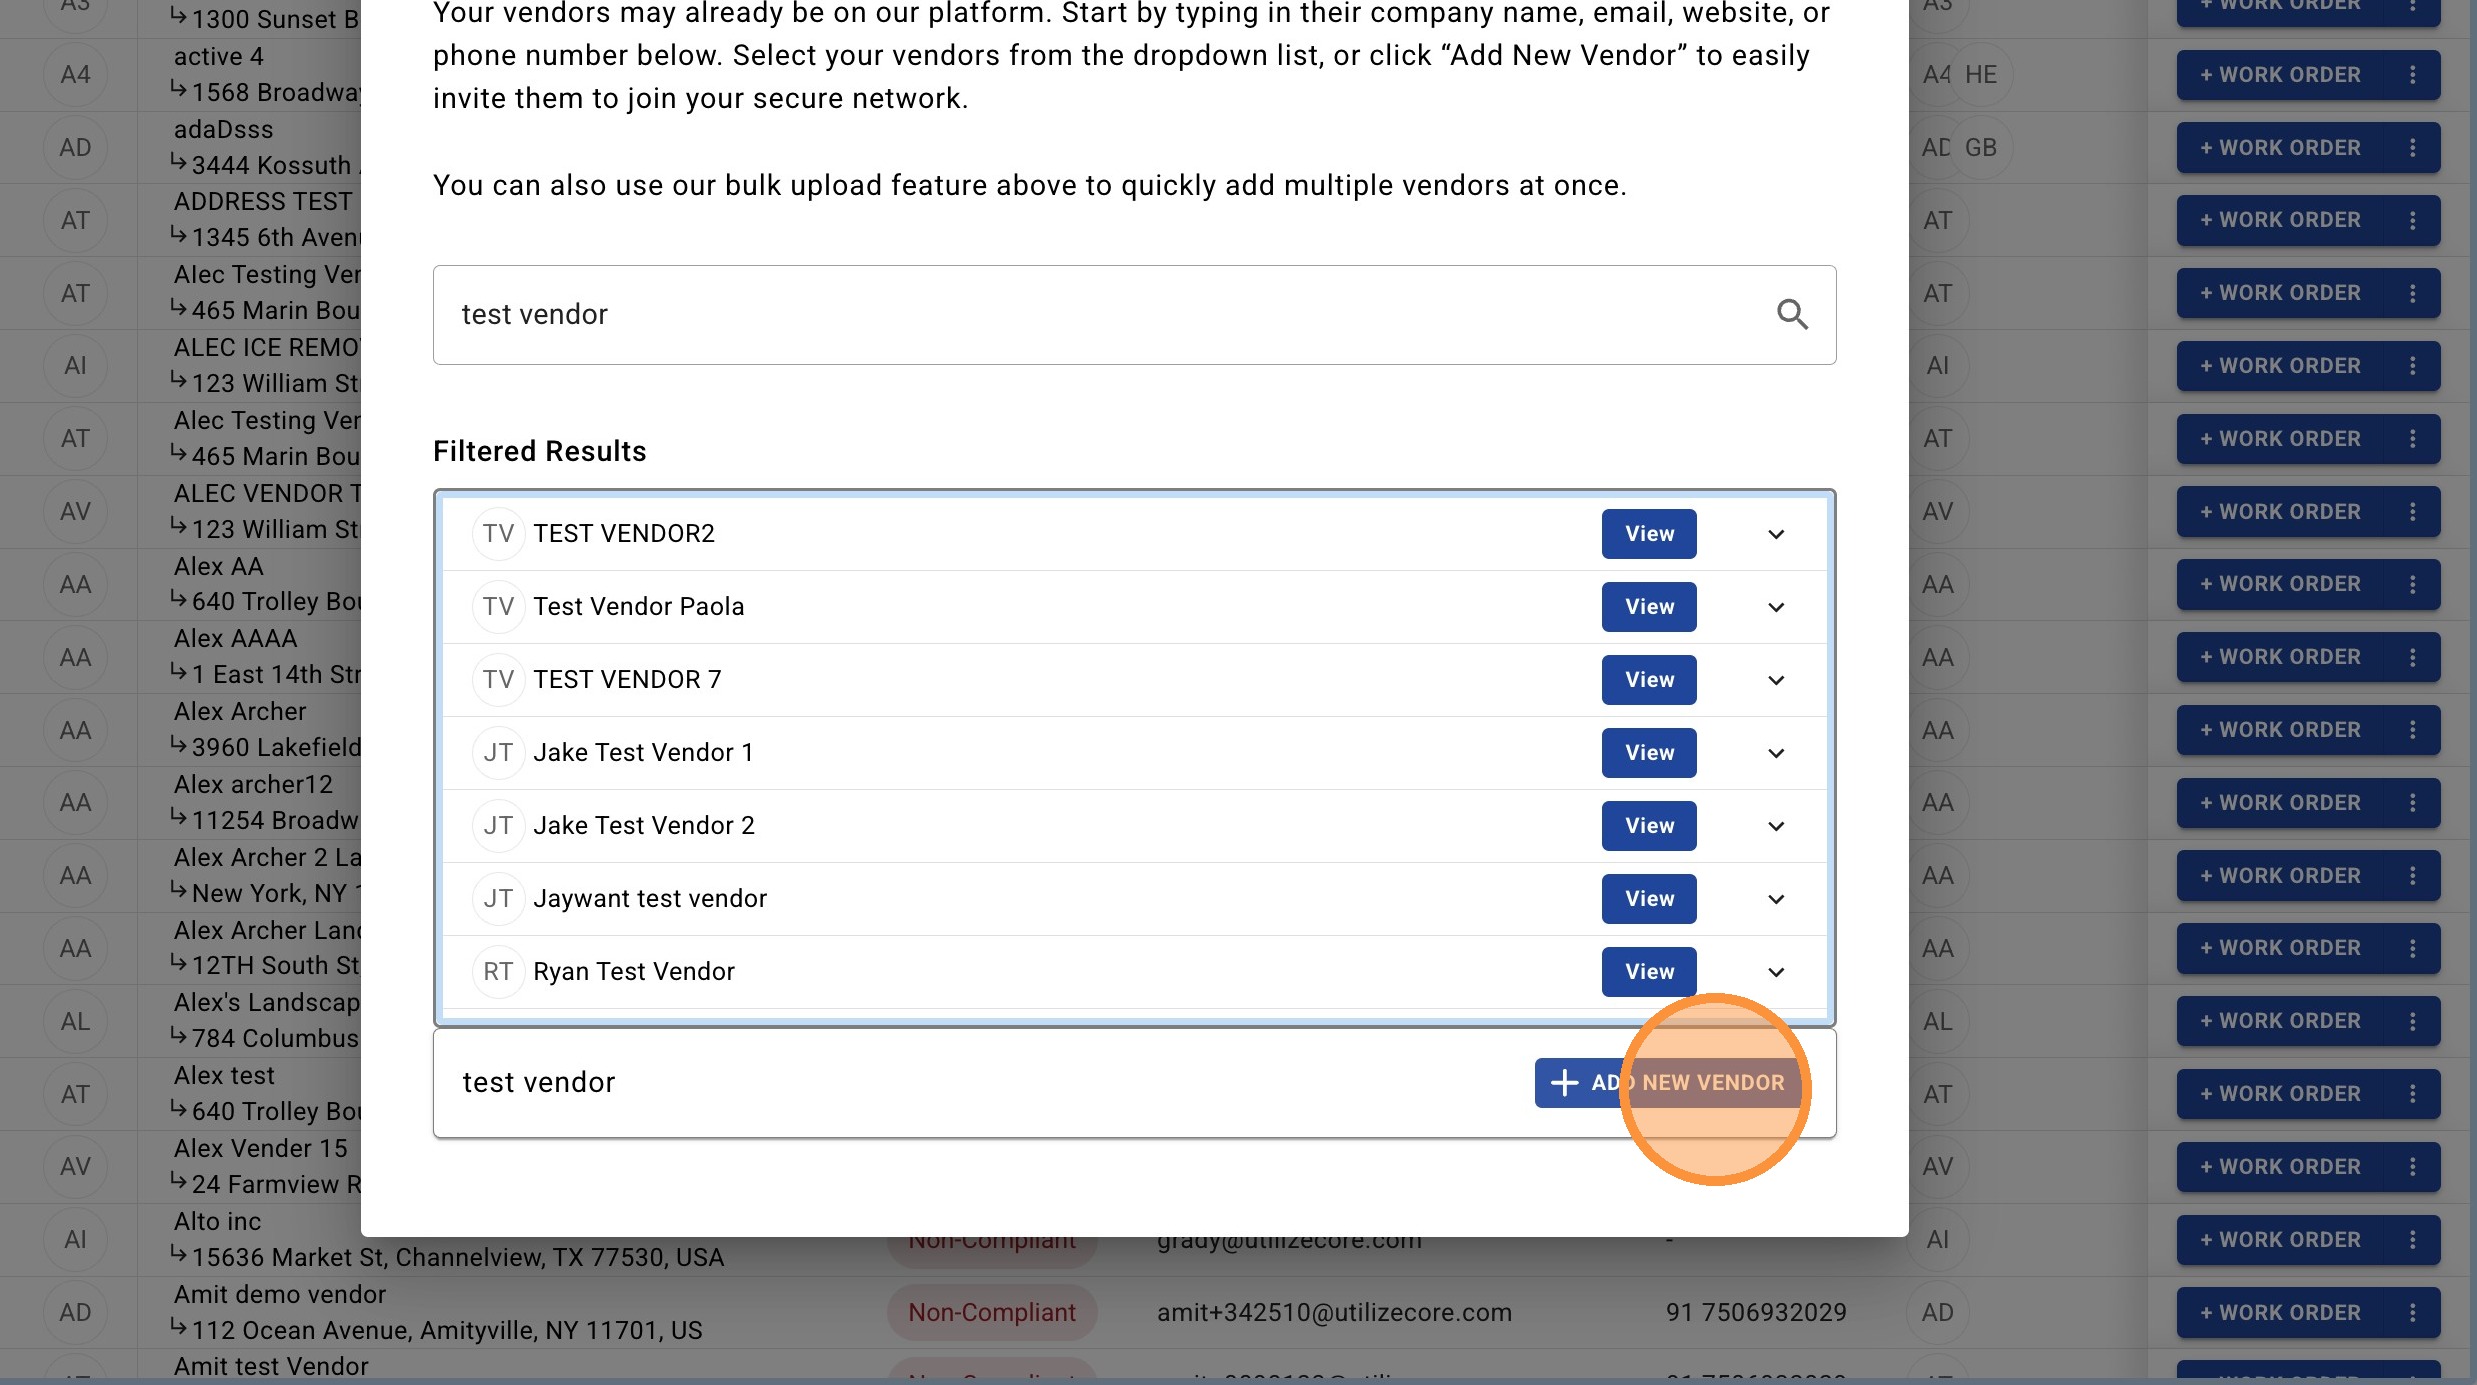
2. Search to see if the vendor already exist in the UC network. You can search for a Vendor by its Name, Phone Number, Address, or Email.
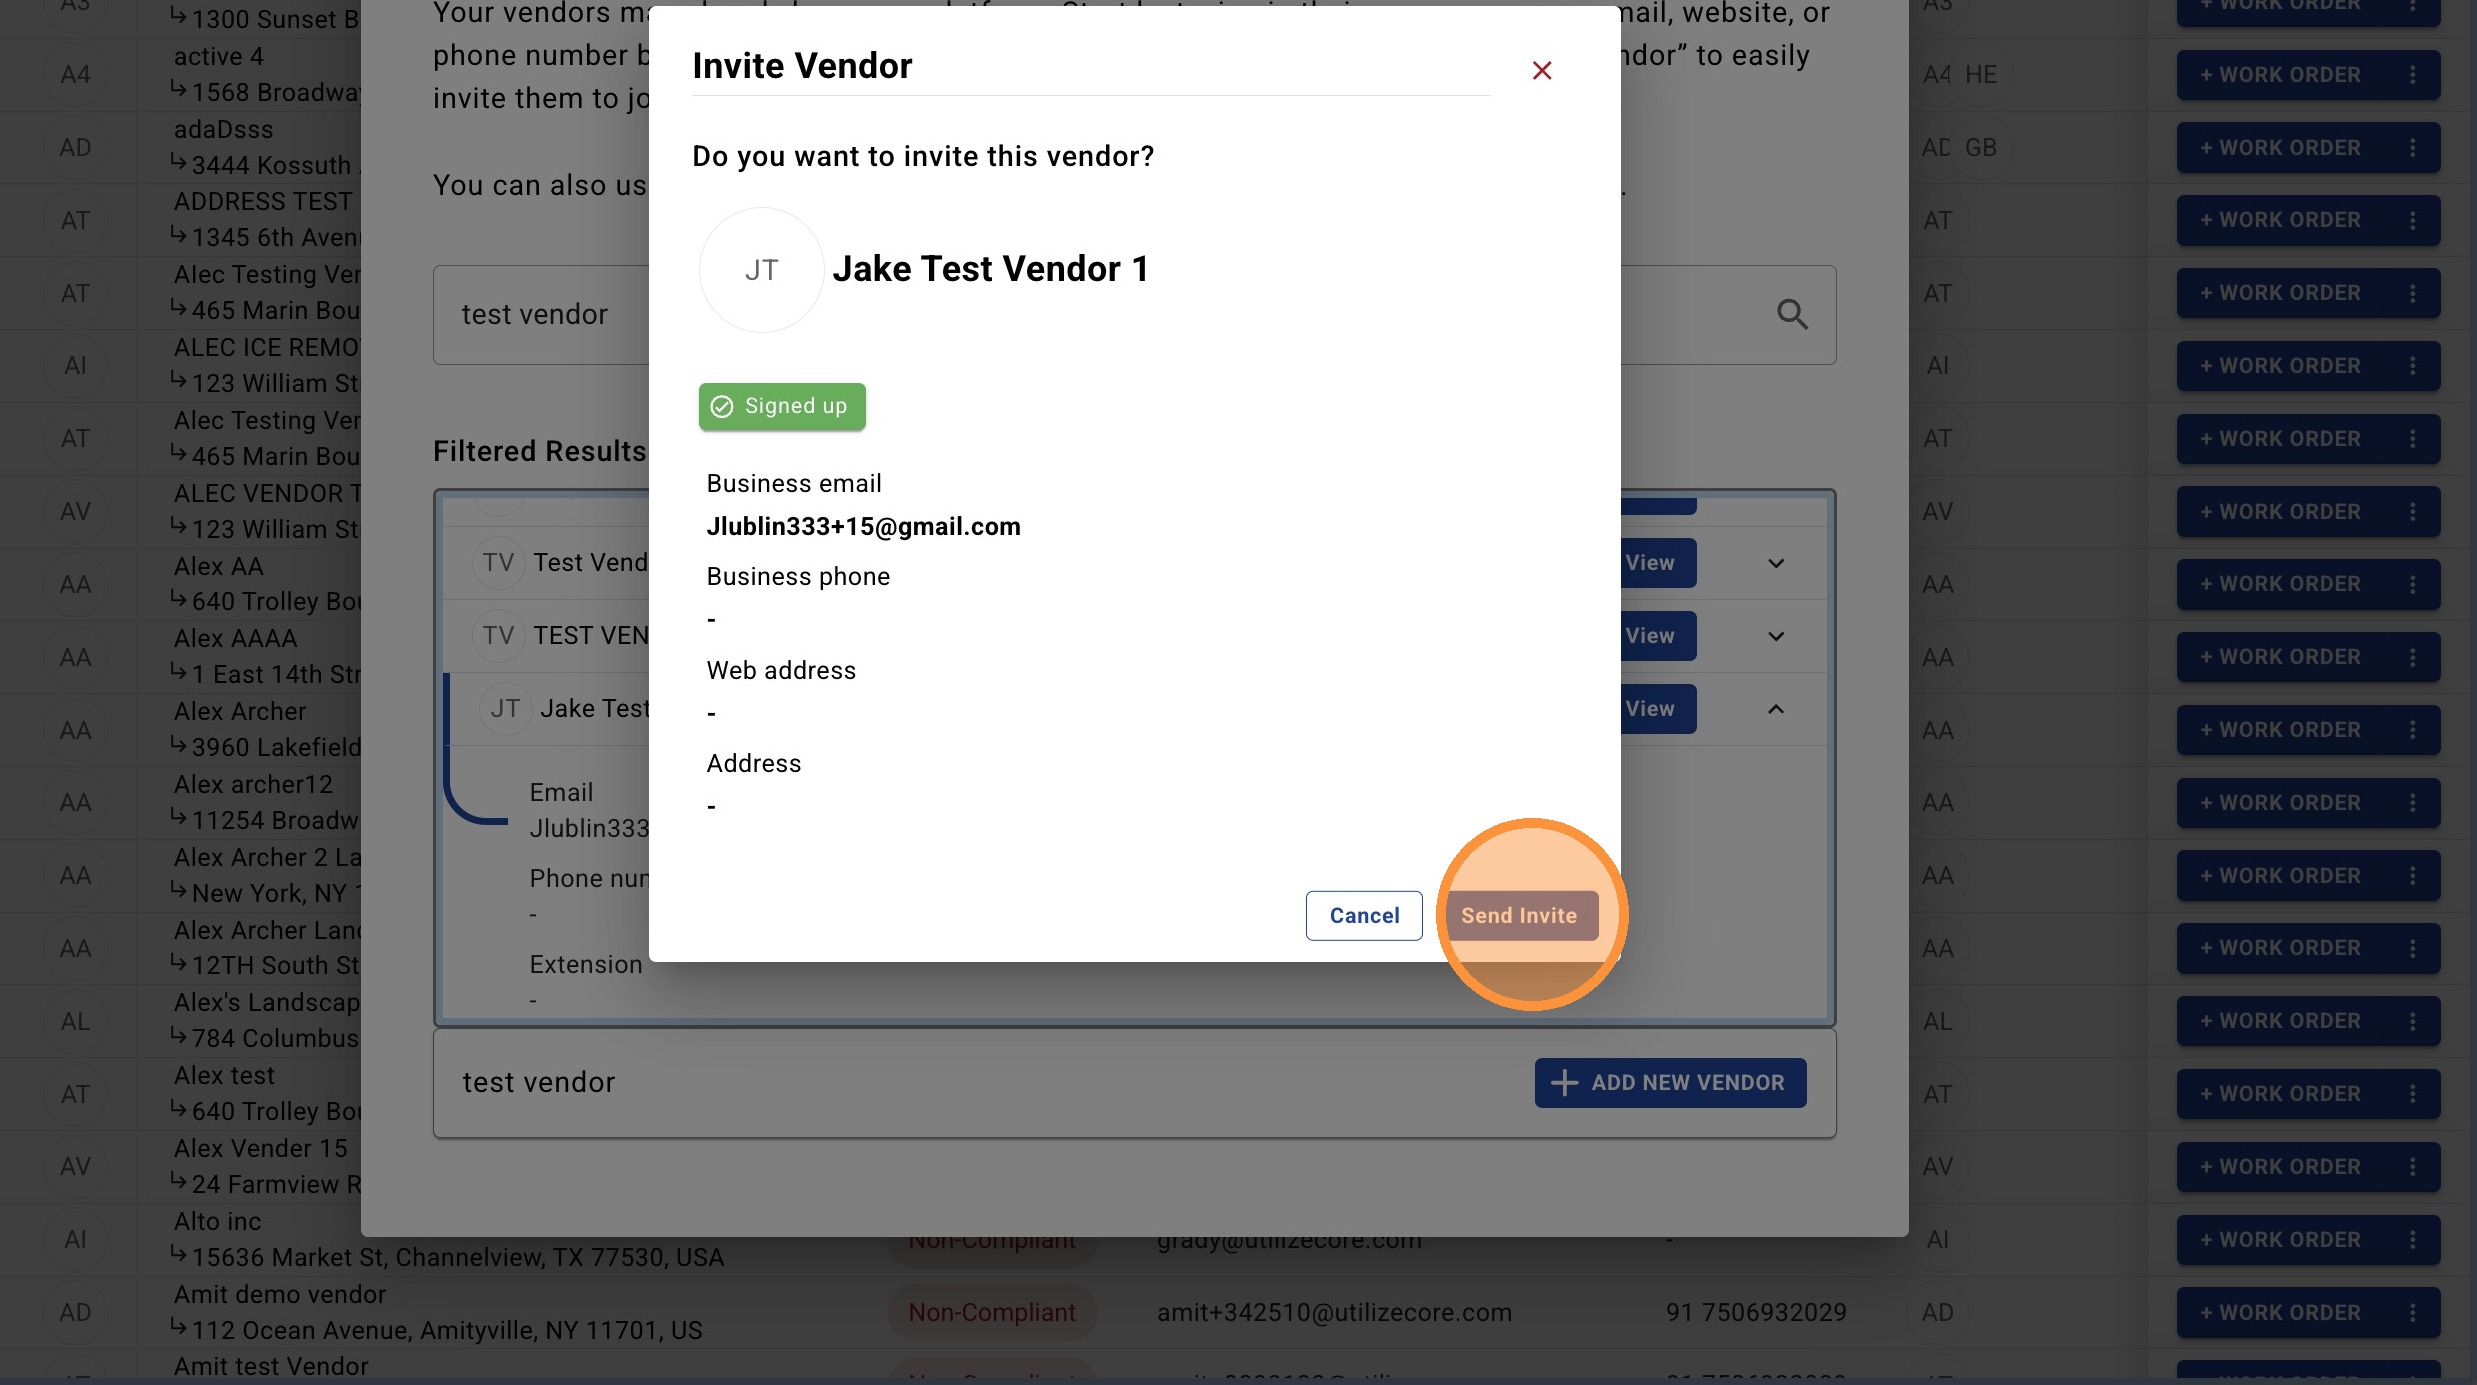
3. If the Vendor has an active Profile on UtilizeCore, click "View" to see more details to confirm you have the correct vendor.
4. Click "Send Invite" to confirm.
Create and Invite New Vendor
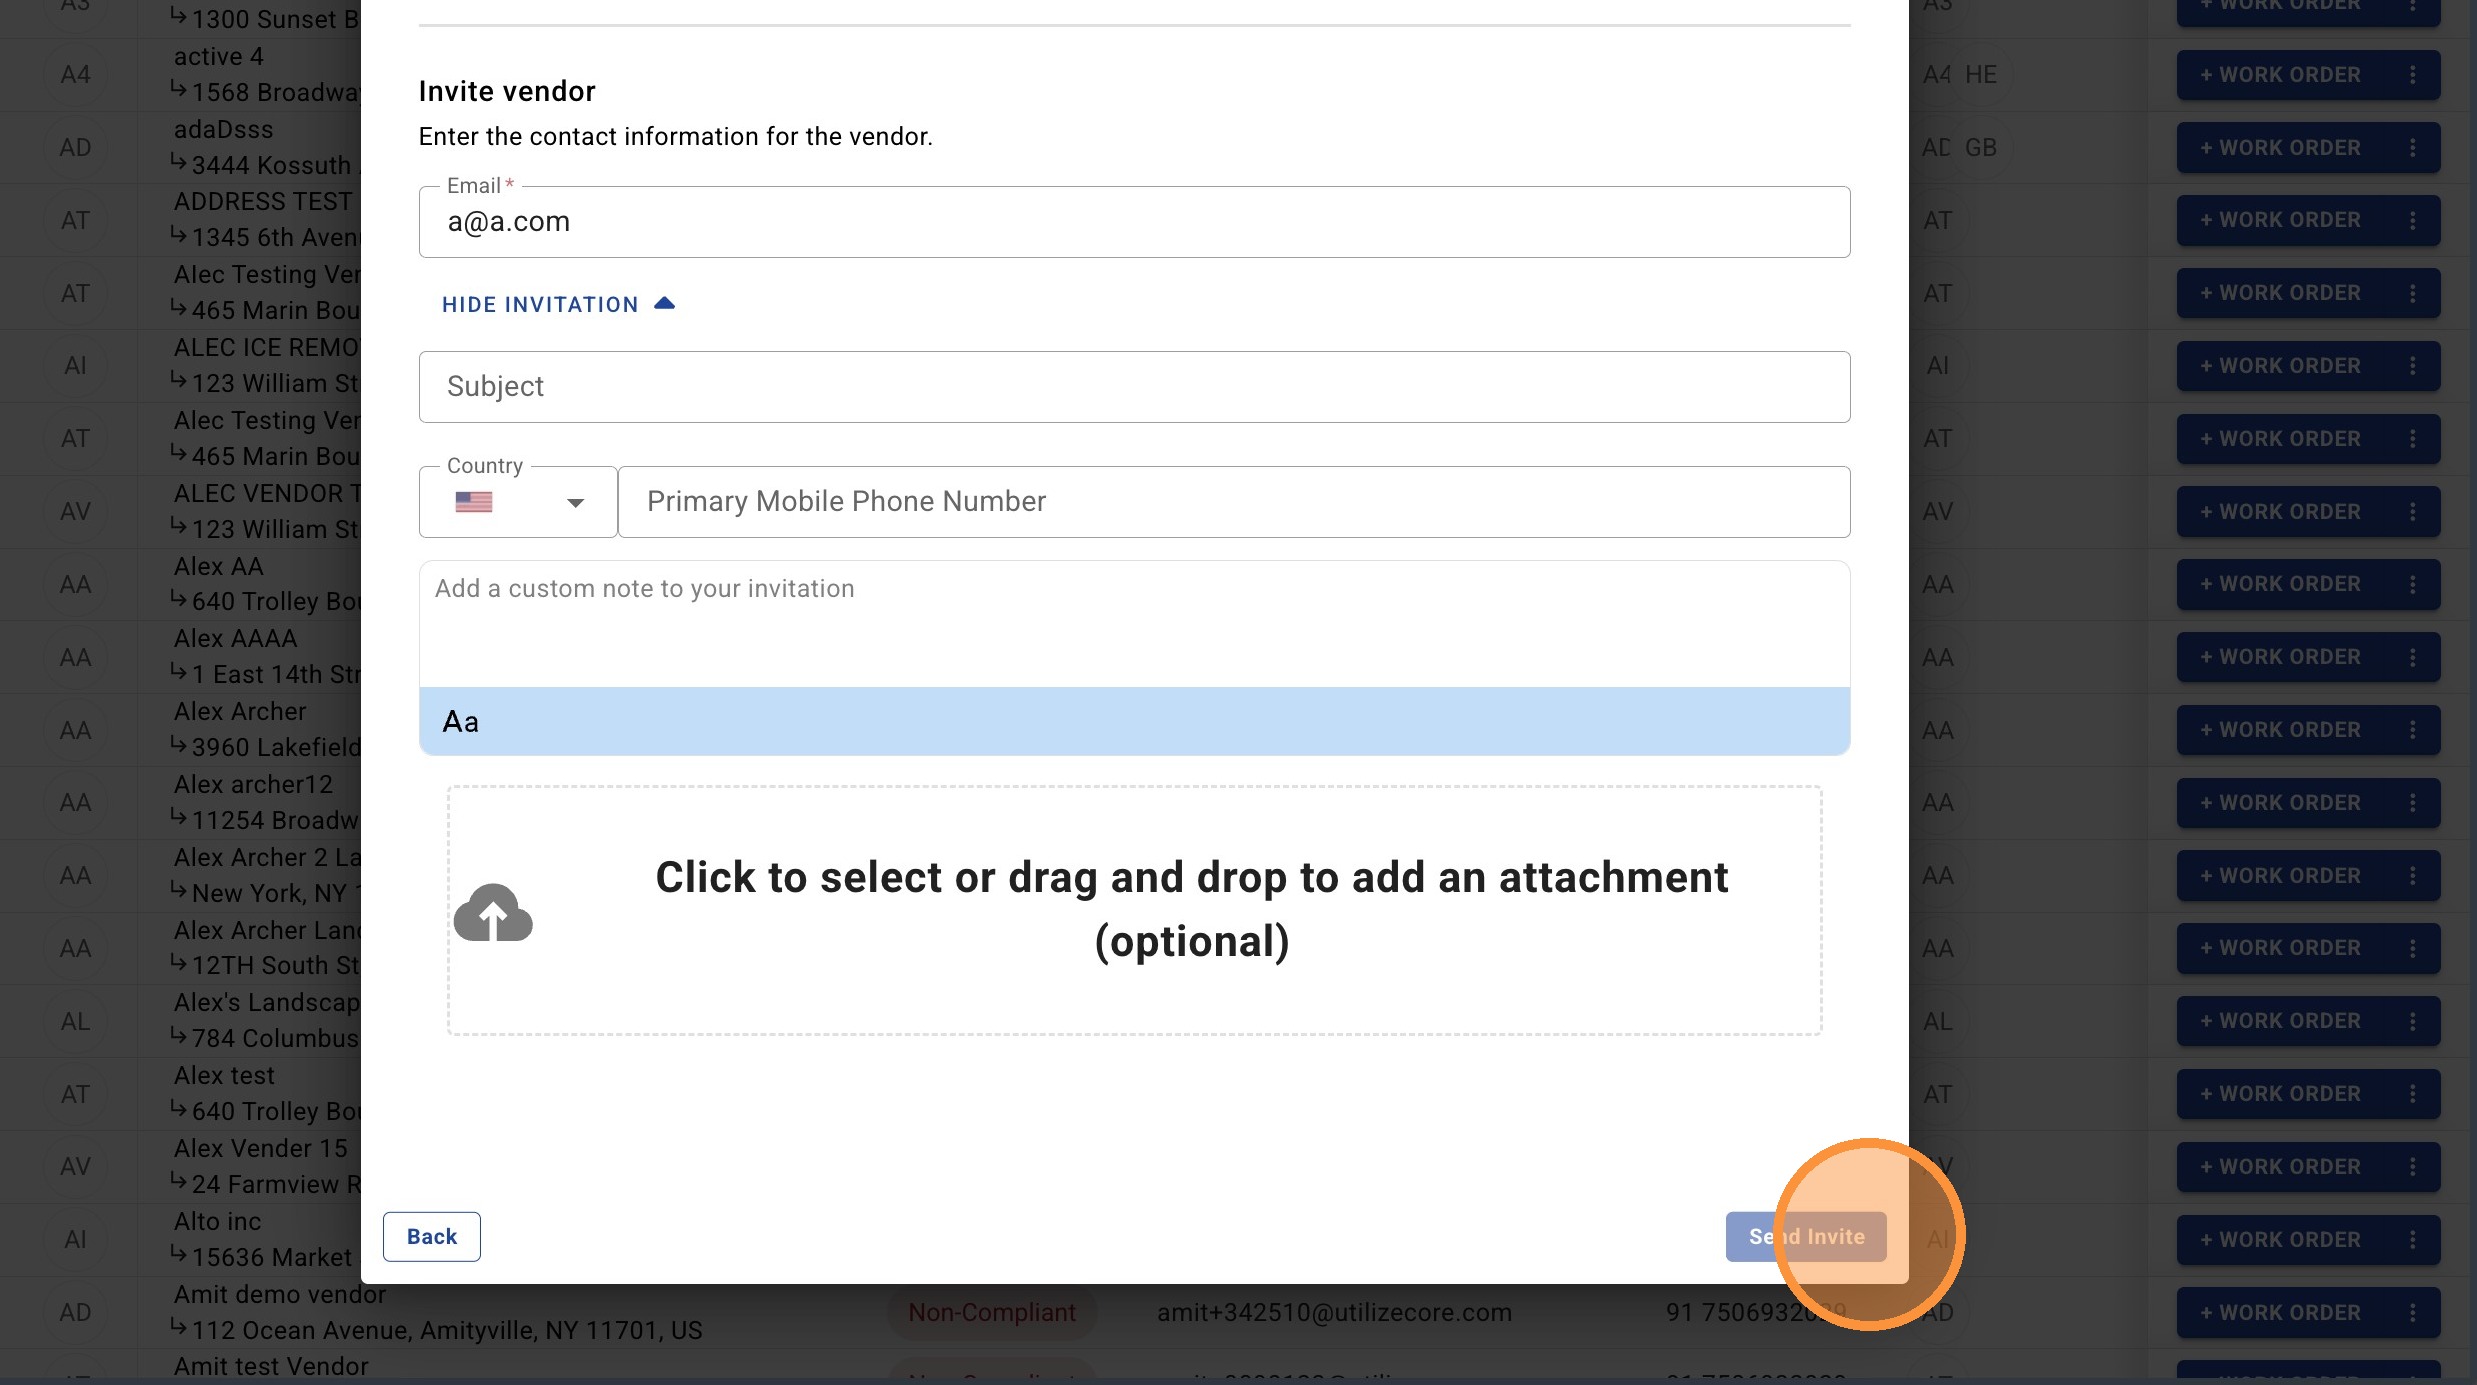
5. If the vendor does not exist in the filter results, then click "ADD NEW VENDOR"
6. Fill in the mandatory fields including Vendor Address and Email.
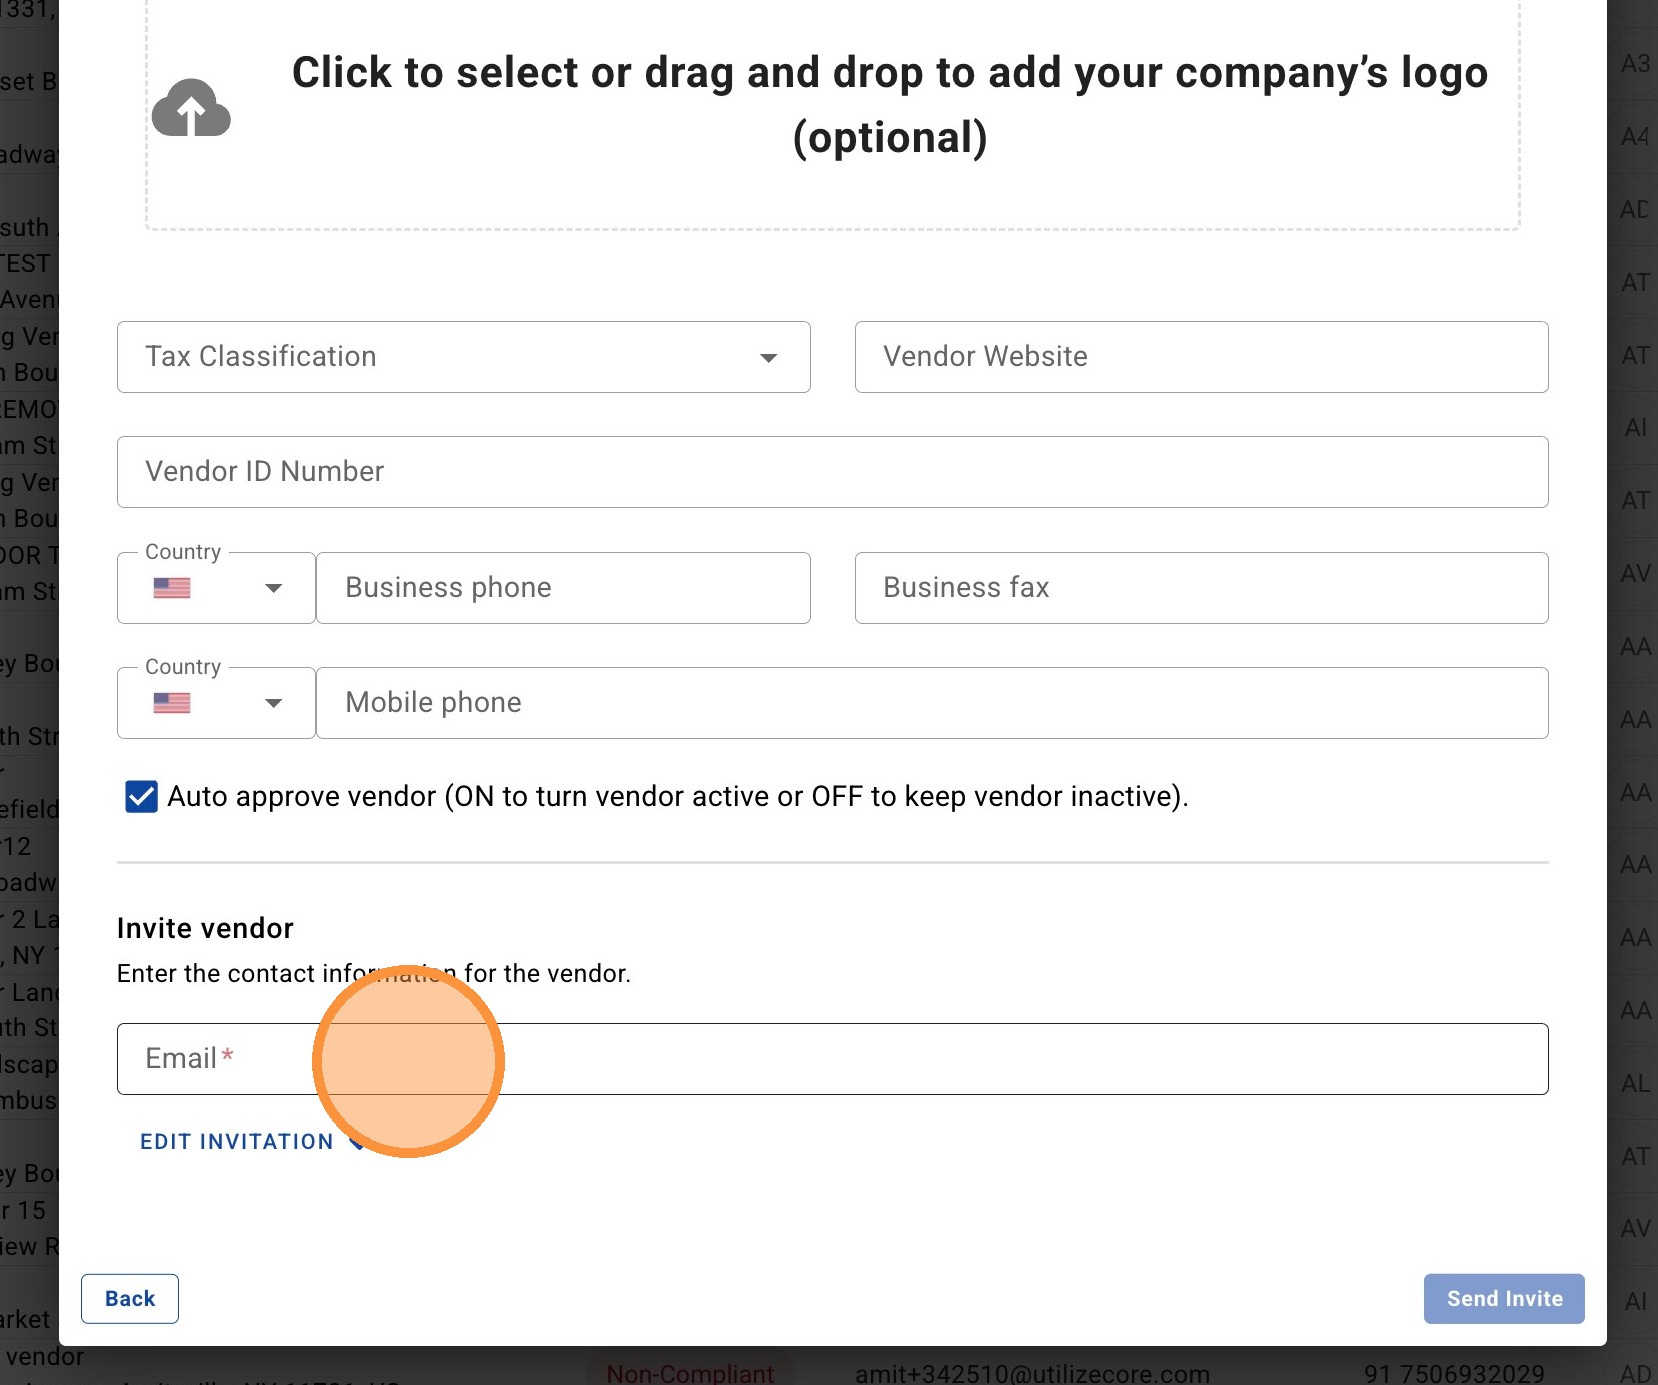
7. To update the email invitation for the vendor, select "EDIT INVITATION". From here you can update the email subject link and body copy.
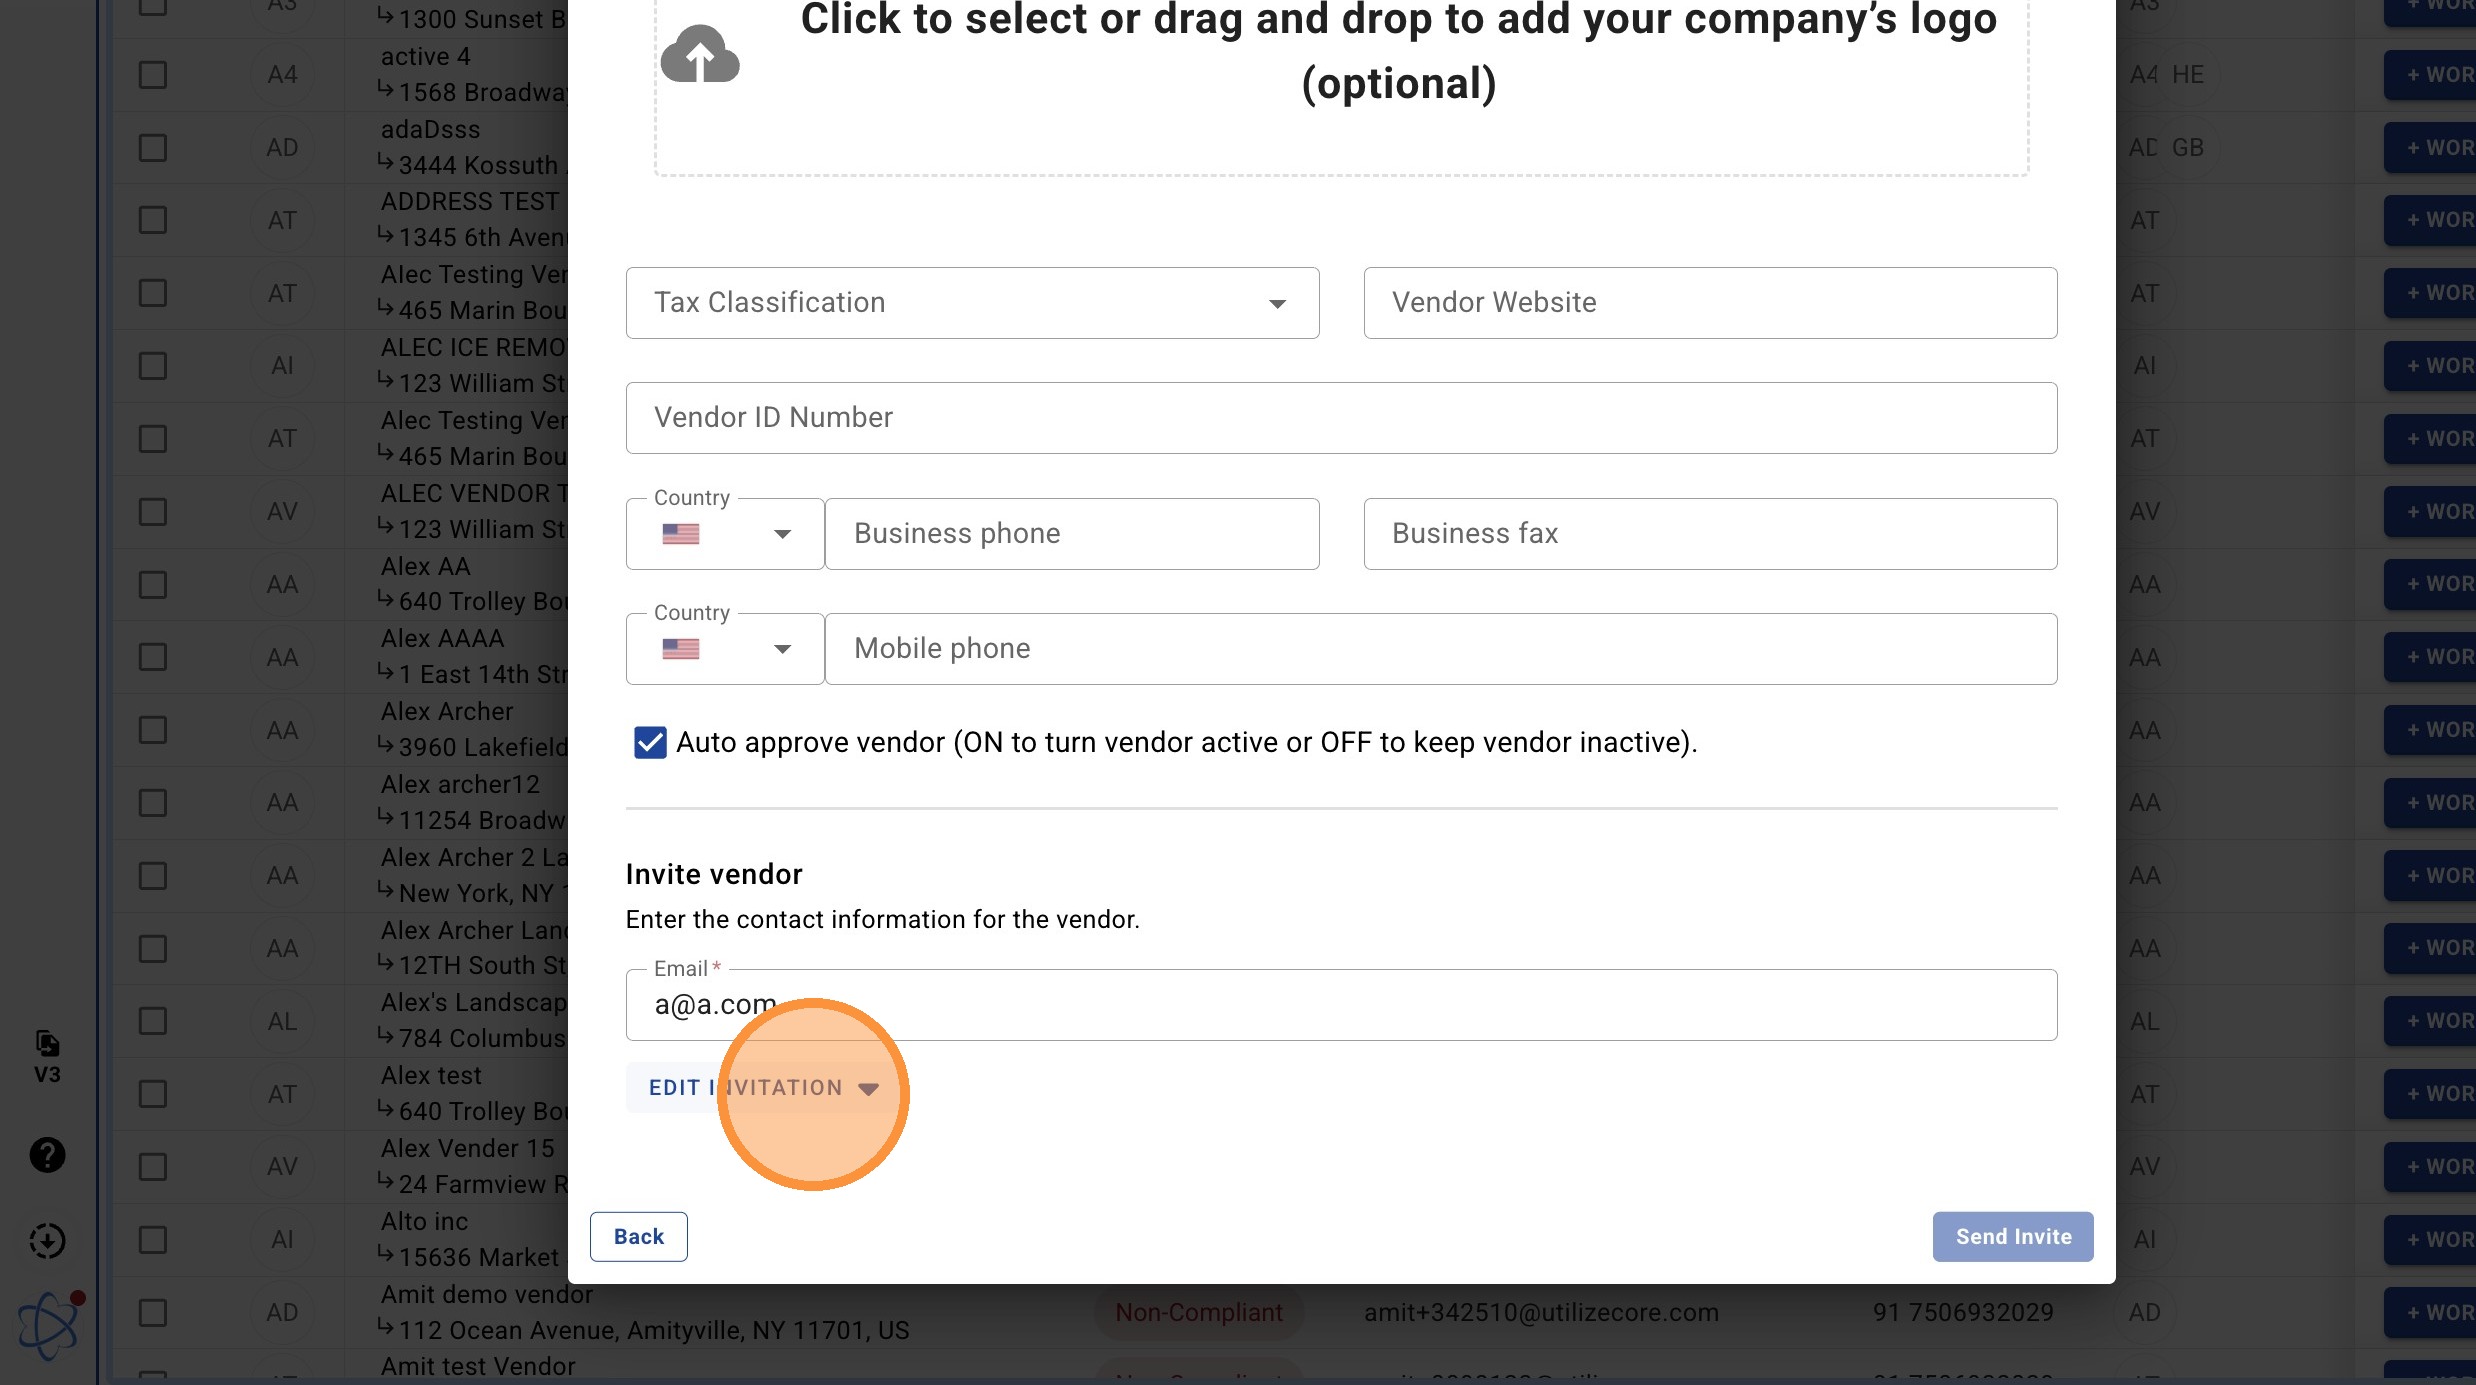
8. Click "Send Invite" to finish.