This guide provides a comprehensive walkthrough for creating and configuring a new work order within the UtilizeCore platform. Learn how to accurately input job details, site information, and billing preferences to ensure your Work Orders and Trips are managed efficiently.
1. From the Work Order list, select + WORK ORDER

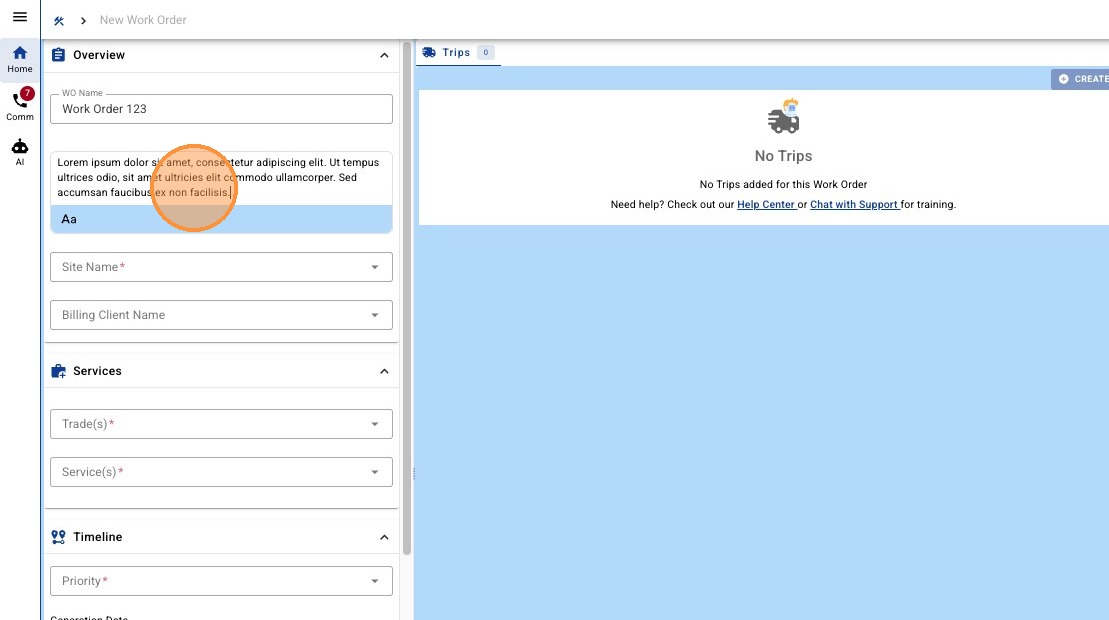
2. If desired, add a Custom Work Order Name. This custom name will be present across the platform from list and profile views. (Optional)

3. Enter a Work Order description. This may be pre-populated if the Work Order was created through a system integrated. The Work Order description will be visible to your Clients, but not your Vendors. (Optional)
4. Select the Site Name and select from the dropdown. You can type to search to filter by Site, Client Name, and Site Address.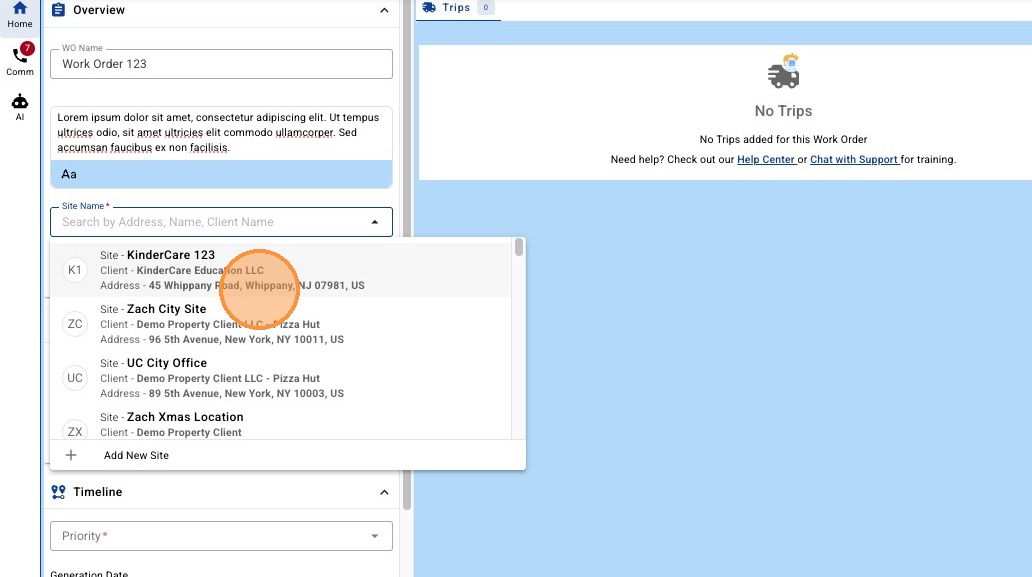
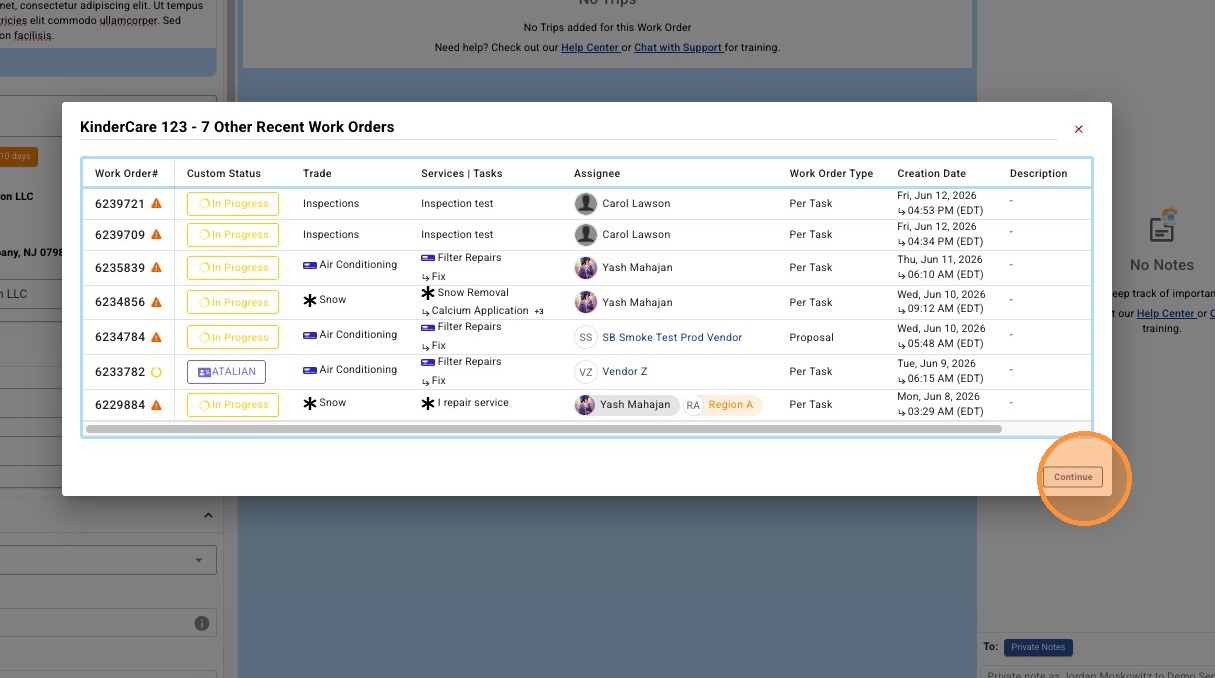
5. Based on your Company Settings, you will likely be presented with exiting Work Orders at the Site to prevent duplicated. Click "Continue" to proceed with creation of the new Work Order.
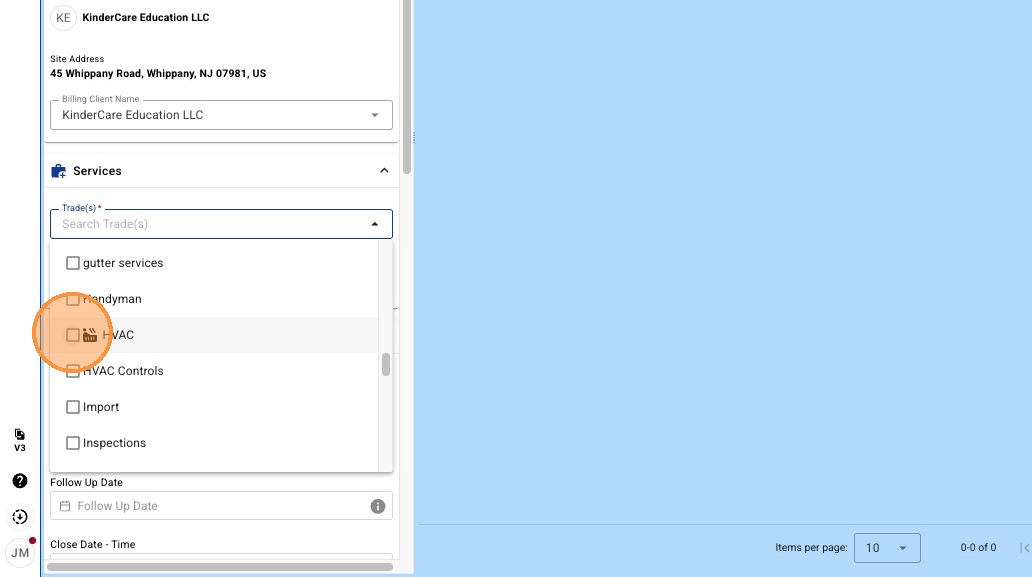
6. Select desired Trade(s) from the dropdown.
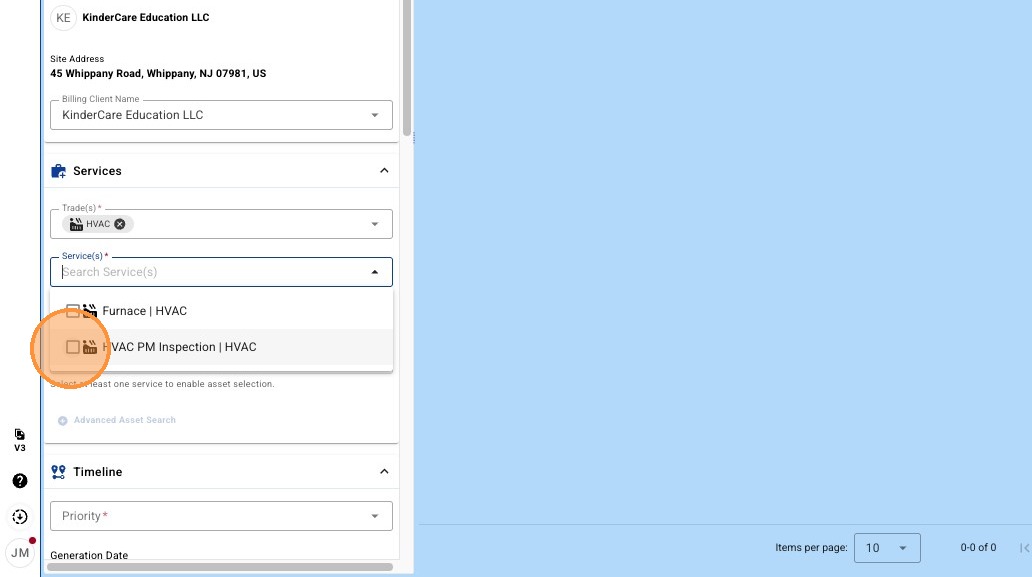
7. Select desired Service(s) from the dropdown.
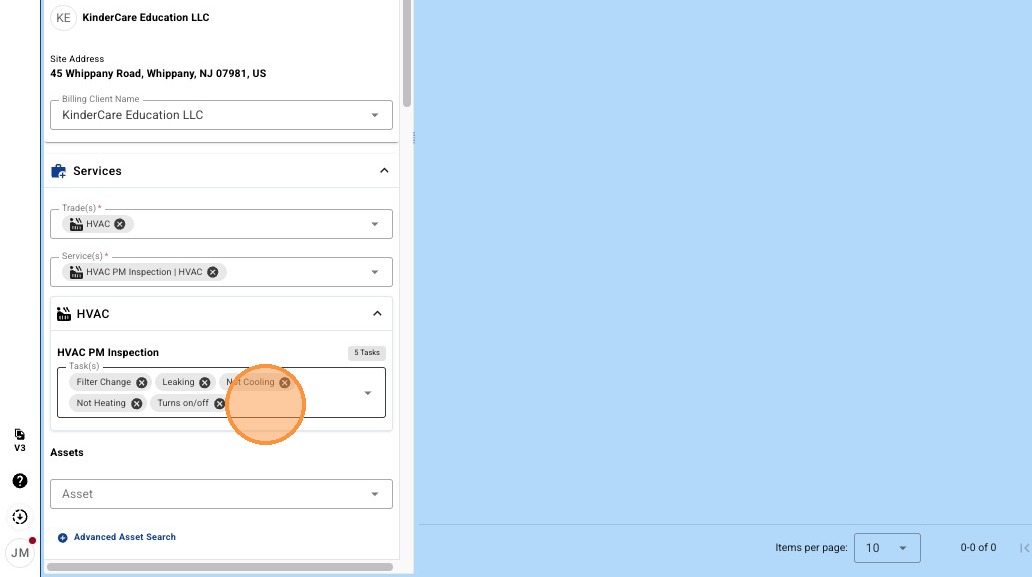
8. Select desired Task(s) from the dropdown. (Optional)
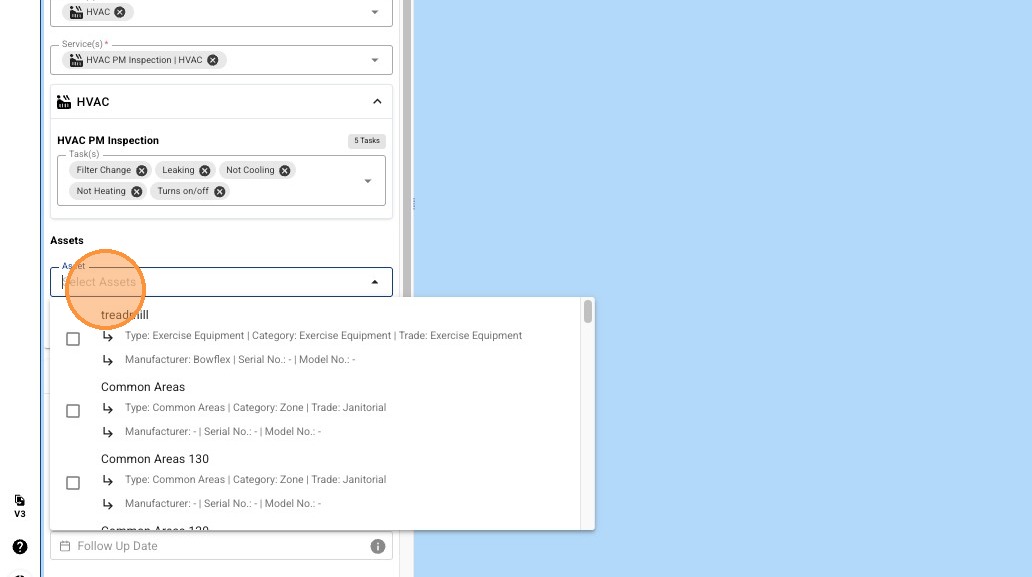
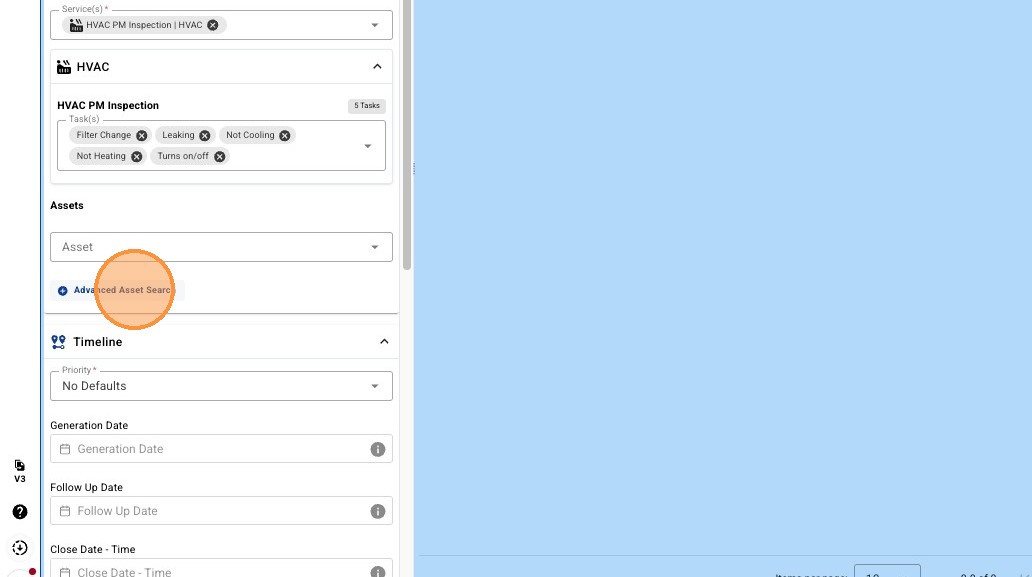
9A. Select desired Asset(s) from the dropdown. (Optional)
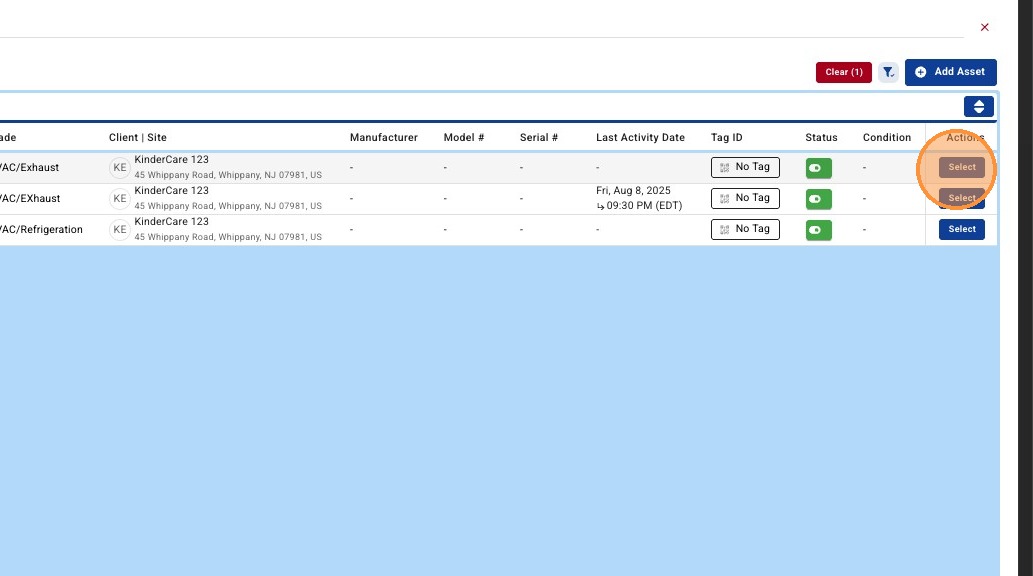
9B. Assets can also be filtered and associated in bulk by selecting the 'Advanced Asset Search'. (Optional)
-
Select Advanced Asset Search
- Select Associated Assets
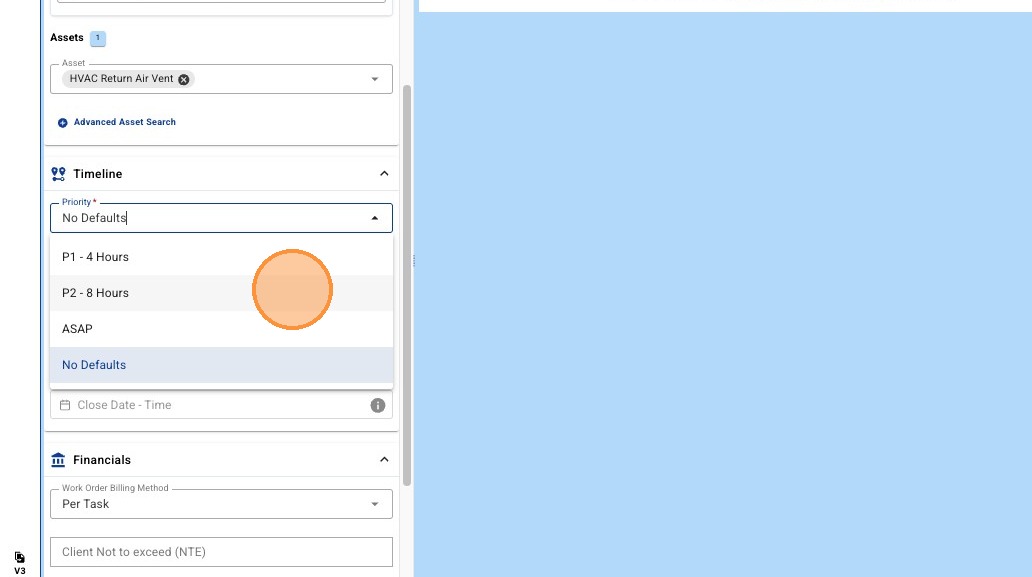
10. Select a Work Order Priority. Your selected Priority will be referenced when pre-populating Trip dates during Trip creation.
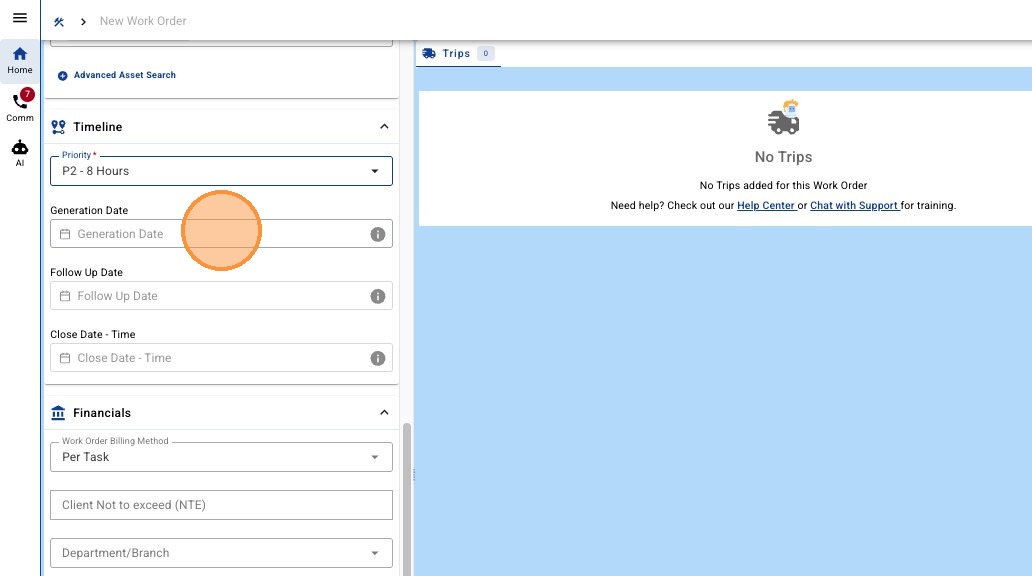
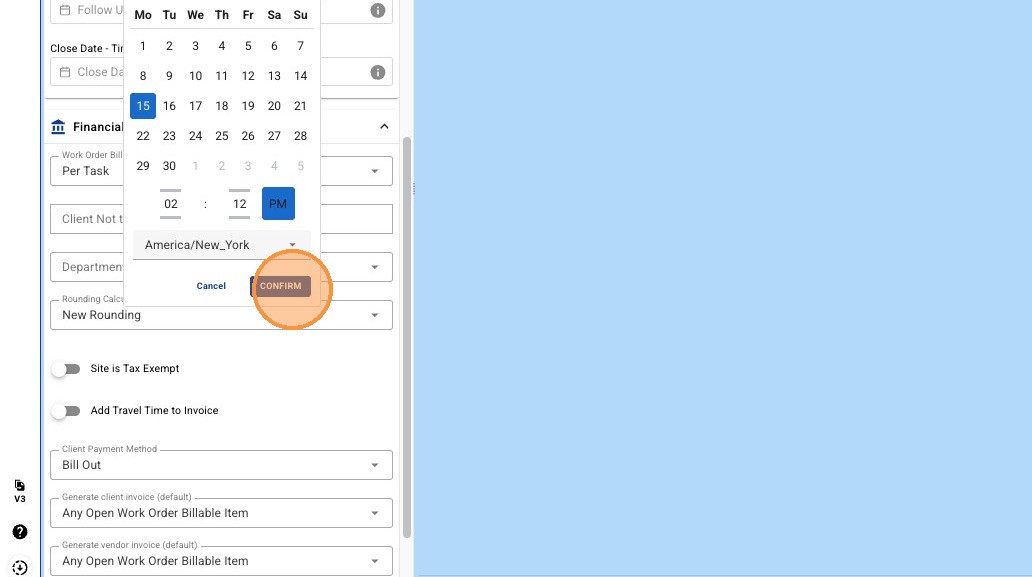
11. Set a Work Order Generation Date. If left blank, this will be automatically populated with the date of Work Order creation. (Optional)
-
Select Field
- Select Date and Confirm
12. Set the Follow Up Date. Work Order and Trip lists can be filtered and sorted based on this Follow Up Date. (Optional)
-
Select Field
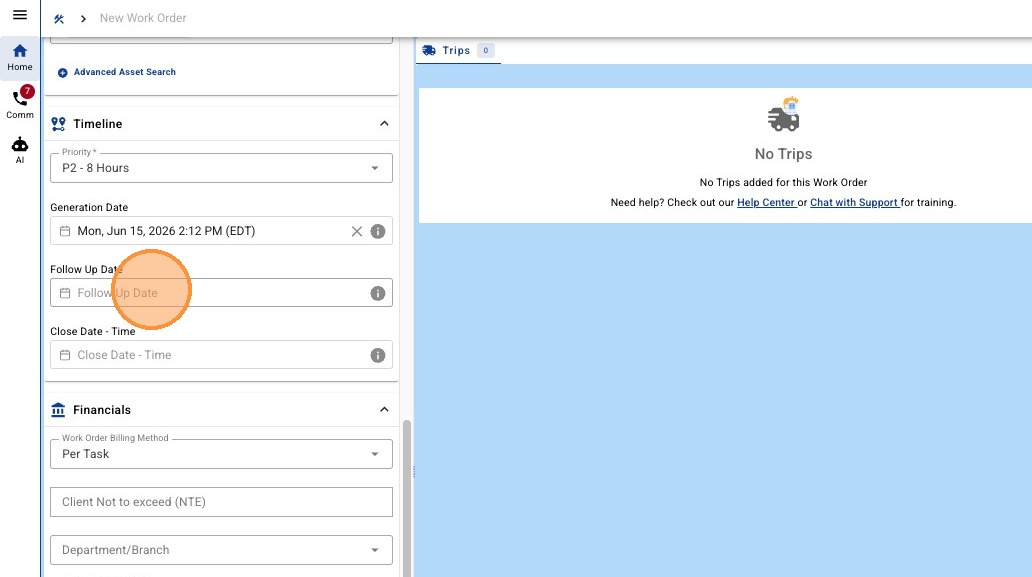
- Select Date and Confirm
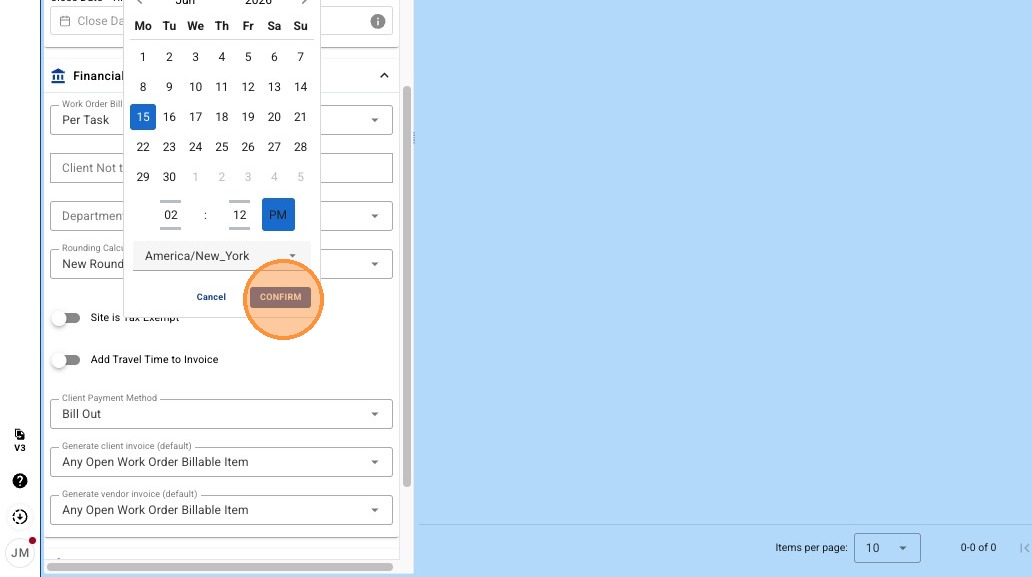
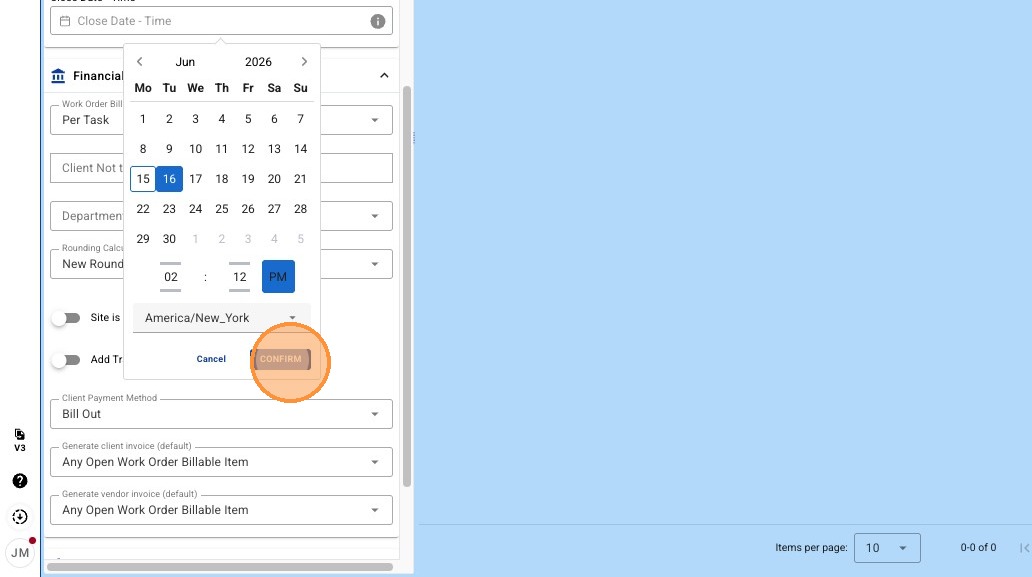
13. Set Work Order Close Date. Once this date is reached, functionality of the Work Order will be limited to prevent Service performed out of SLA.
-
Select Field
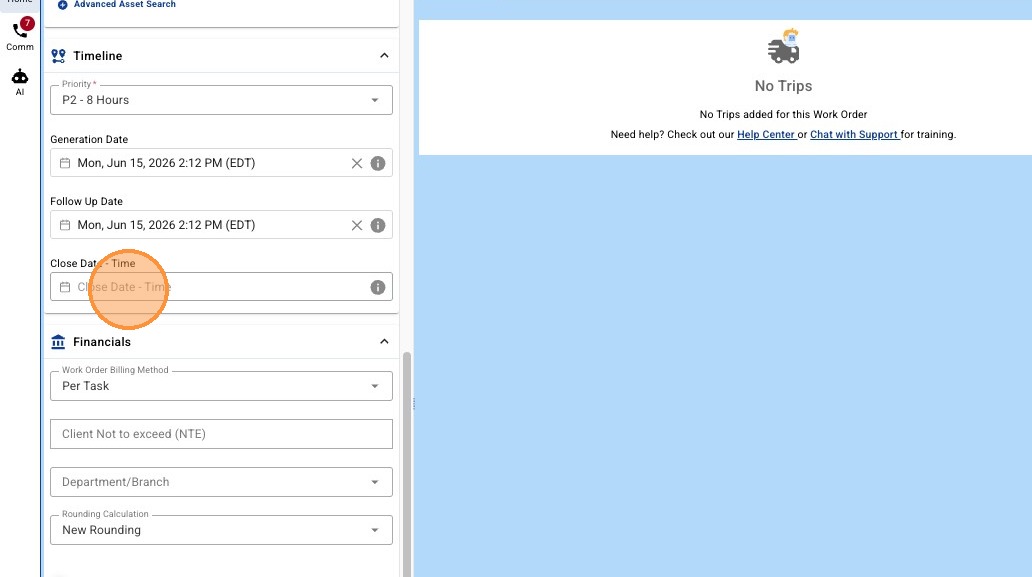
- Select Date and Confirm
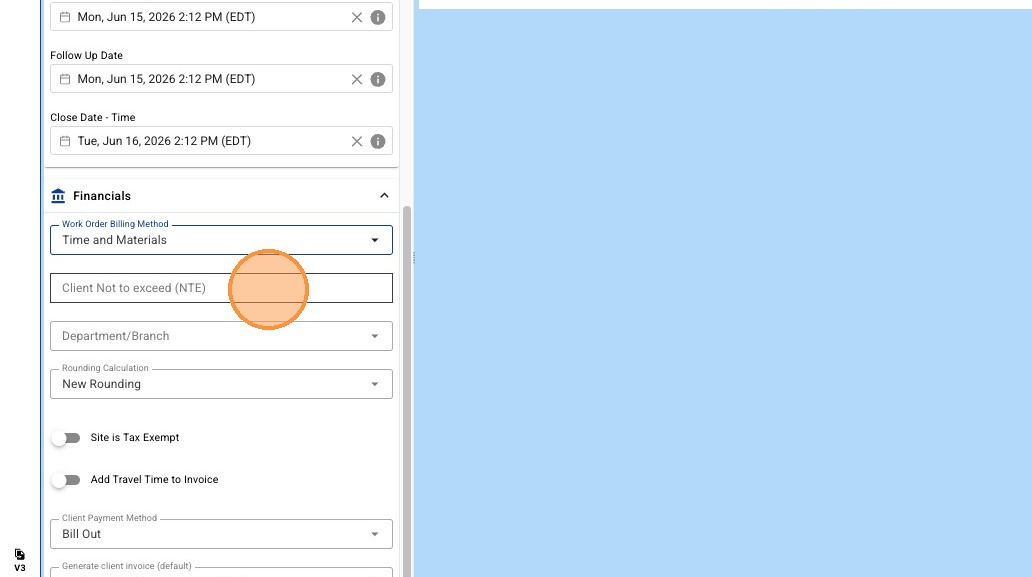
14. Select the Work Order's default Billing Method. NOTE: The work order billing method is used to set the Trip Client and Vendor billing methods but is not referenced at time of invoice generation. Invoice generation will be based on the Trip Client and Trip Vendor billing method.

15. Enter amount in "Client Not to exceed (NTE)" for the Work Order. (Optional)
16. Select desired Department/Branch. (Optional)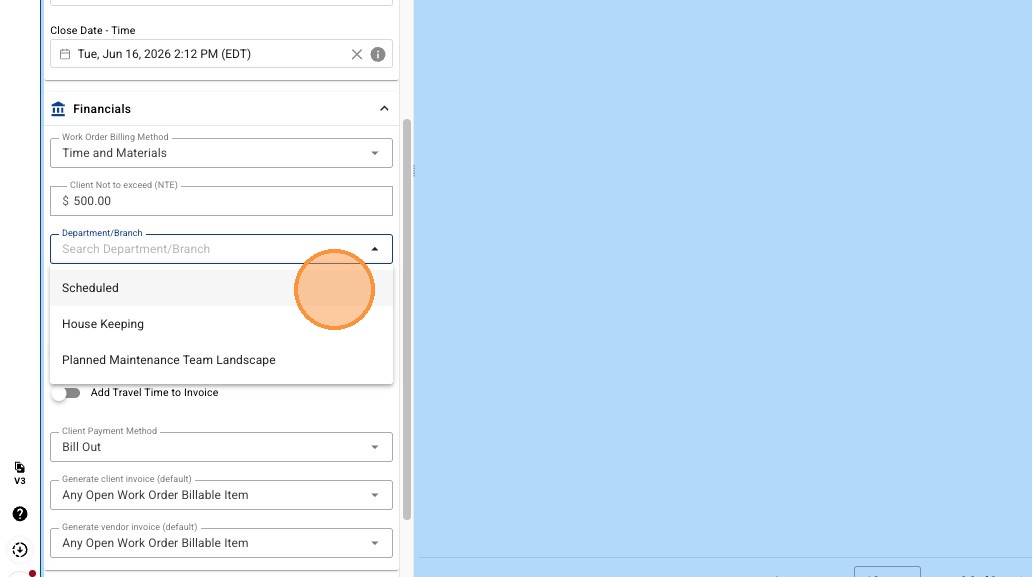
17. Set 'Client invoice generation' rule to allow/prevent receivable invoice generation for verified Trip(s).
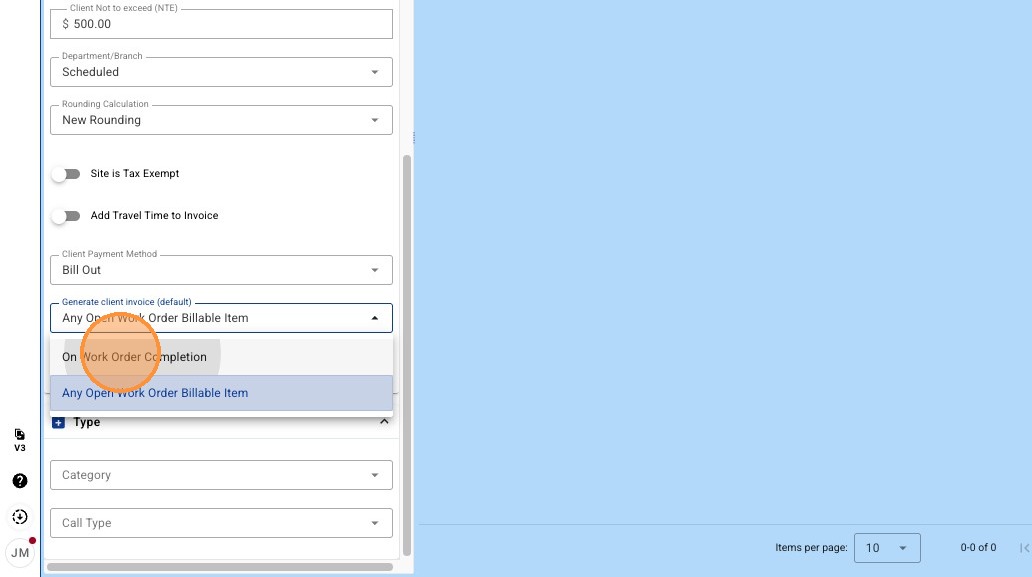
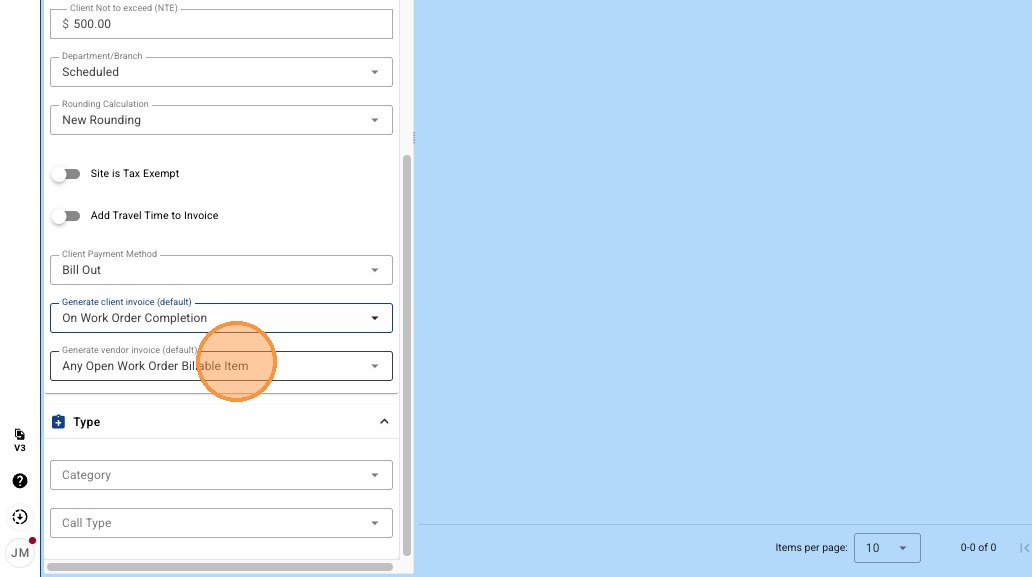
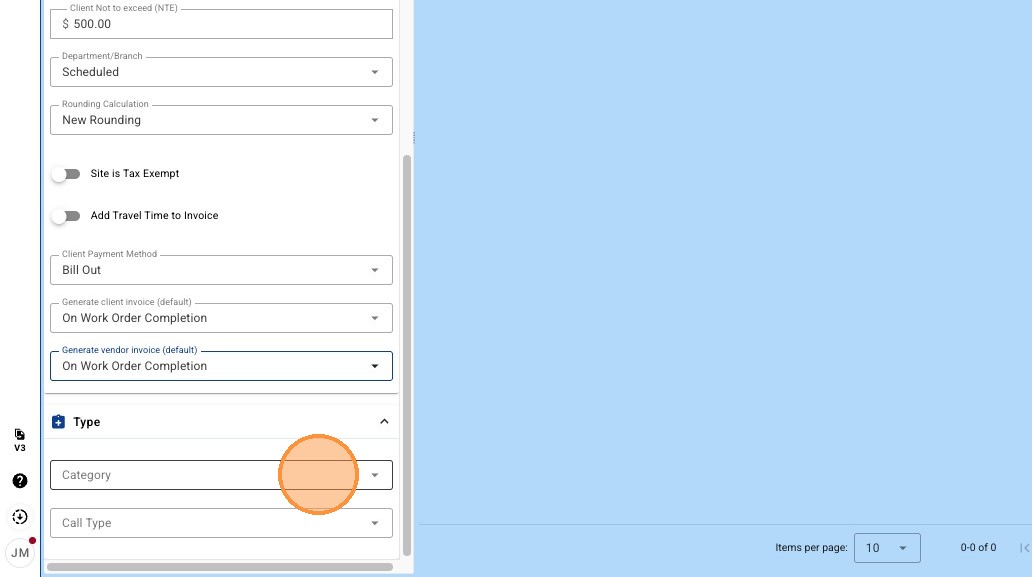
18. Set 'Vendor invoice generation' rule to allow/prevent payable invoice generation for verified Trip(s).
19. Select desired Category. (Optional)
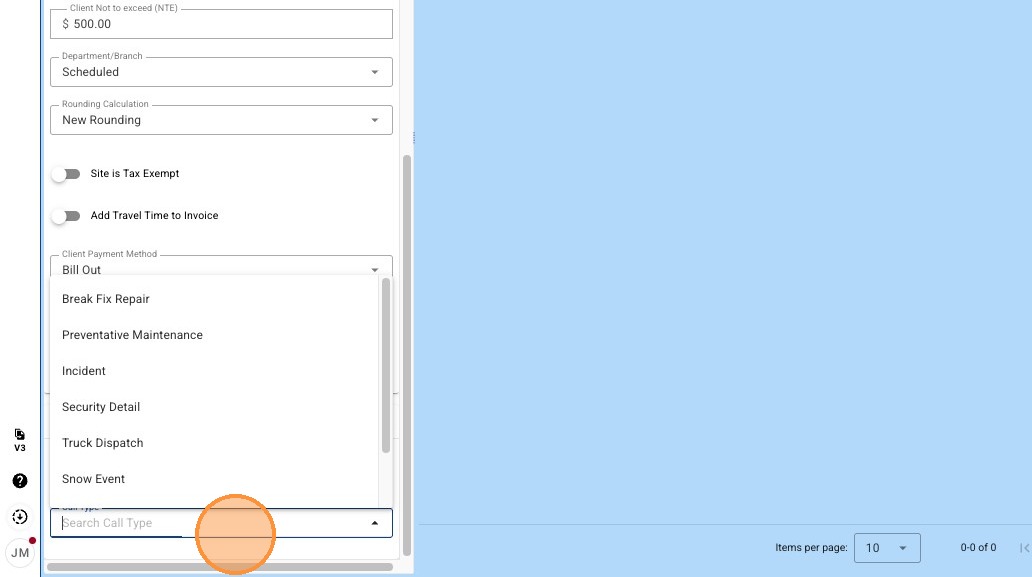
20. Select desired Call Type. (Optional)
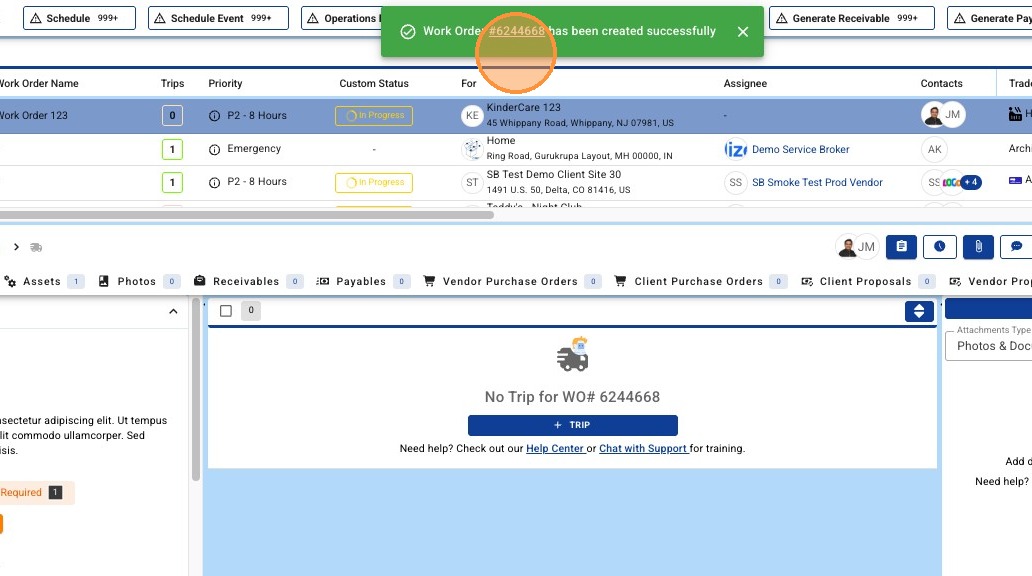
21. Click "SAVE" to create the Work Order
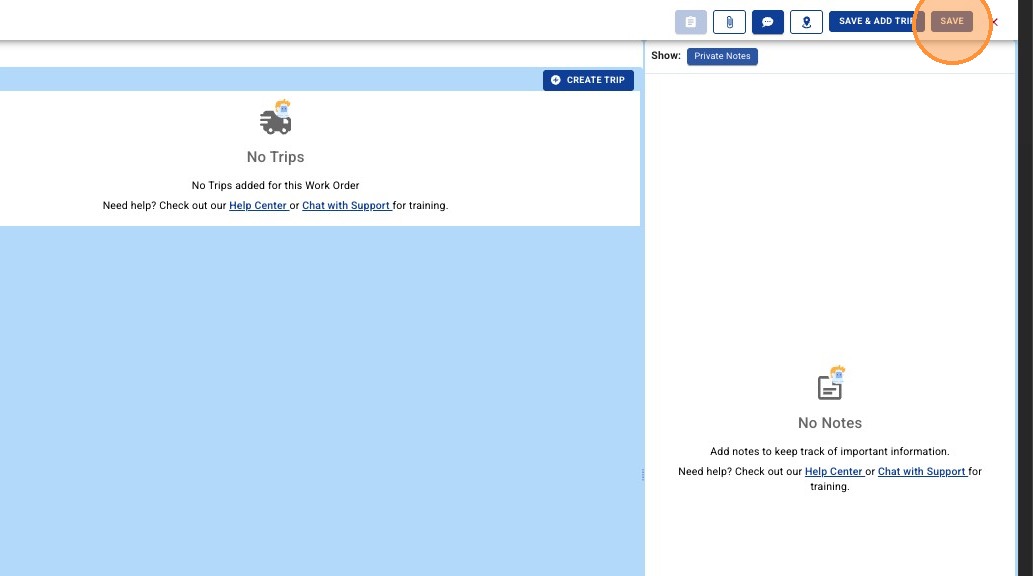
22. You will receive a toast notification stating your Work Order has been created successfully!