1. Click on Operations in the top center menu, navigate to Proposals from the sub-menu. Click on the Received Proposals tab.
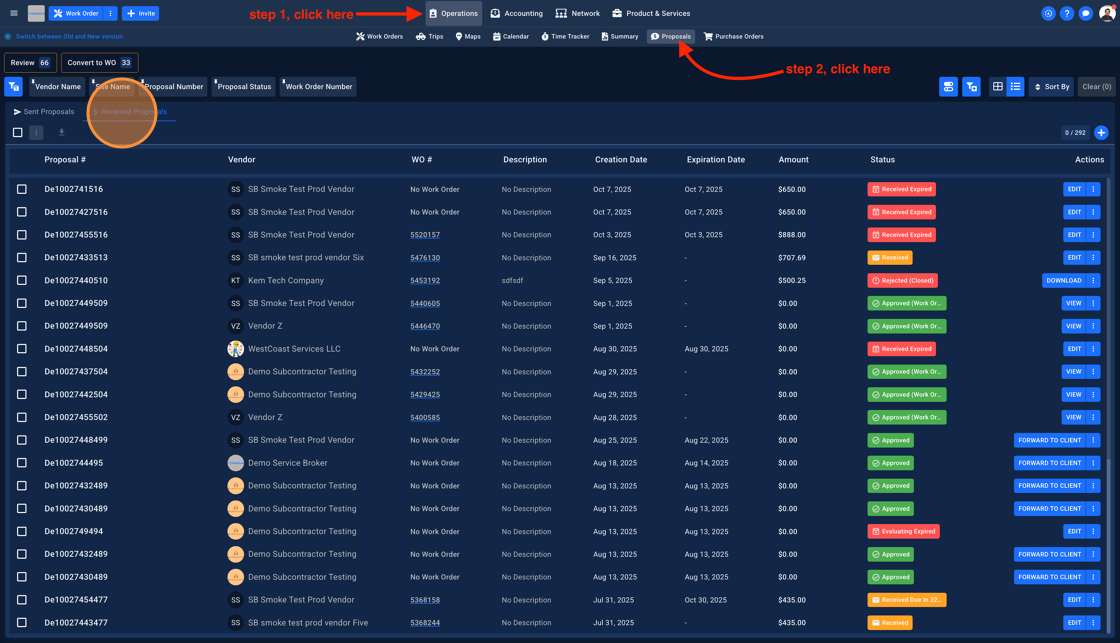
2. Click on the plus round button to add a new Vendor Proposal

3. Select a Vendor
Note: It's mandatory to select a Vendor and a Site to create a new Proposal. Without selecting these two things, users will not be able to add line items or create a Proposal

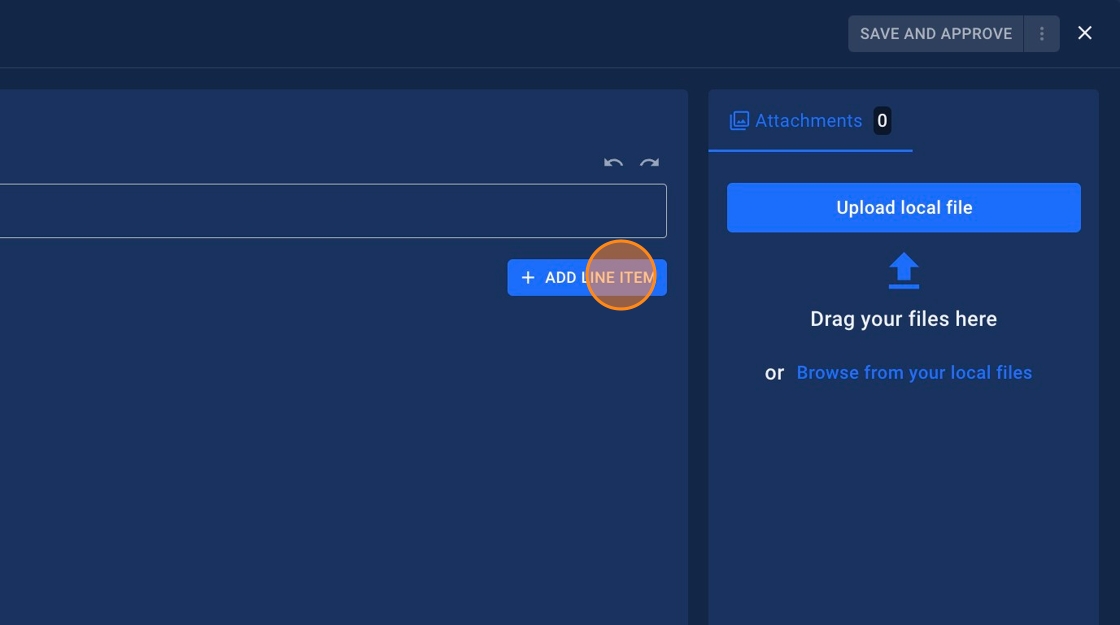
4. Select a Site. As soon as you select a Site, the Line Item button will highlight in the middle panel

5. Click "ADD LINE ITEM" to add a new Line Item to your Vendor Proposal
6. Select an Item Type
Note: Fields with an asterisk "*" icon are mandatory

7. Select an Item Name

8. Click the "Qty" field and enter a quantity as per your requirement

9. Click the "Margin" field and enter a margin.
Note: This allows you to enter Margin at individual Line Item

10. Click on the three dots to see multiple options

11. Click "SAVE AND APPROVE"

12. You should see a modal pop-up. You can also choose to snooze alerts for the Vendor Invoices created on this Proposal.

13. Click "SAVE & APPROVE"

14. You should see a success modal pop-up. Click on the cross "x" icon to close the modal pop-up.
