How To Create a New Role in the Beta Version
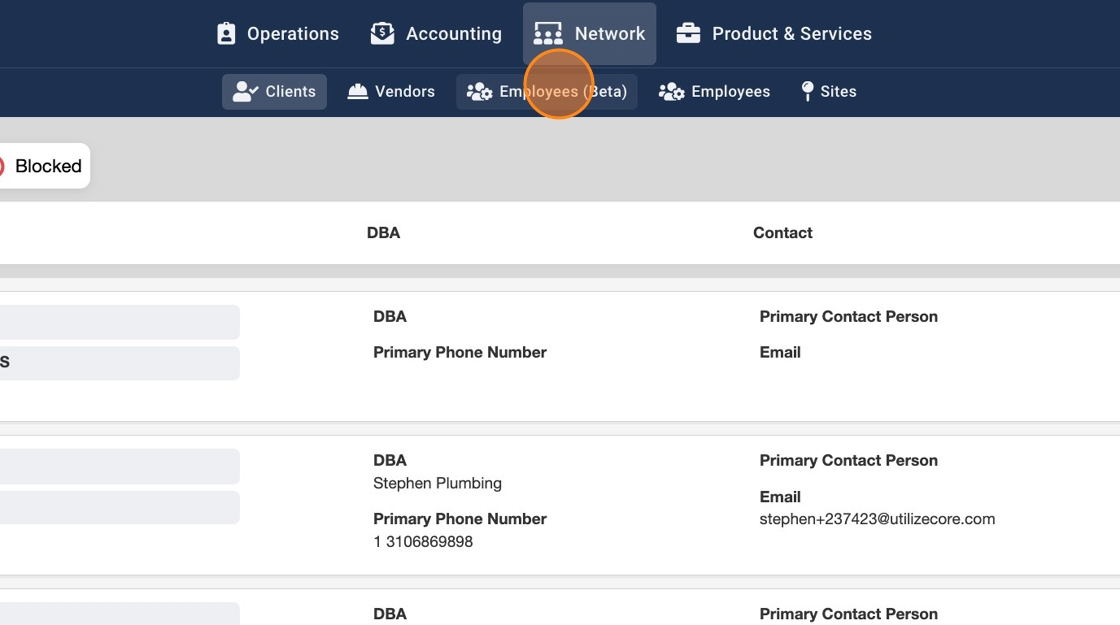
1. Click "Network"

2. Click "Employees (Beta)"
3. Click on the dropdown arrow

4. Select "Roles" from the dropdown

5. Click on the round button "+" to add a new Role

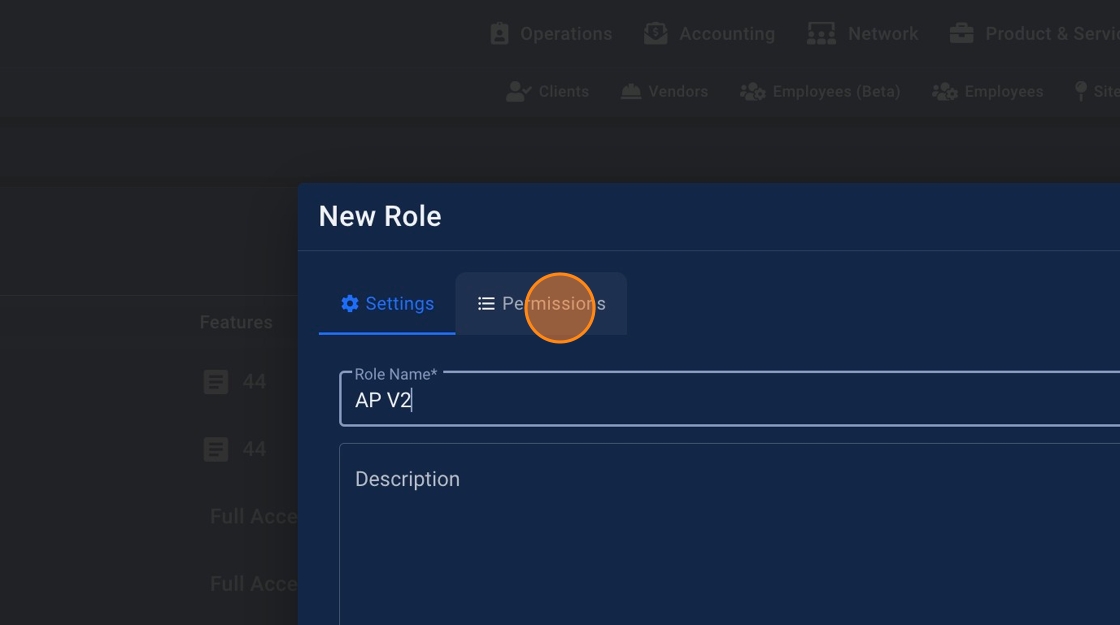
6. Click the "Role Name*" field to enter a new name

7. Click on the "Permissions" tab to assign Permissions to this Role. Any user with this Role will have access to modules based on the Permissions you set up here
8. By turning on Admin switch you are giving access to everything

9. As soon as you turn on the Admin switch you should be able to see the count 52/52 indicating all permissions are turned on
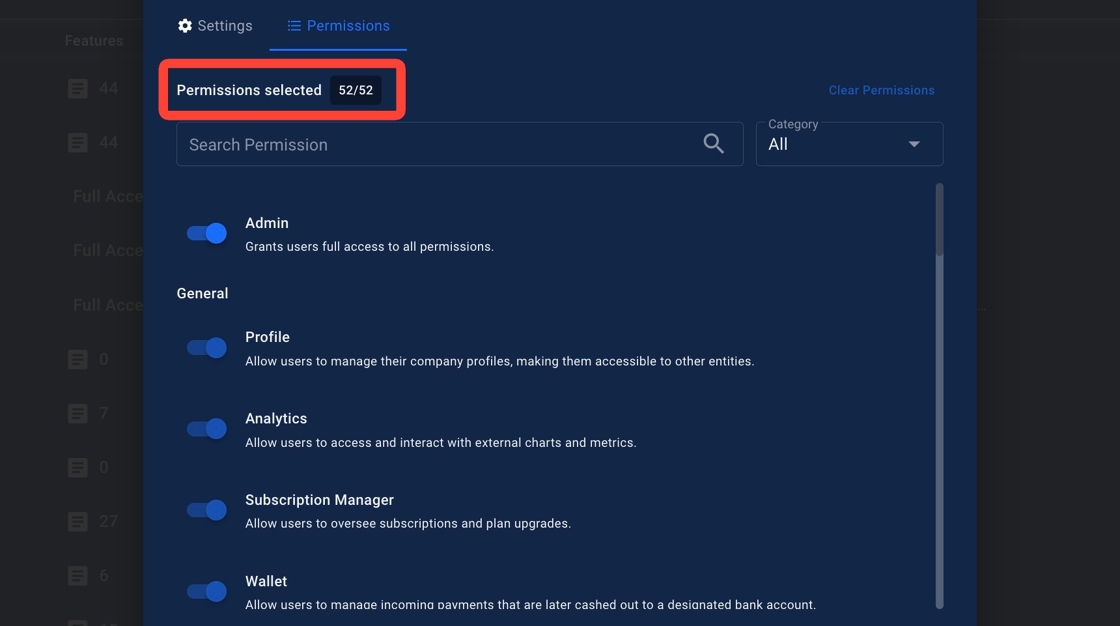
10. Click the switch again to turn off Admin access

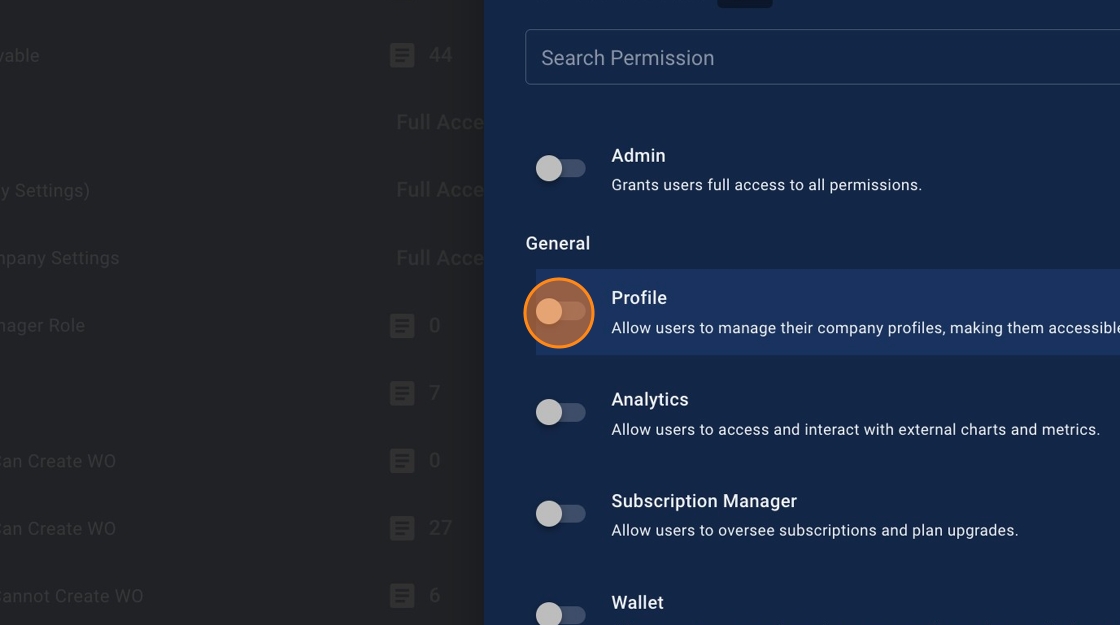
11. To assign Permissions turn on the switch of particular row
12. You can also filter as per Category and this will make it even easier to assign adequate Permissions

13. As soon as you click on the "All" Category you should see a dropdown of multiple options. You can select any one option and assign Permissions in case you want to speed up this process

14. Invoices Permissions under Accounting Category has multiple sub categories. You can turn this switch on and it'd give access to the entire Invoices module

15. In case you want to customize and give limited access to features in the Invoices module you can click on the dropdown arrow for Invoices row/Permissions
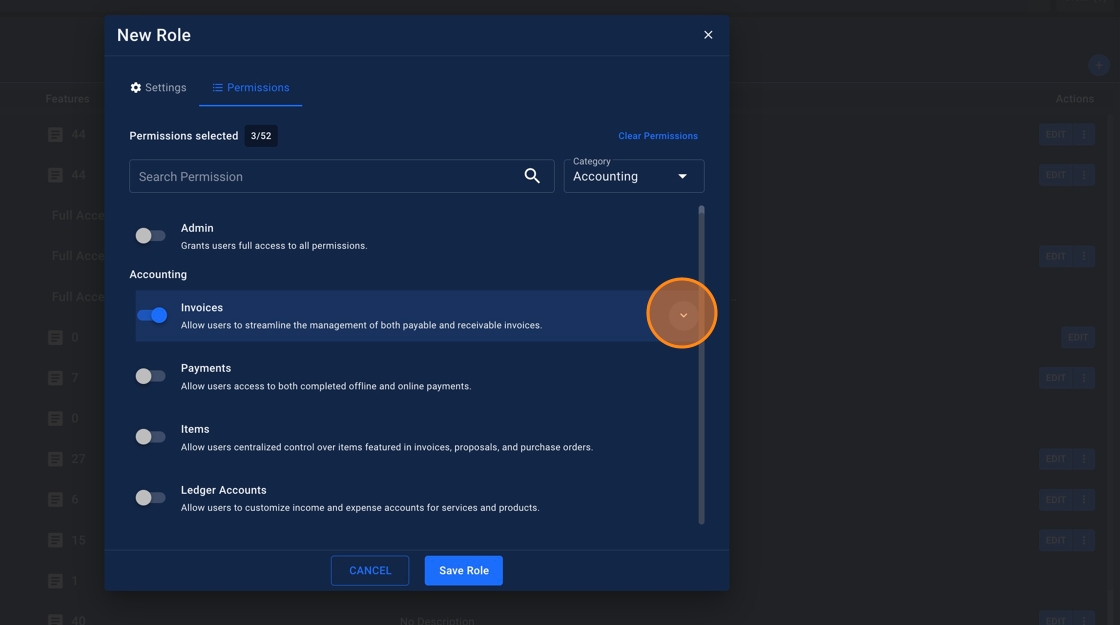
16. Turn on particular switch that you'd like to assign

17. At any given point you want to redo everything or clear all Permissions instantly, you can click on the link "Clear Permissions". This will clear all the Permissions and allow you to turn on new features as per your need.

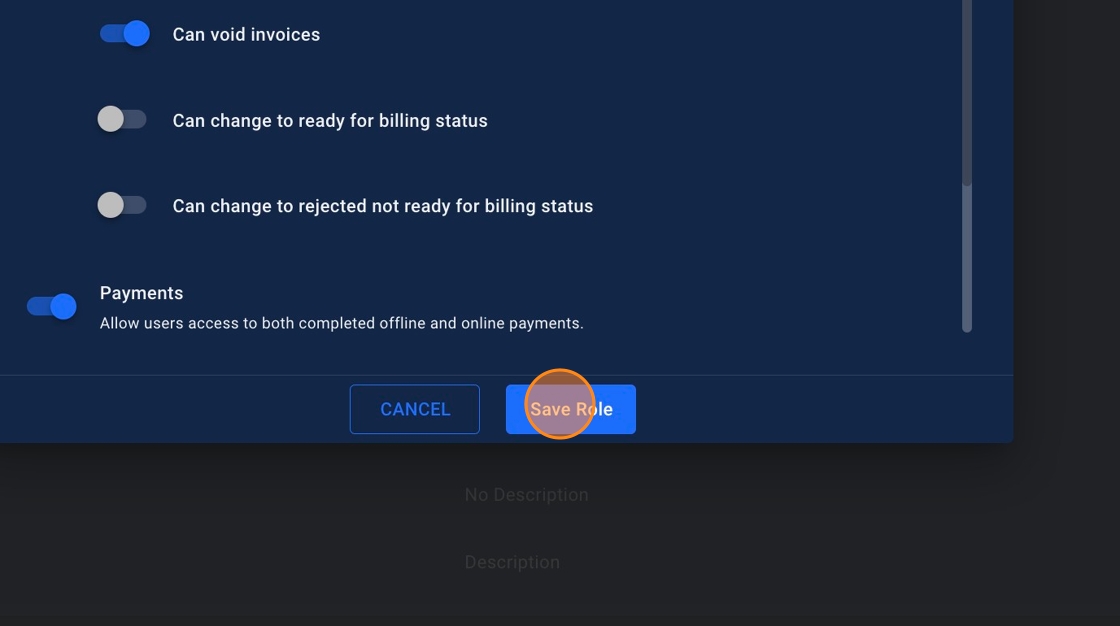
18. Scroll down and Click "Save Role" button
19. You should see a success modal pop-up. You can close it by clicking on the "x" icon

20. Your newly added custom Role should be visible in the list as highlighted in the screenshot below in the alphabetical order

