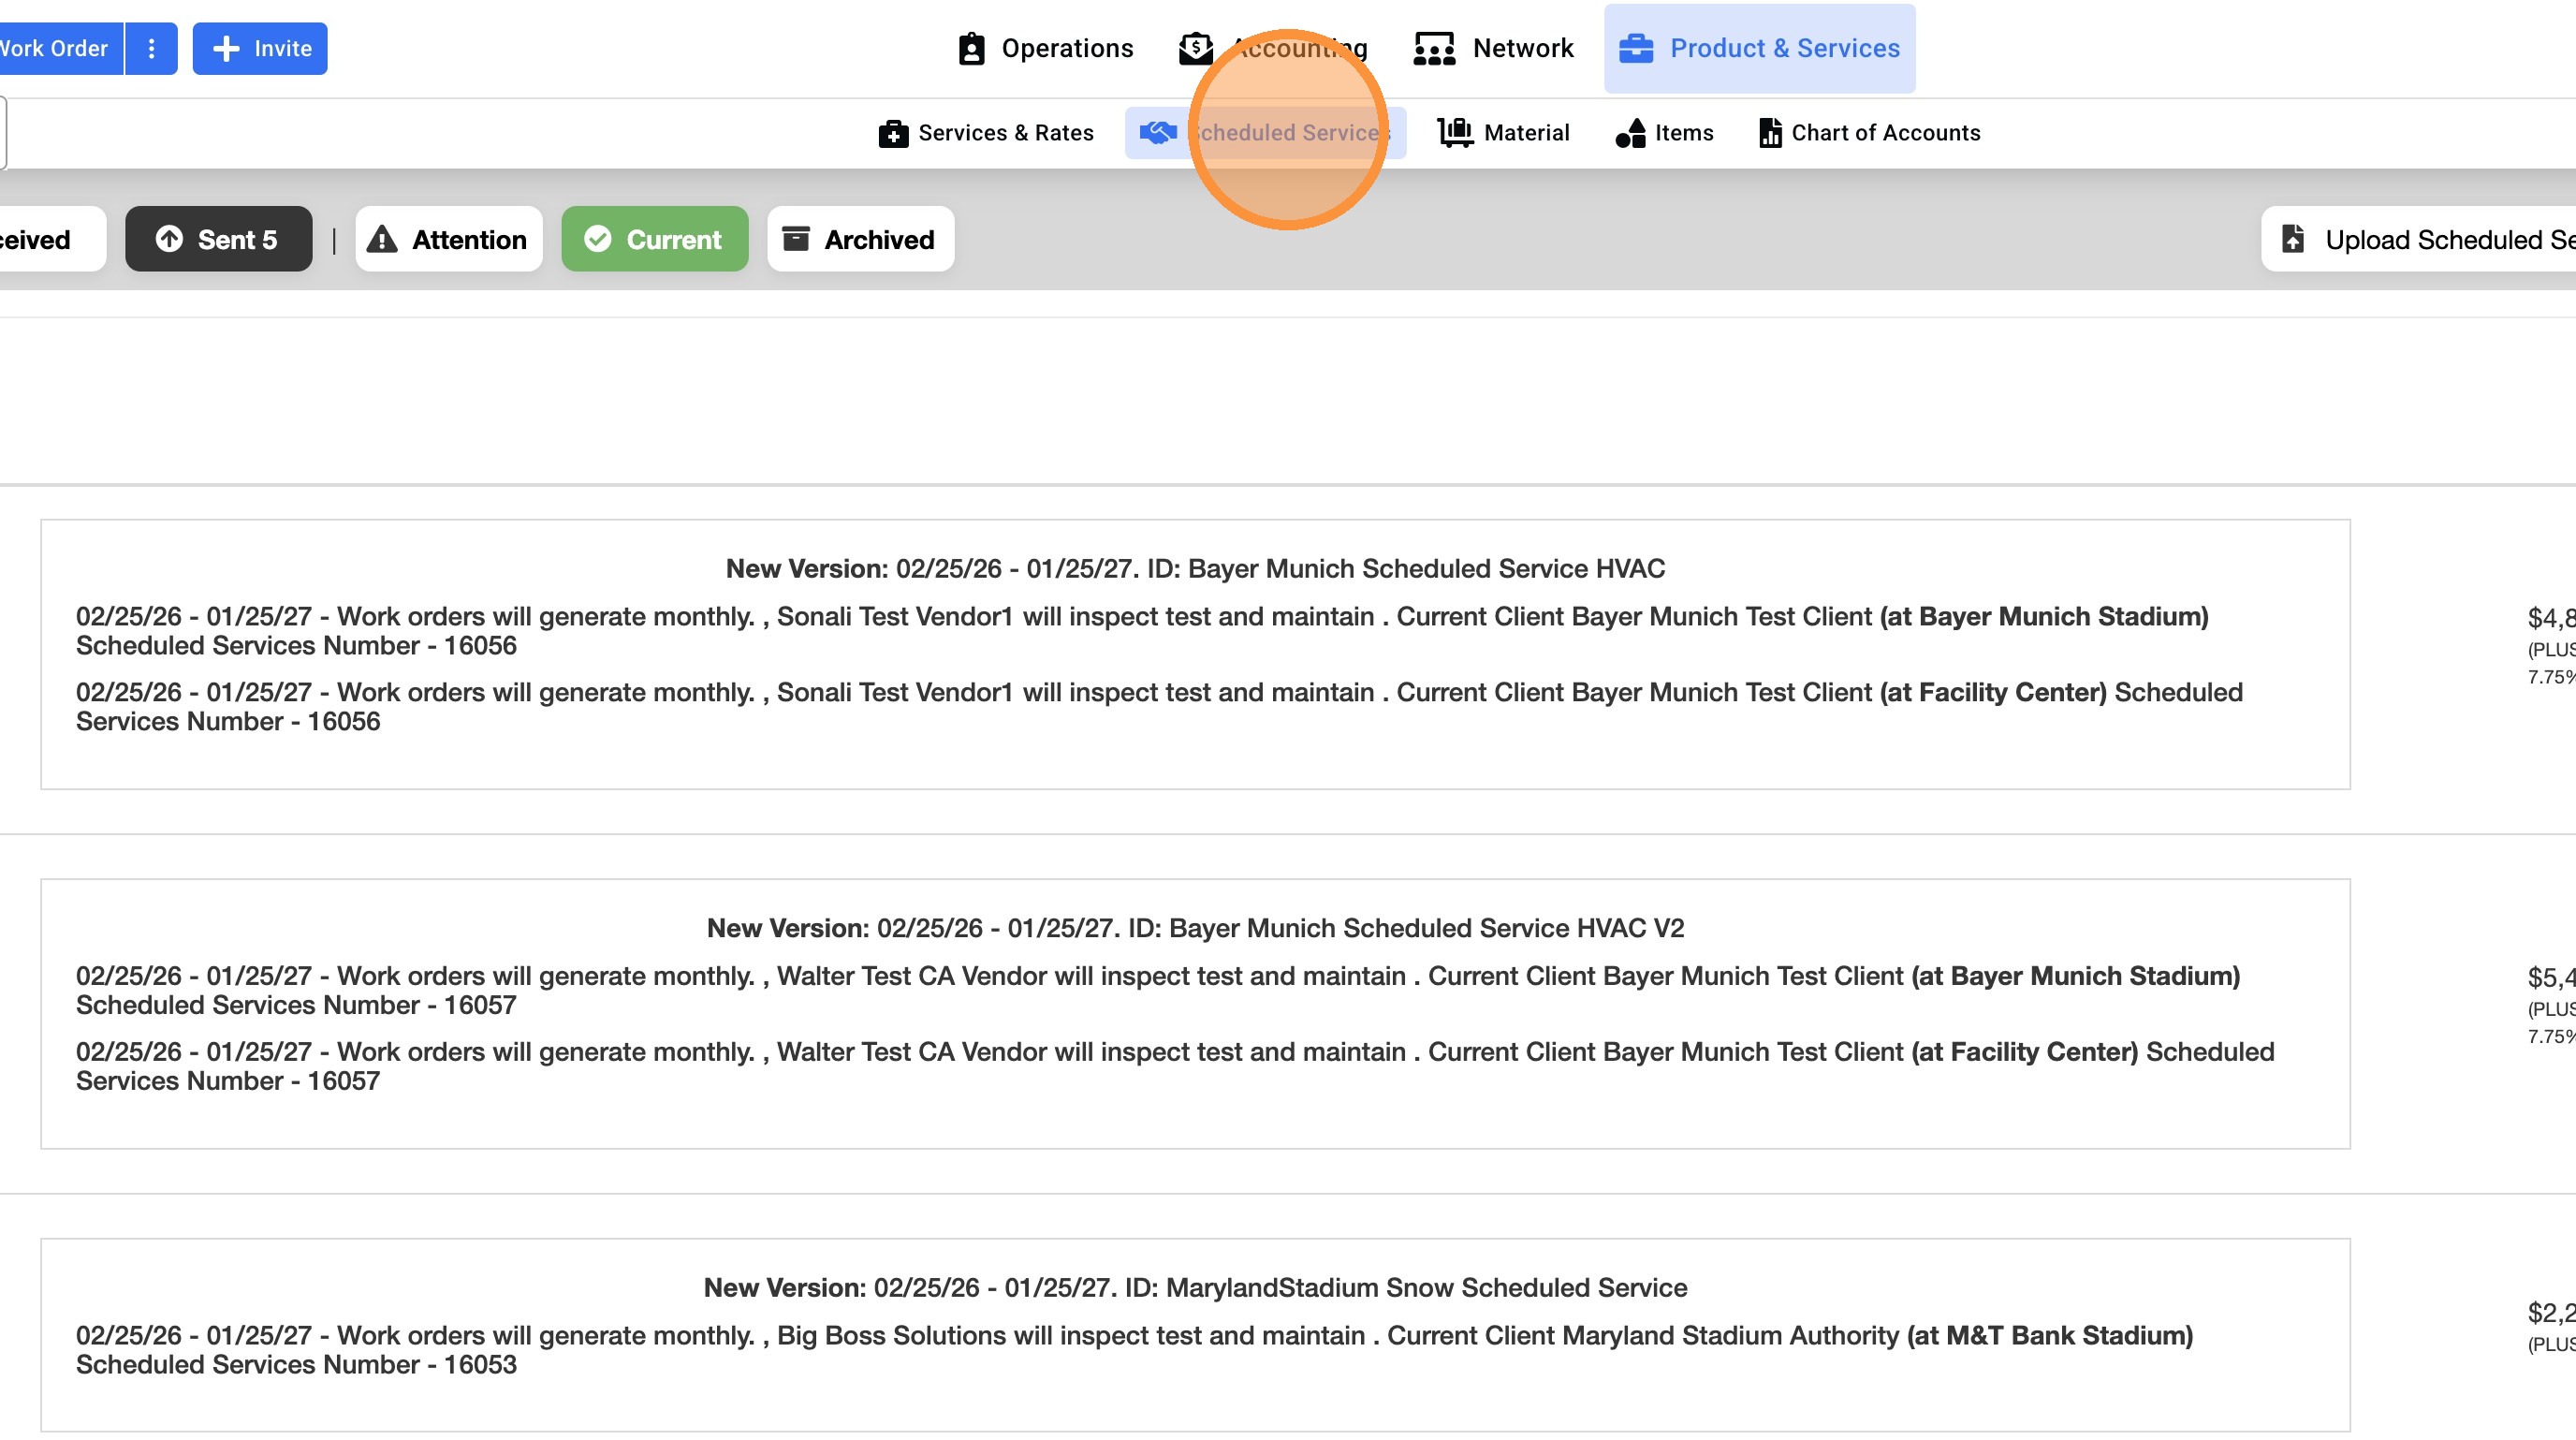
1. Click "Scheduled Services"
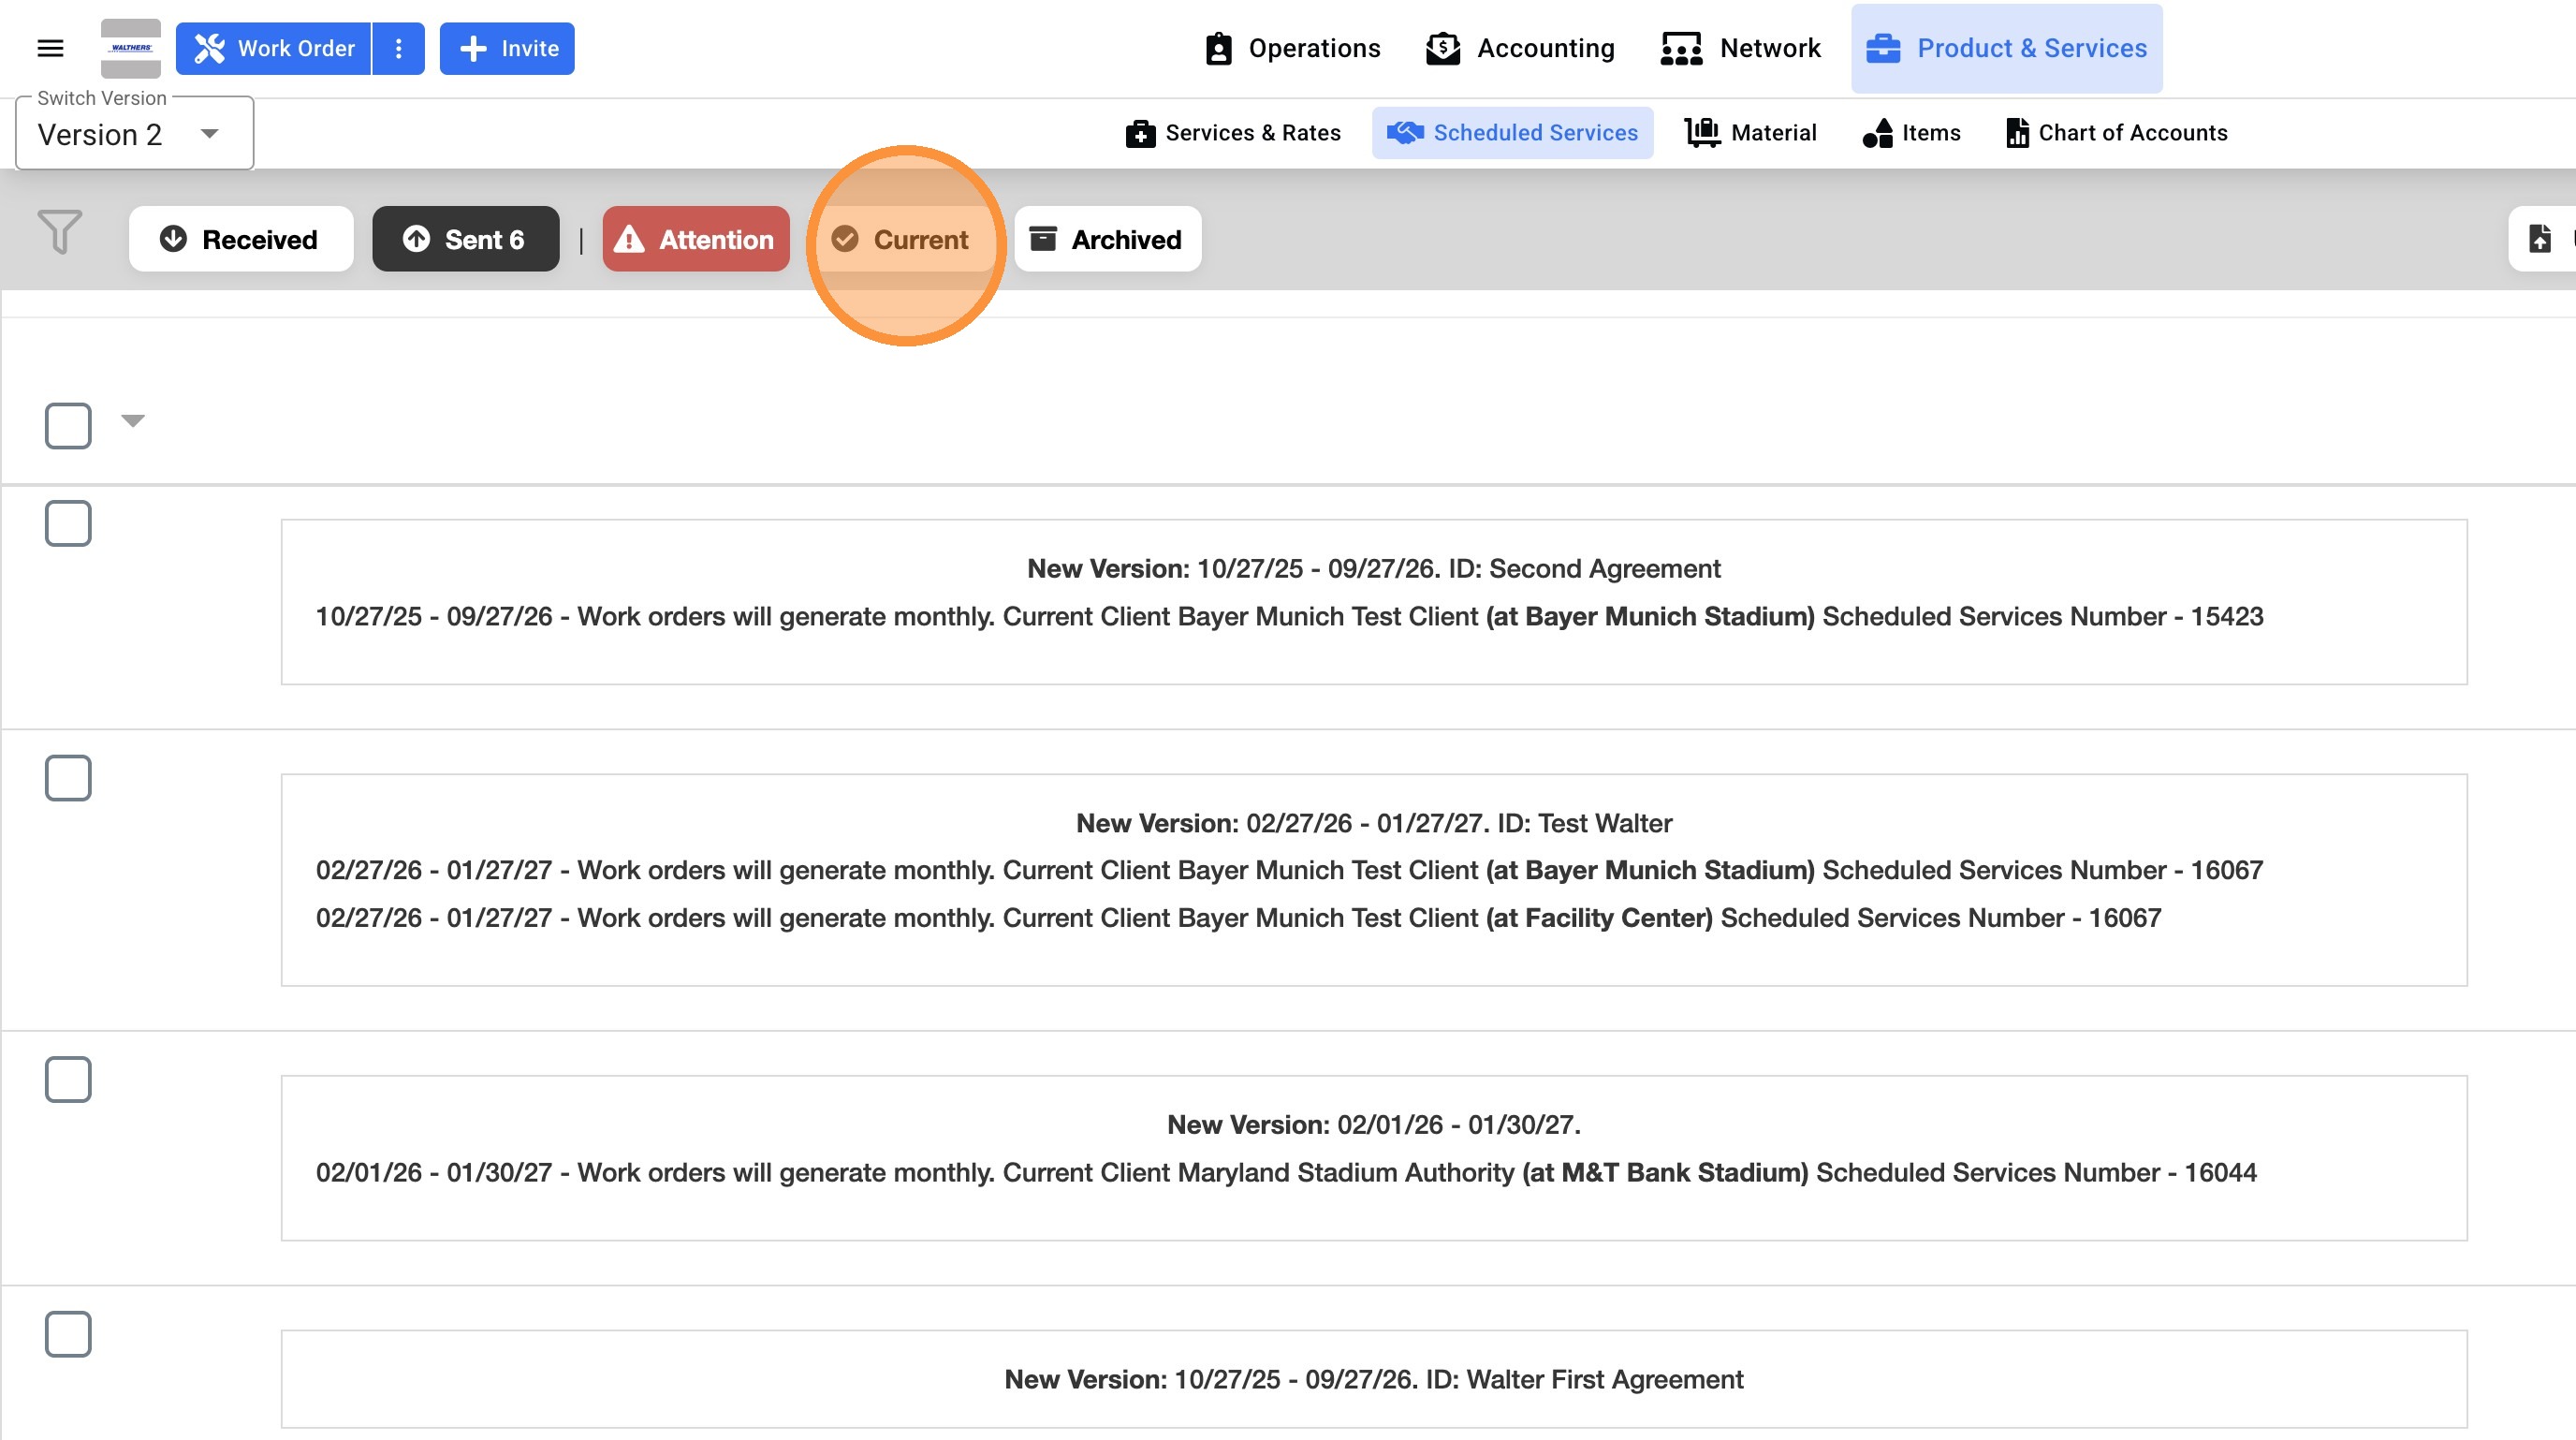
2. Click "Current", this tab shows all the Active agreements.
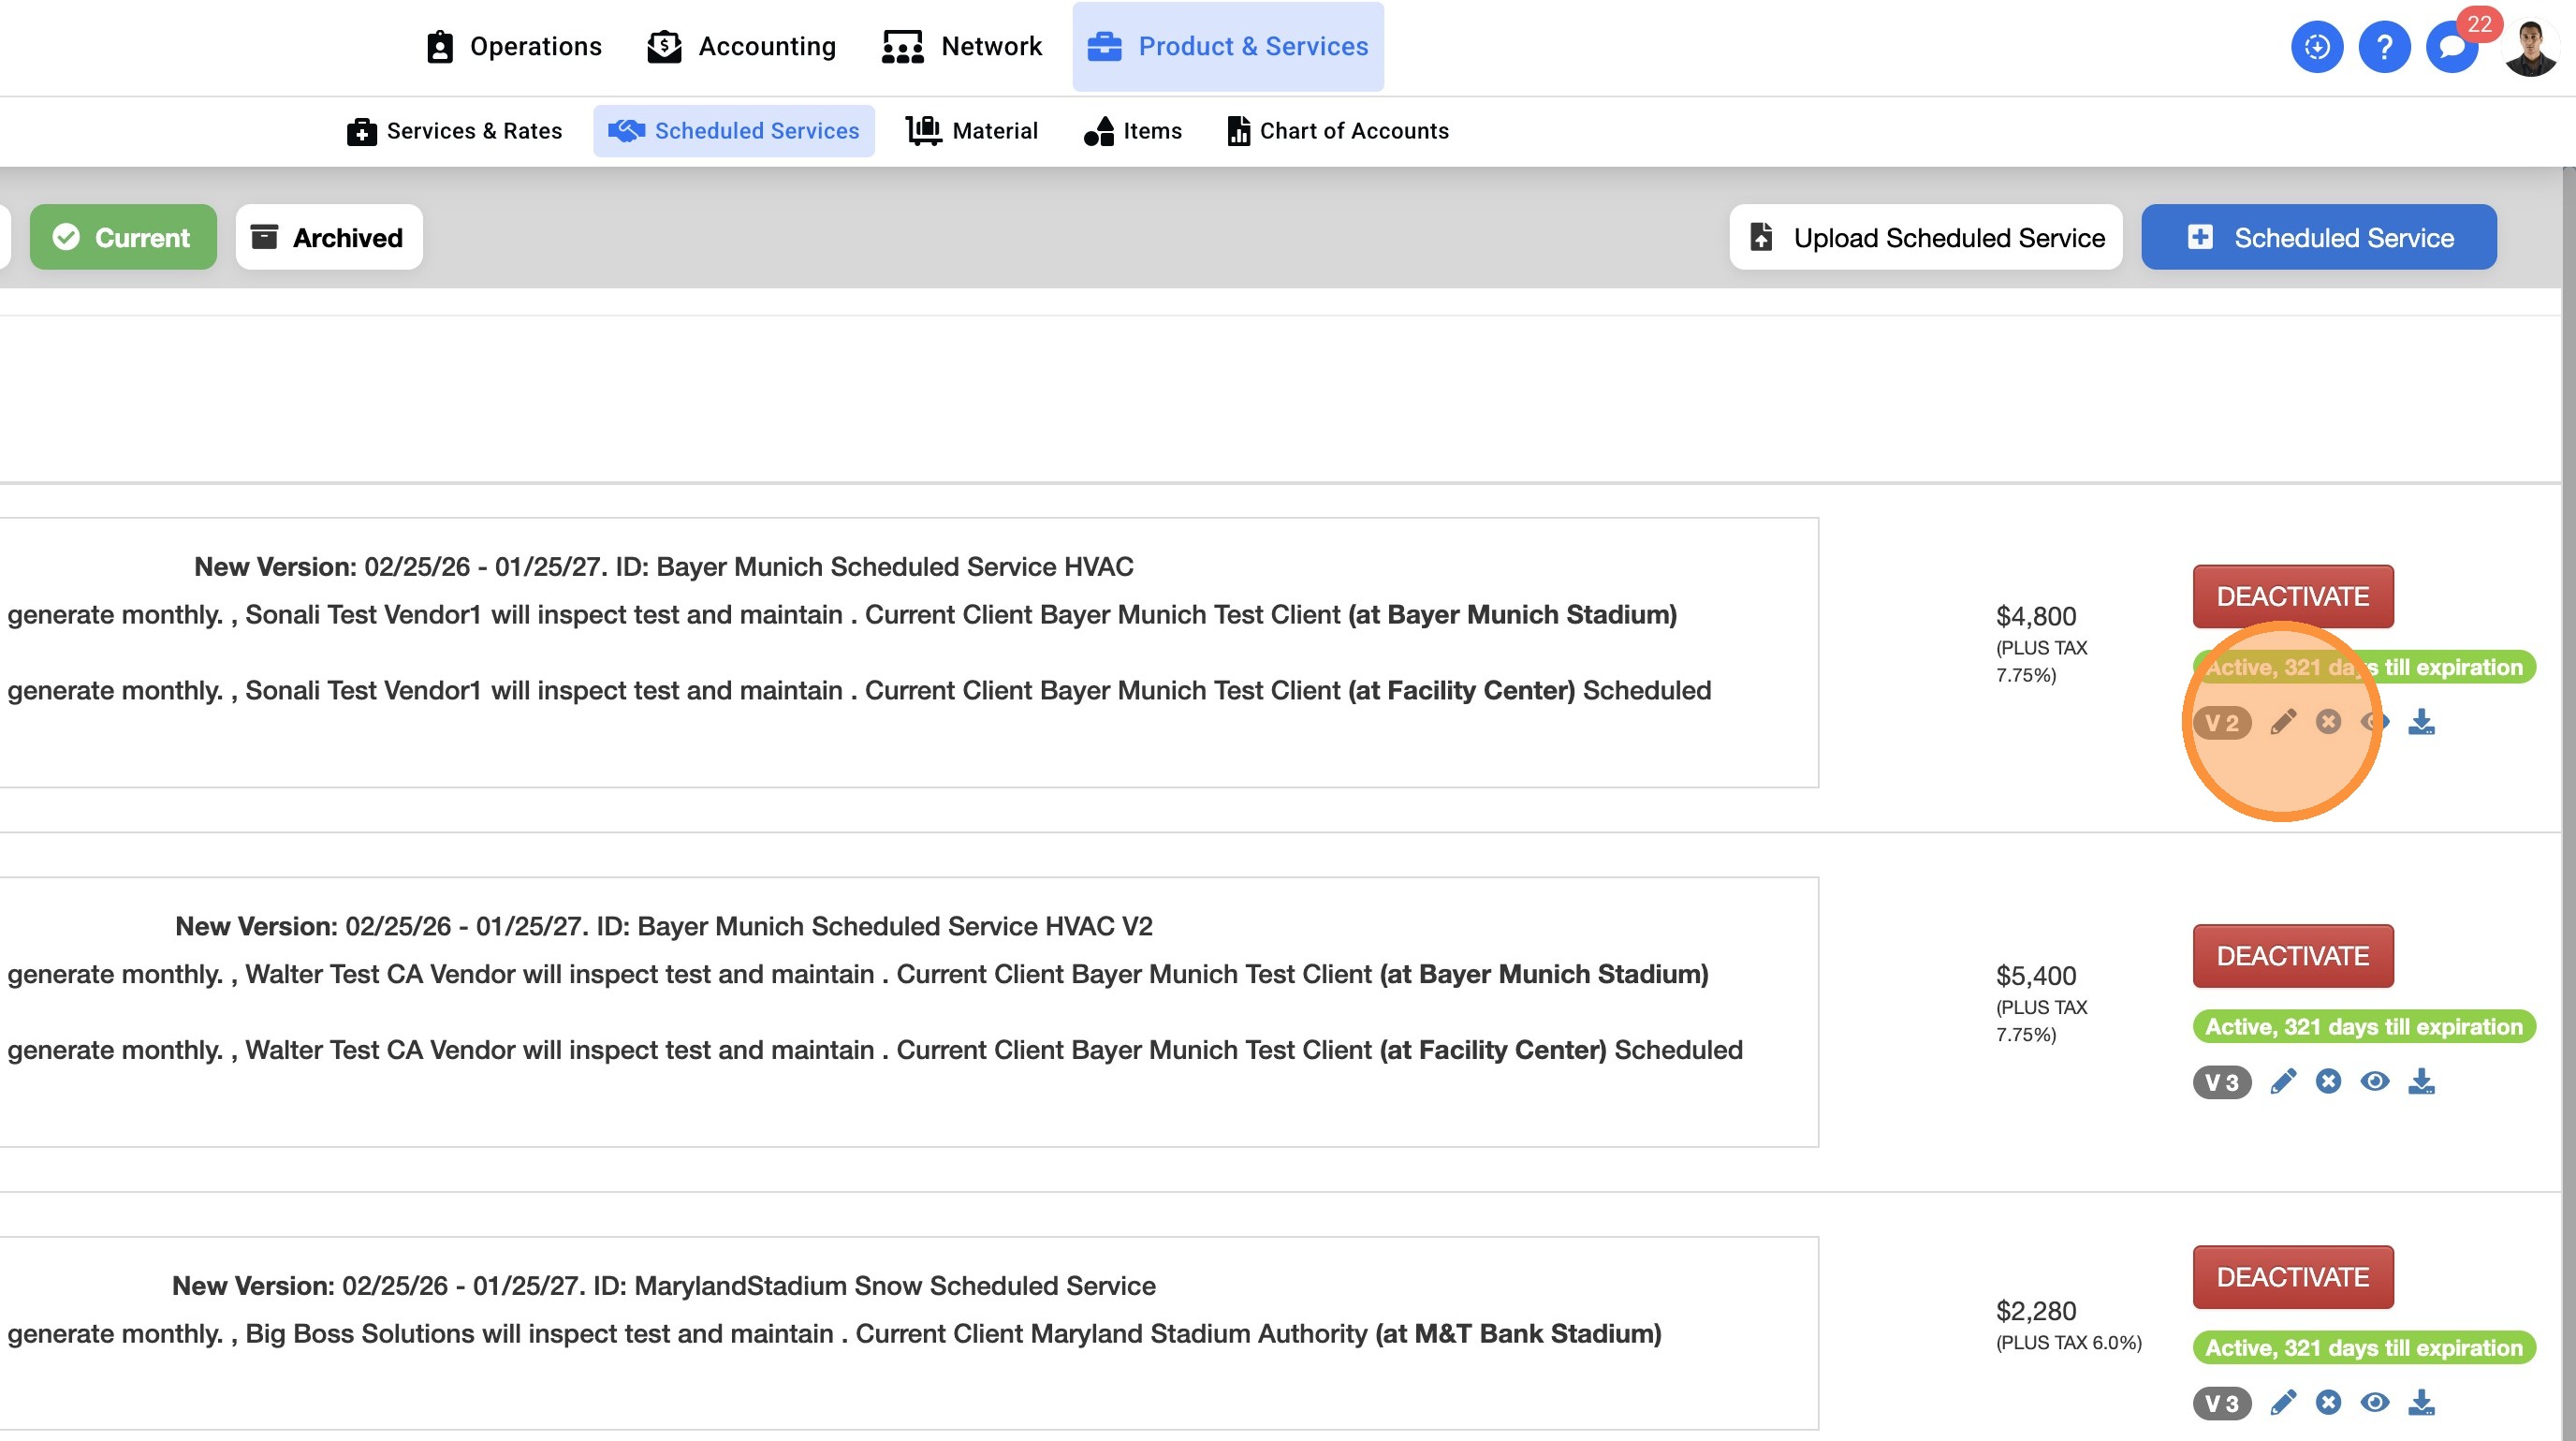
3. Click on the Pencil icon to start the edit process.
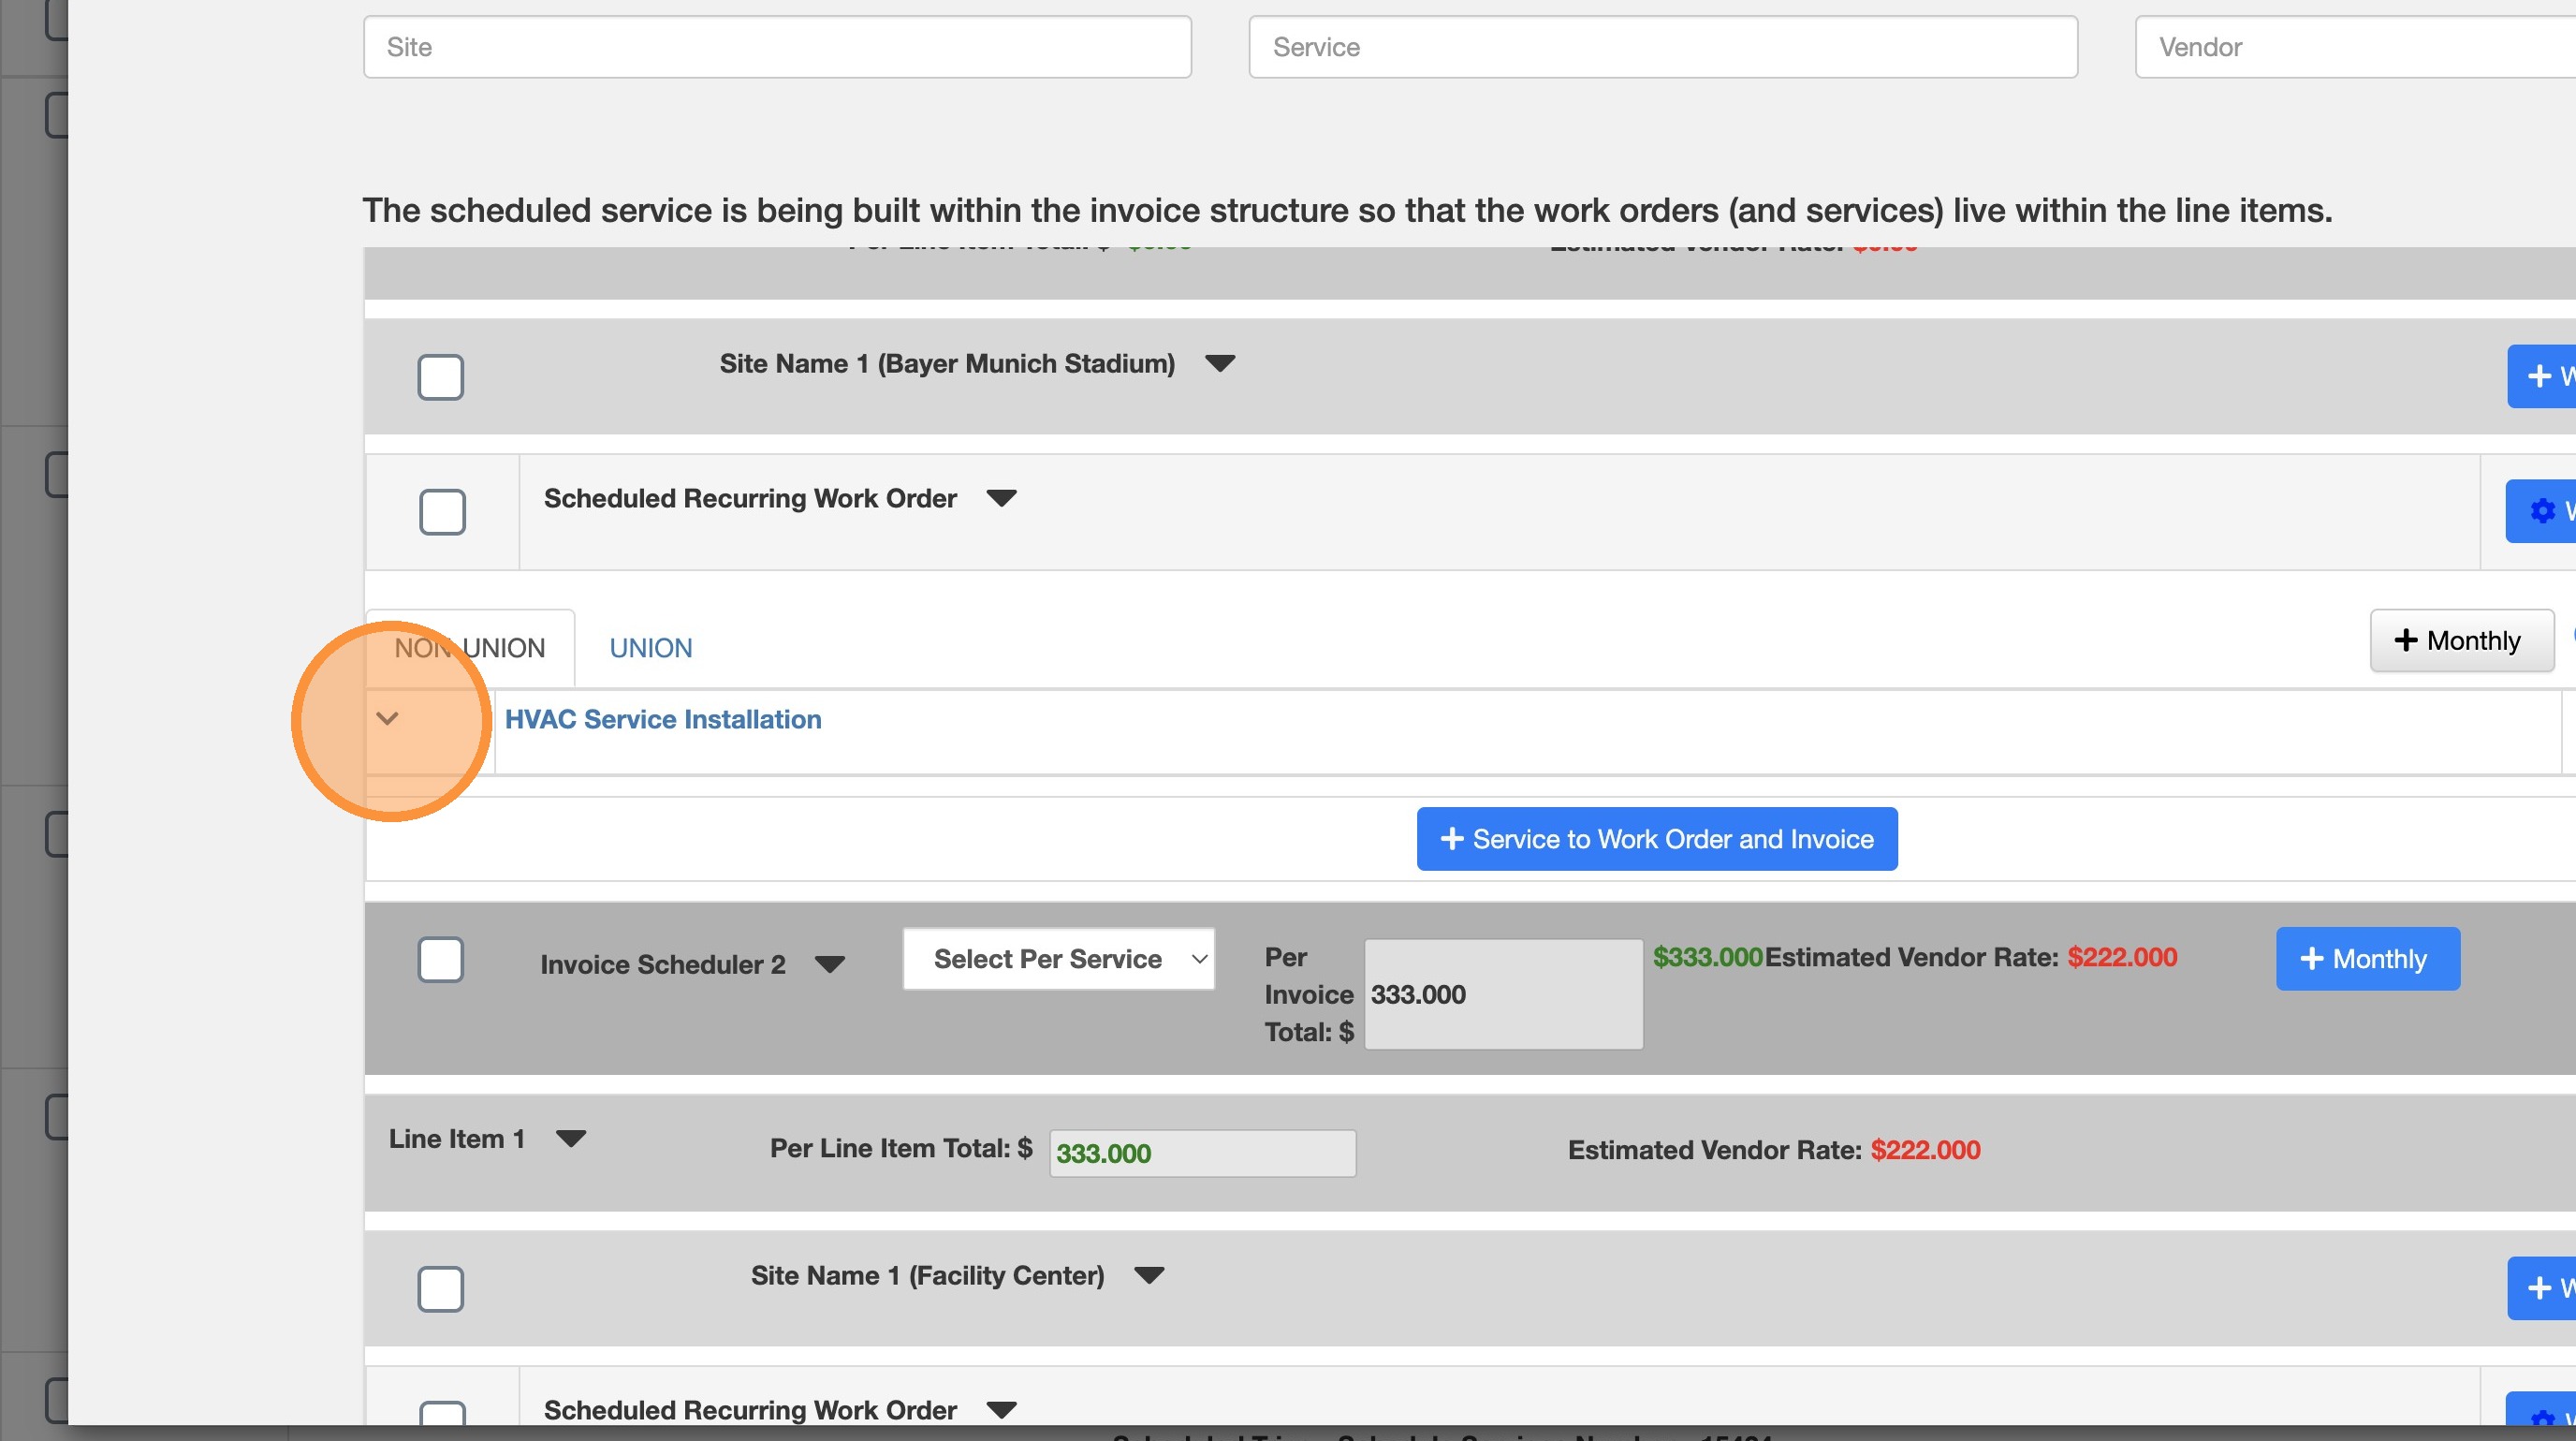
4. Click here to expand and see the Vendor already assigned.
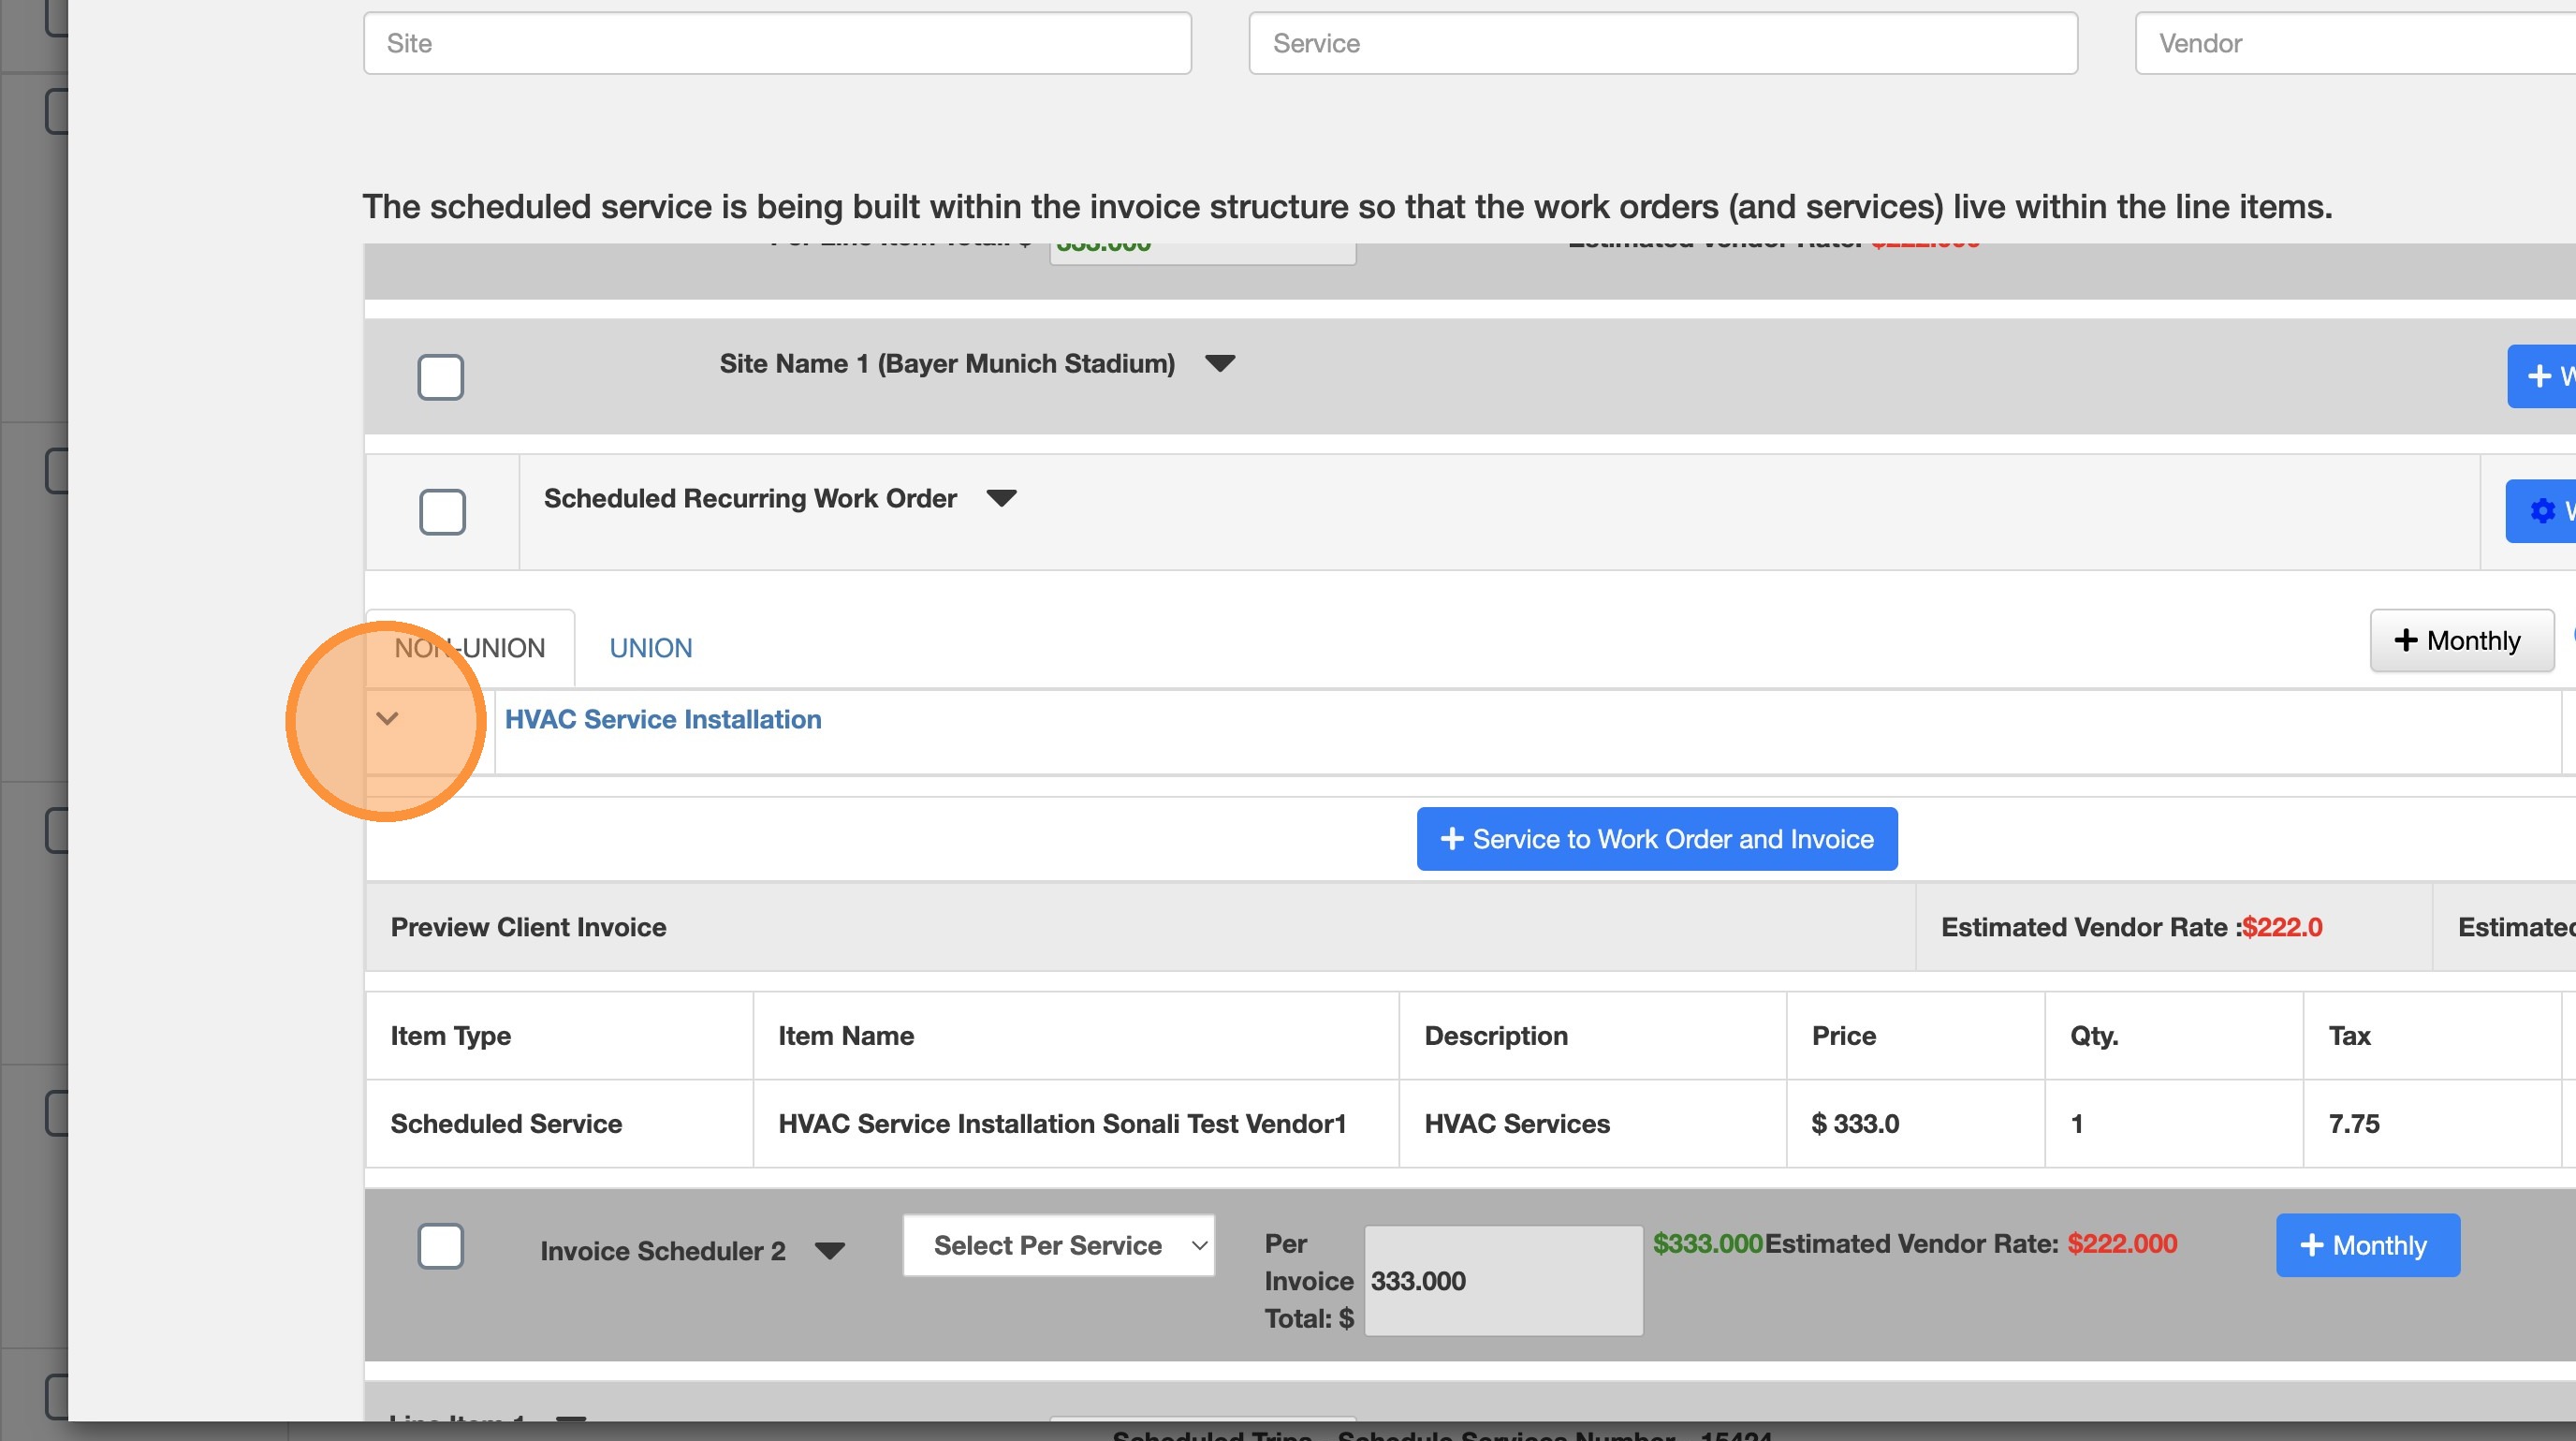
5. As there is already a vendor associated. you must delete the current vendor to add a new one
Click on the X icon.
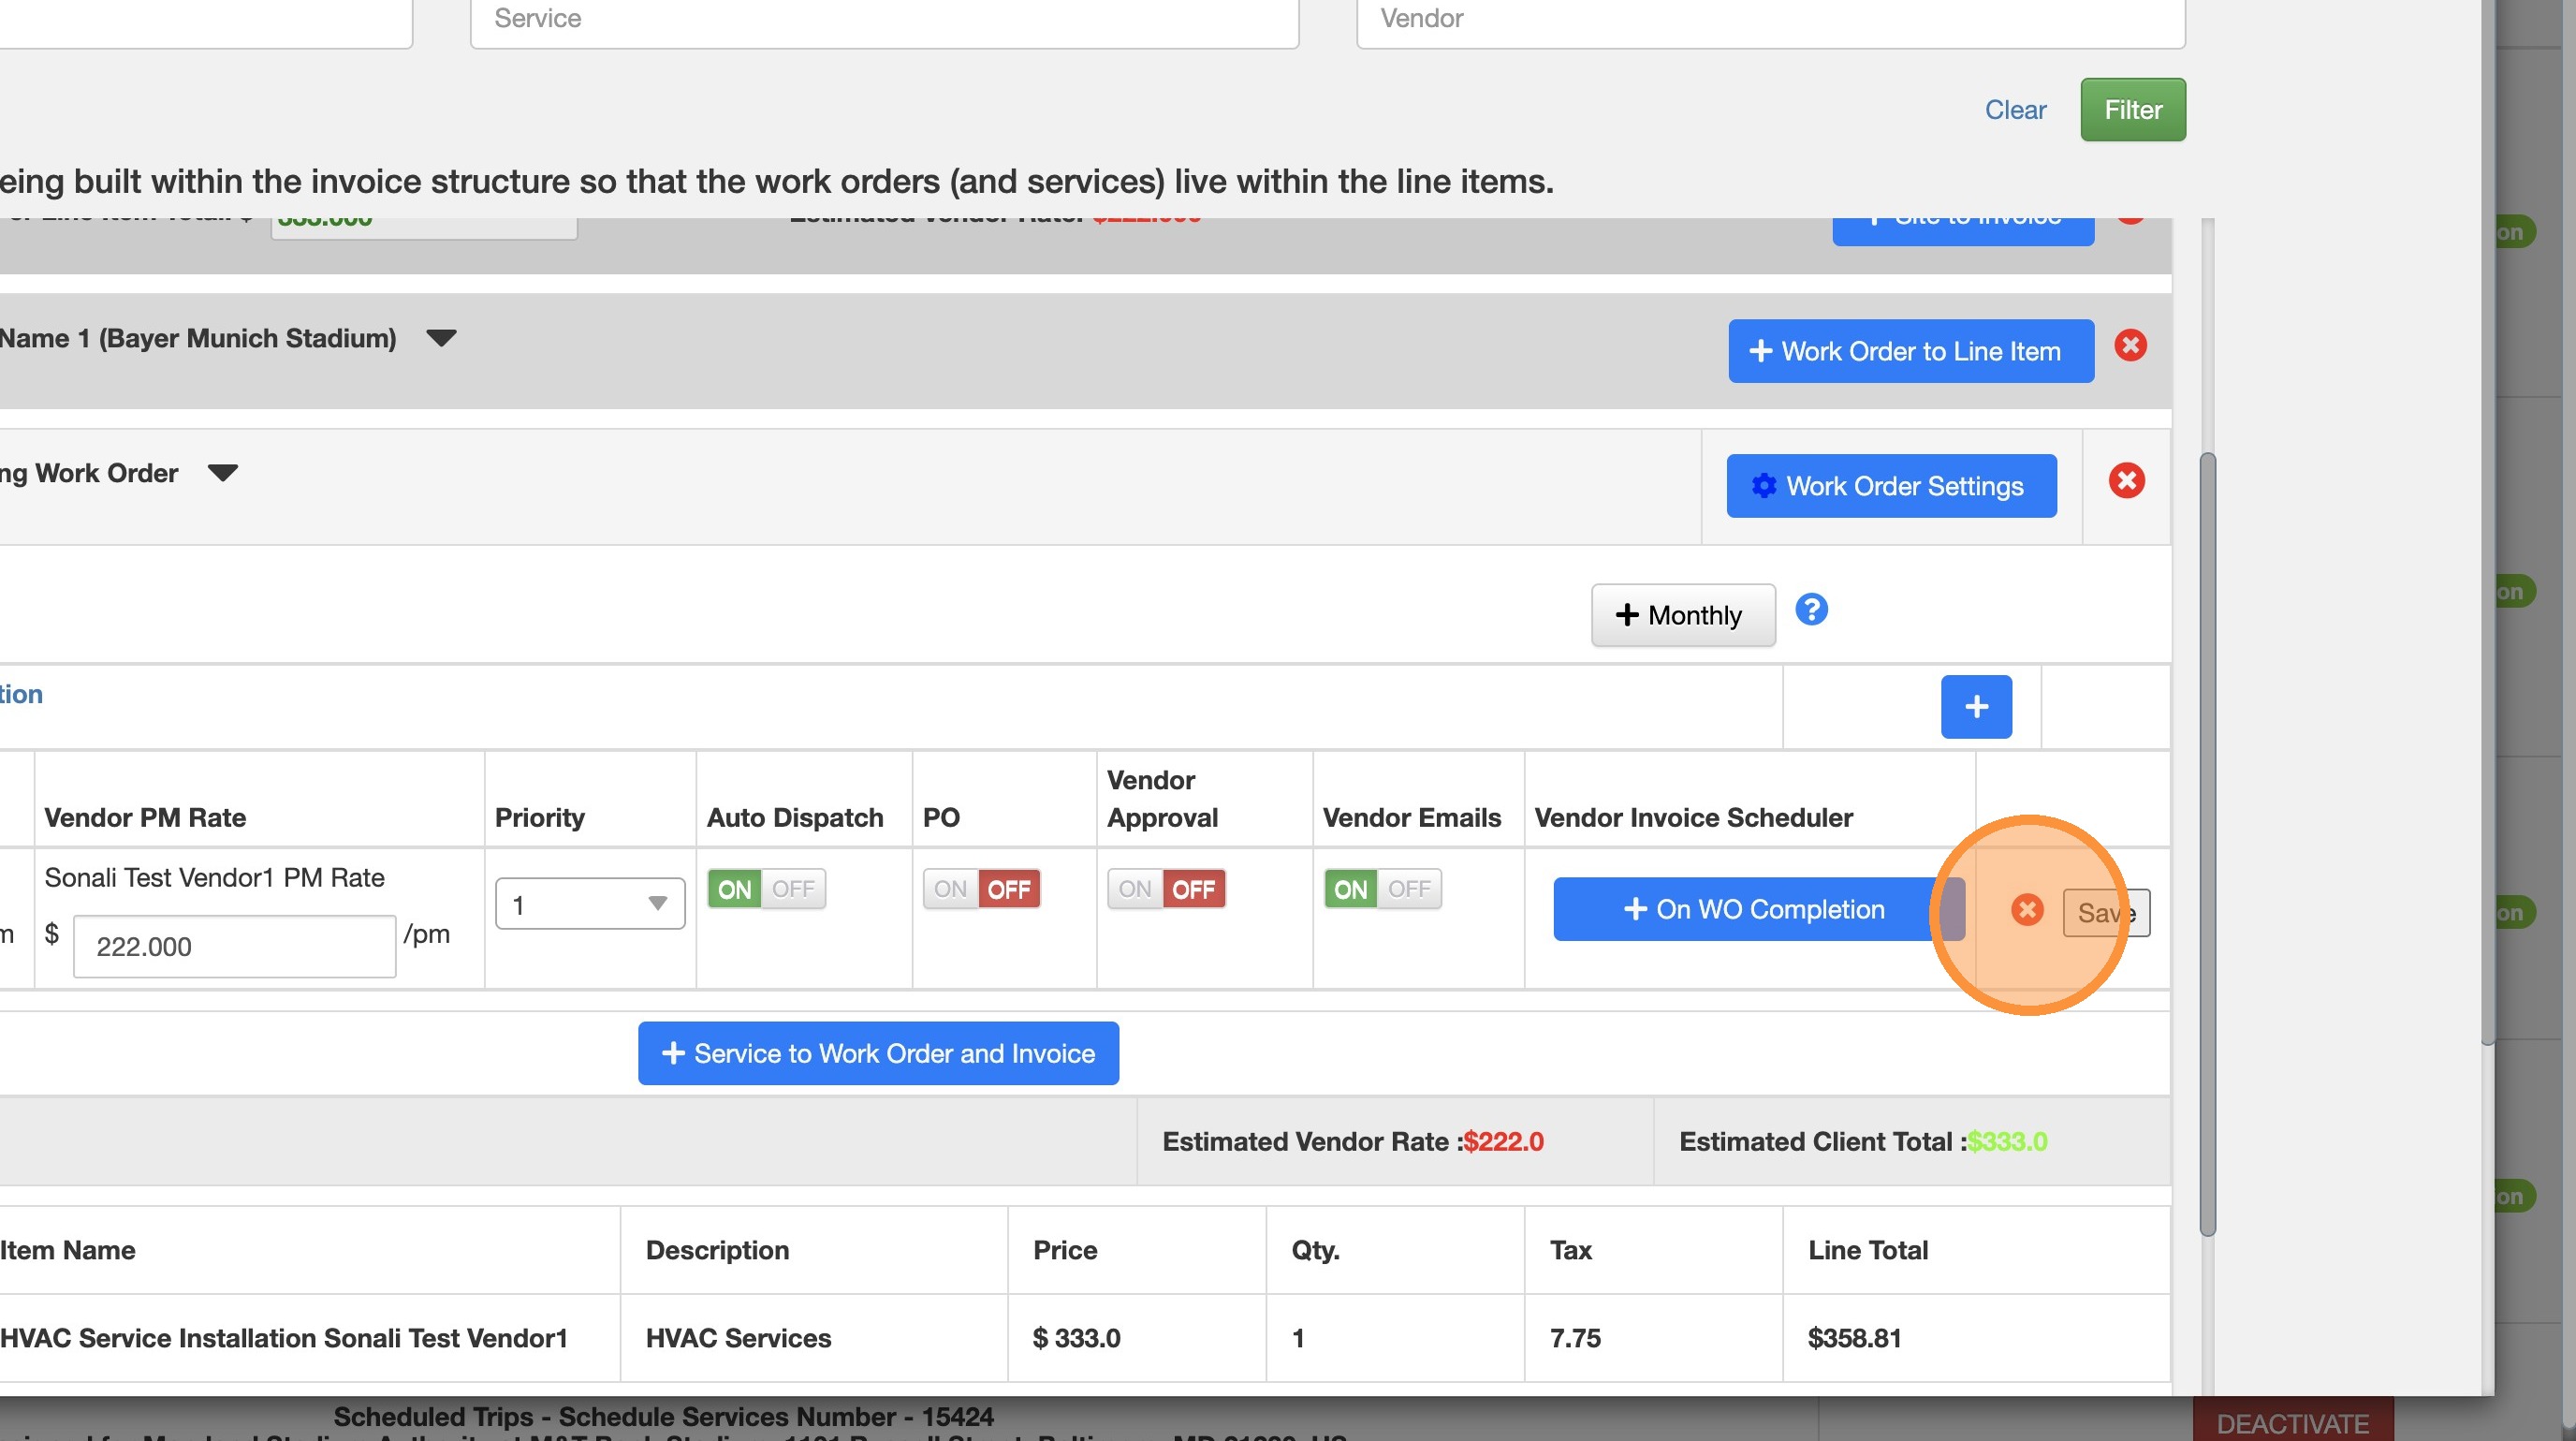
6. Click here.
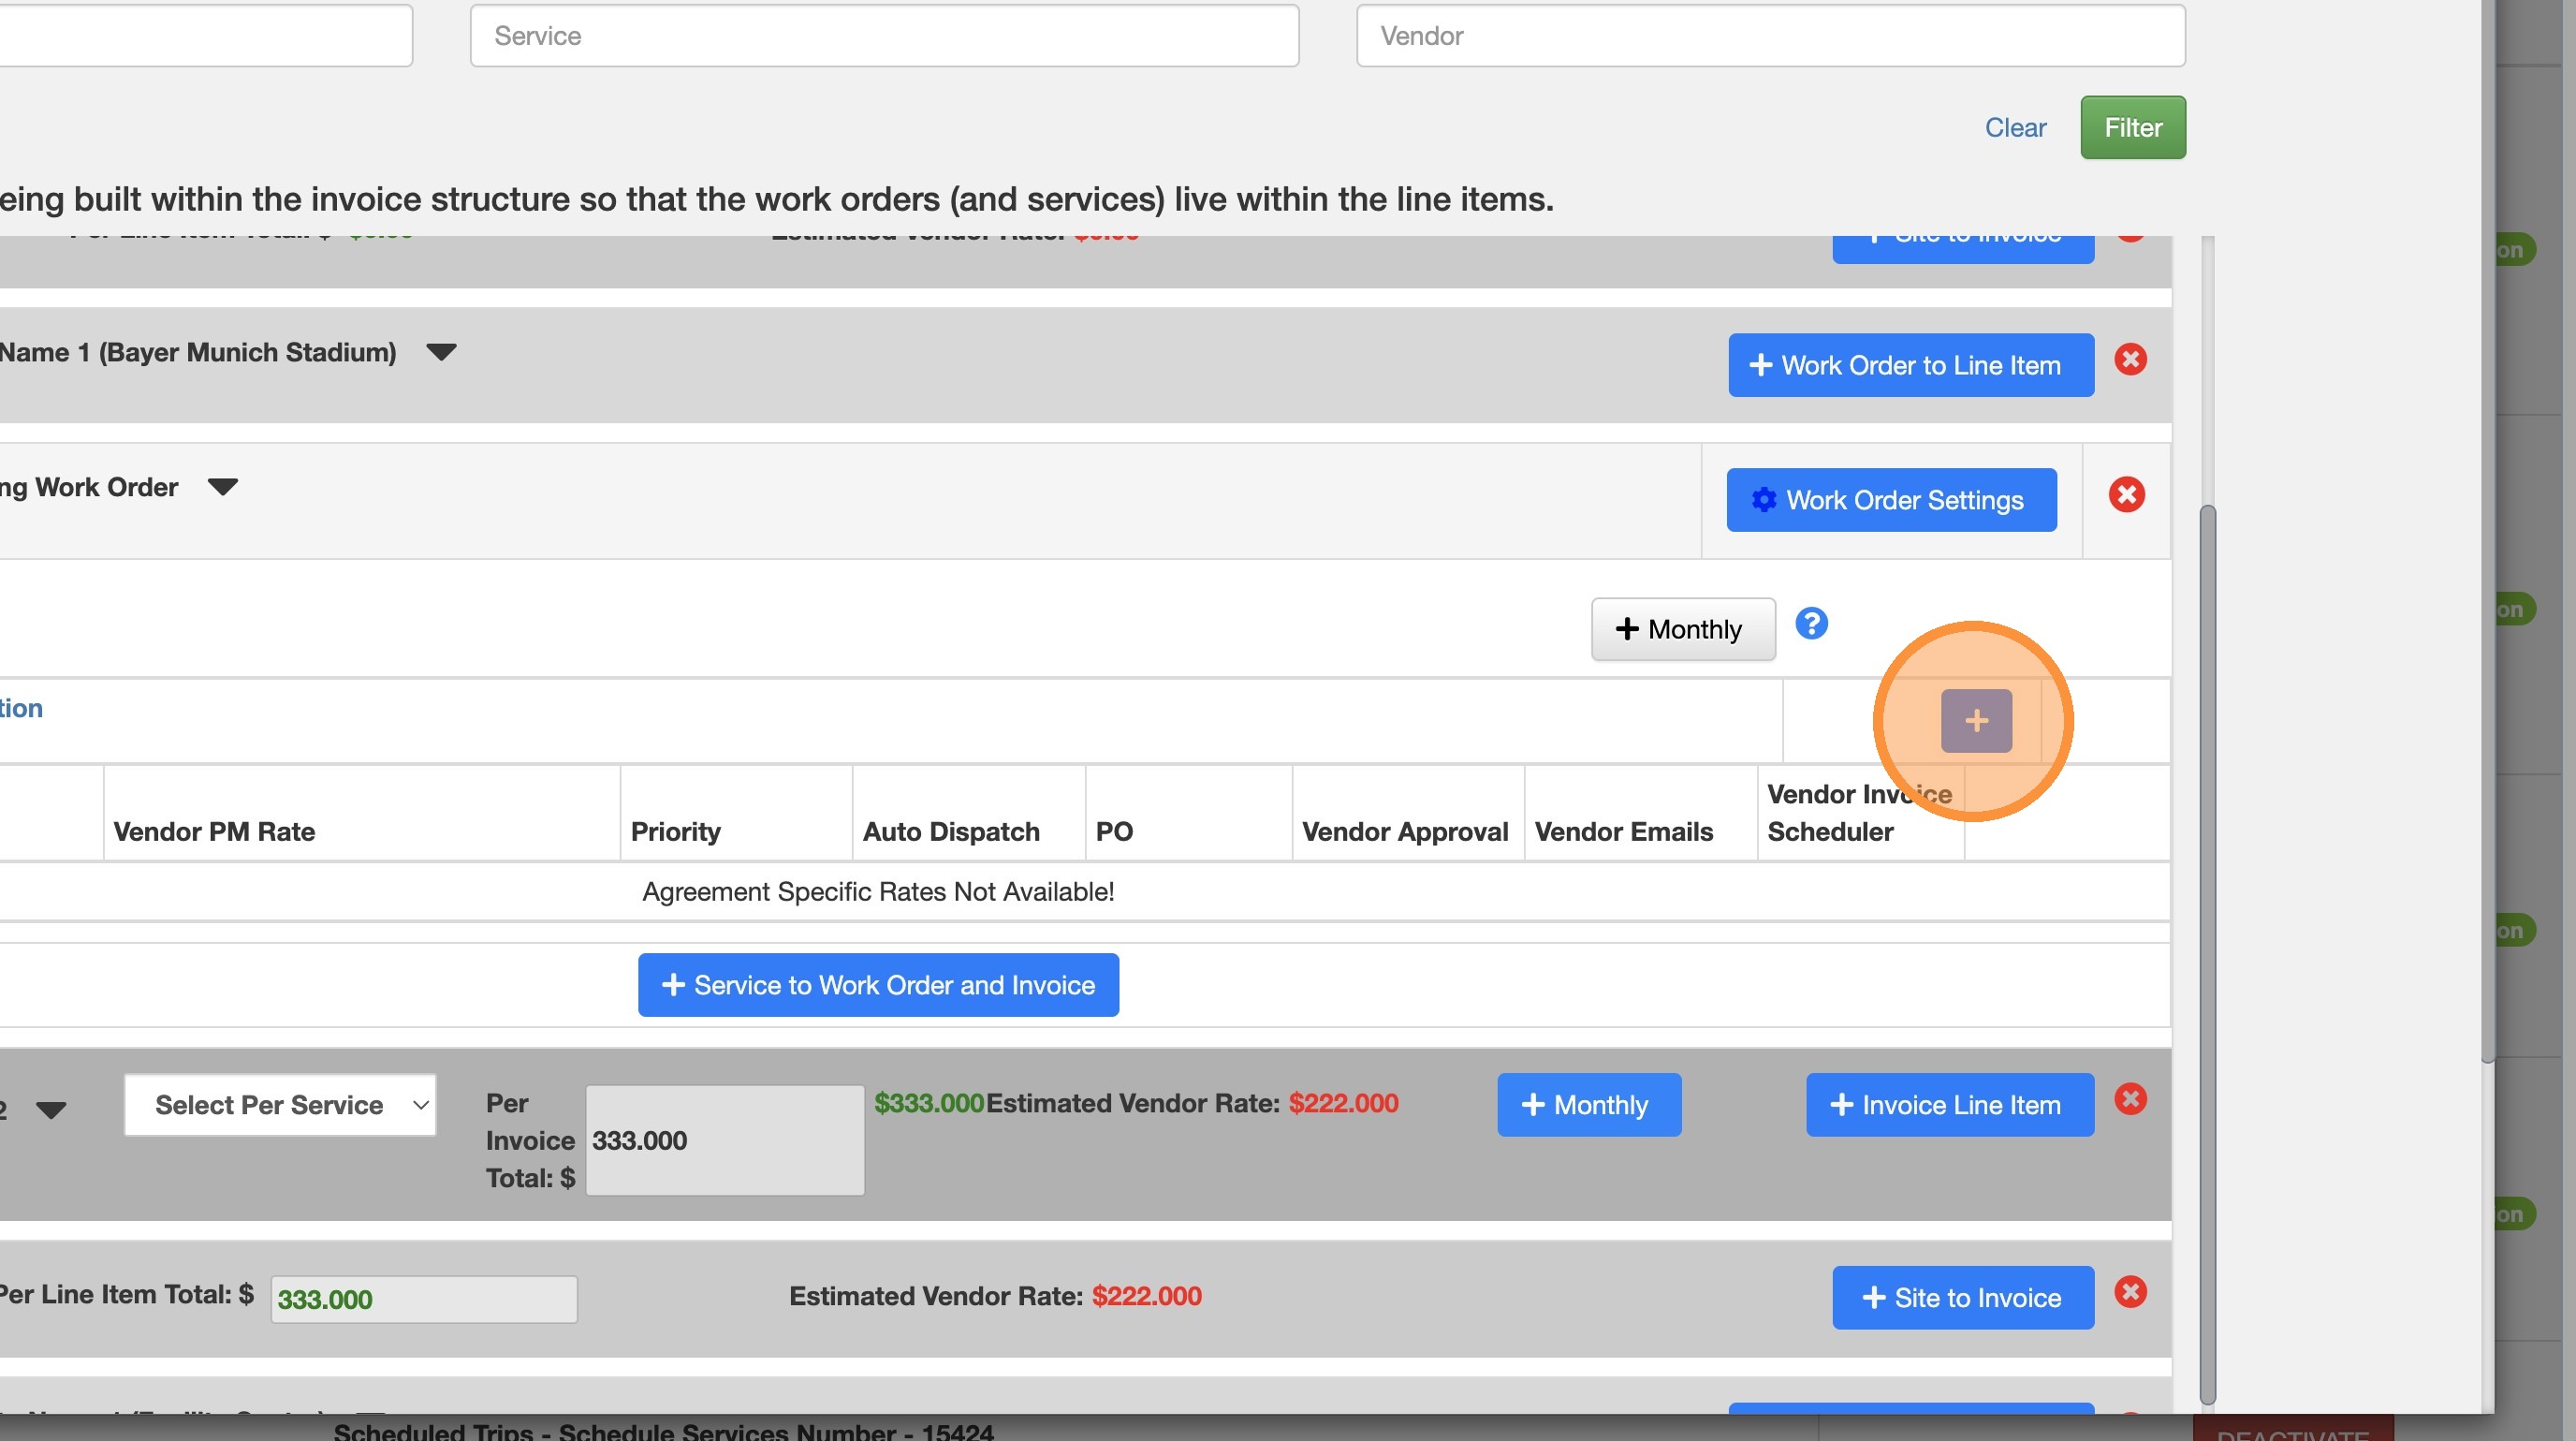
7. It shows the Vendor already removed, click on the Plus icon to add the new Vendor.
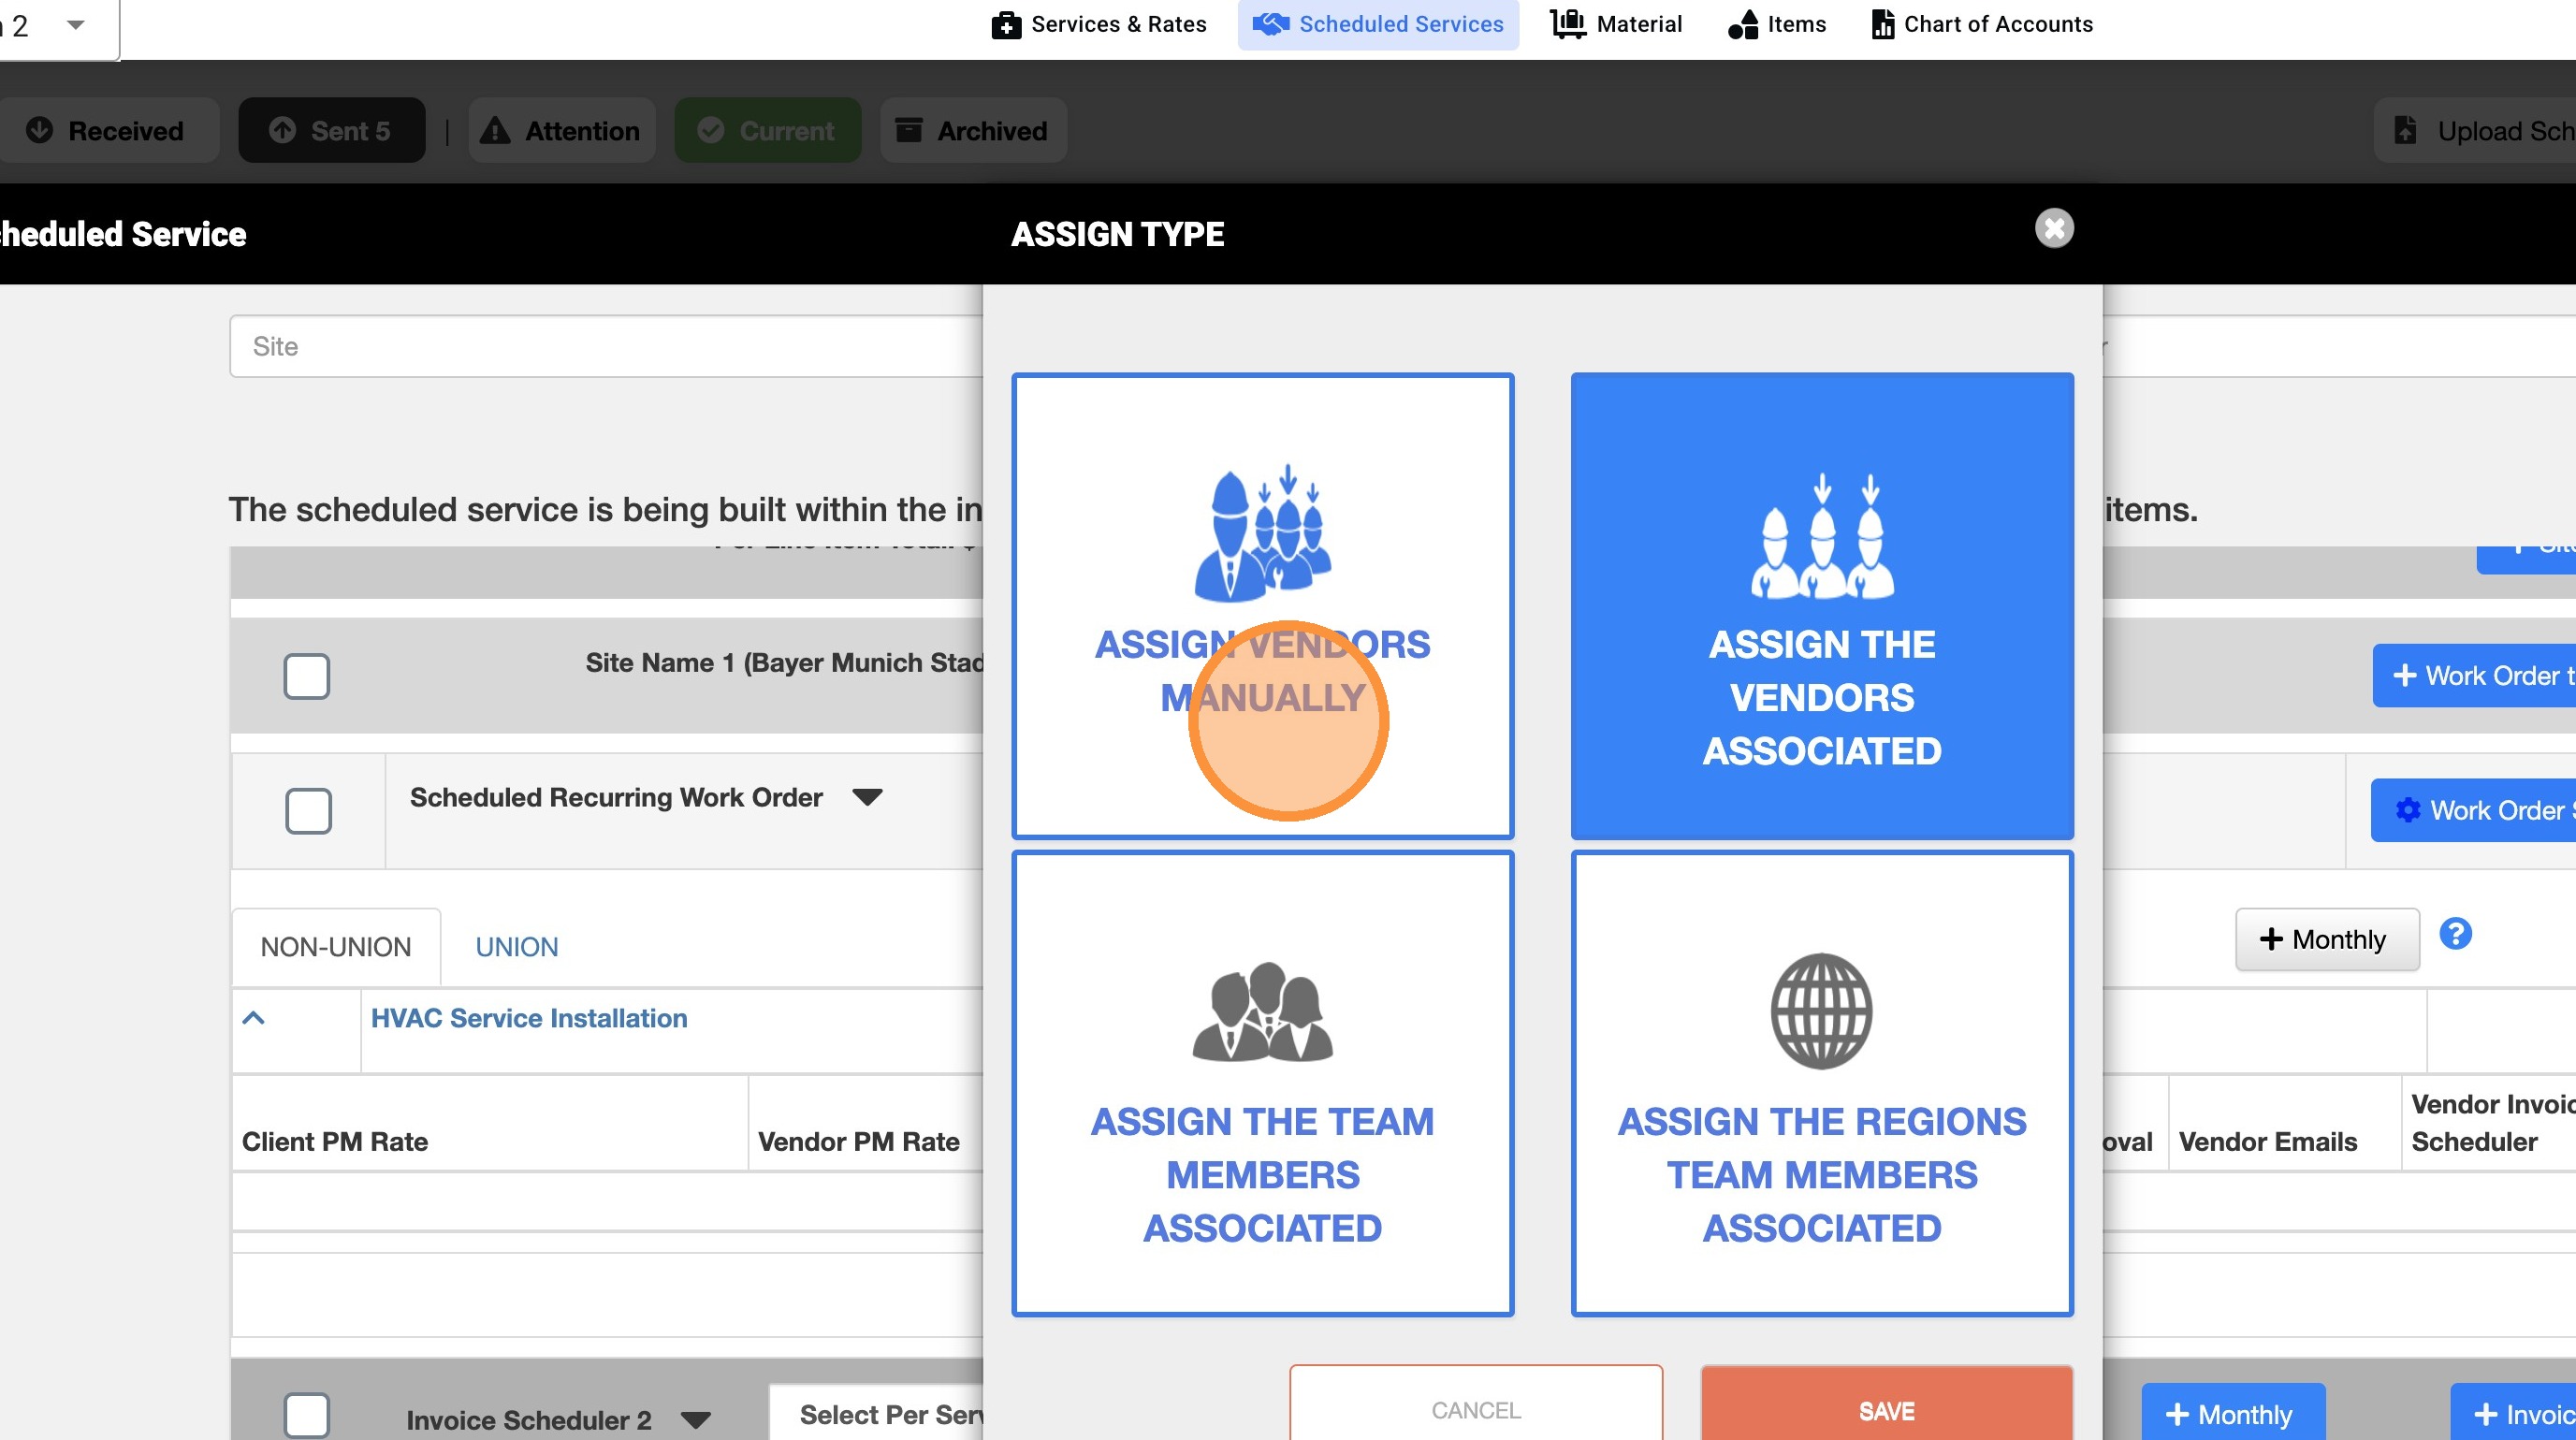
8. Click "ASSIGN VENDORS MANUALLY" in case the Vendor must be added manually.
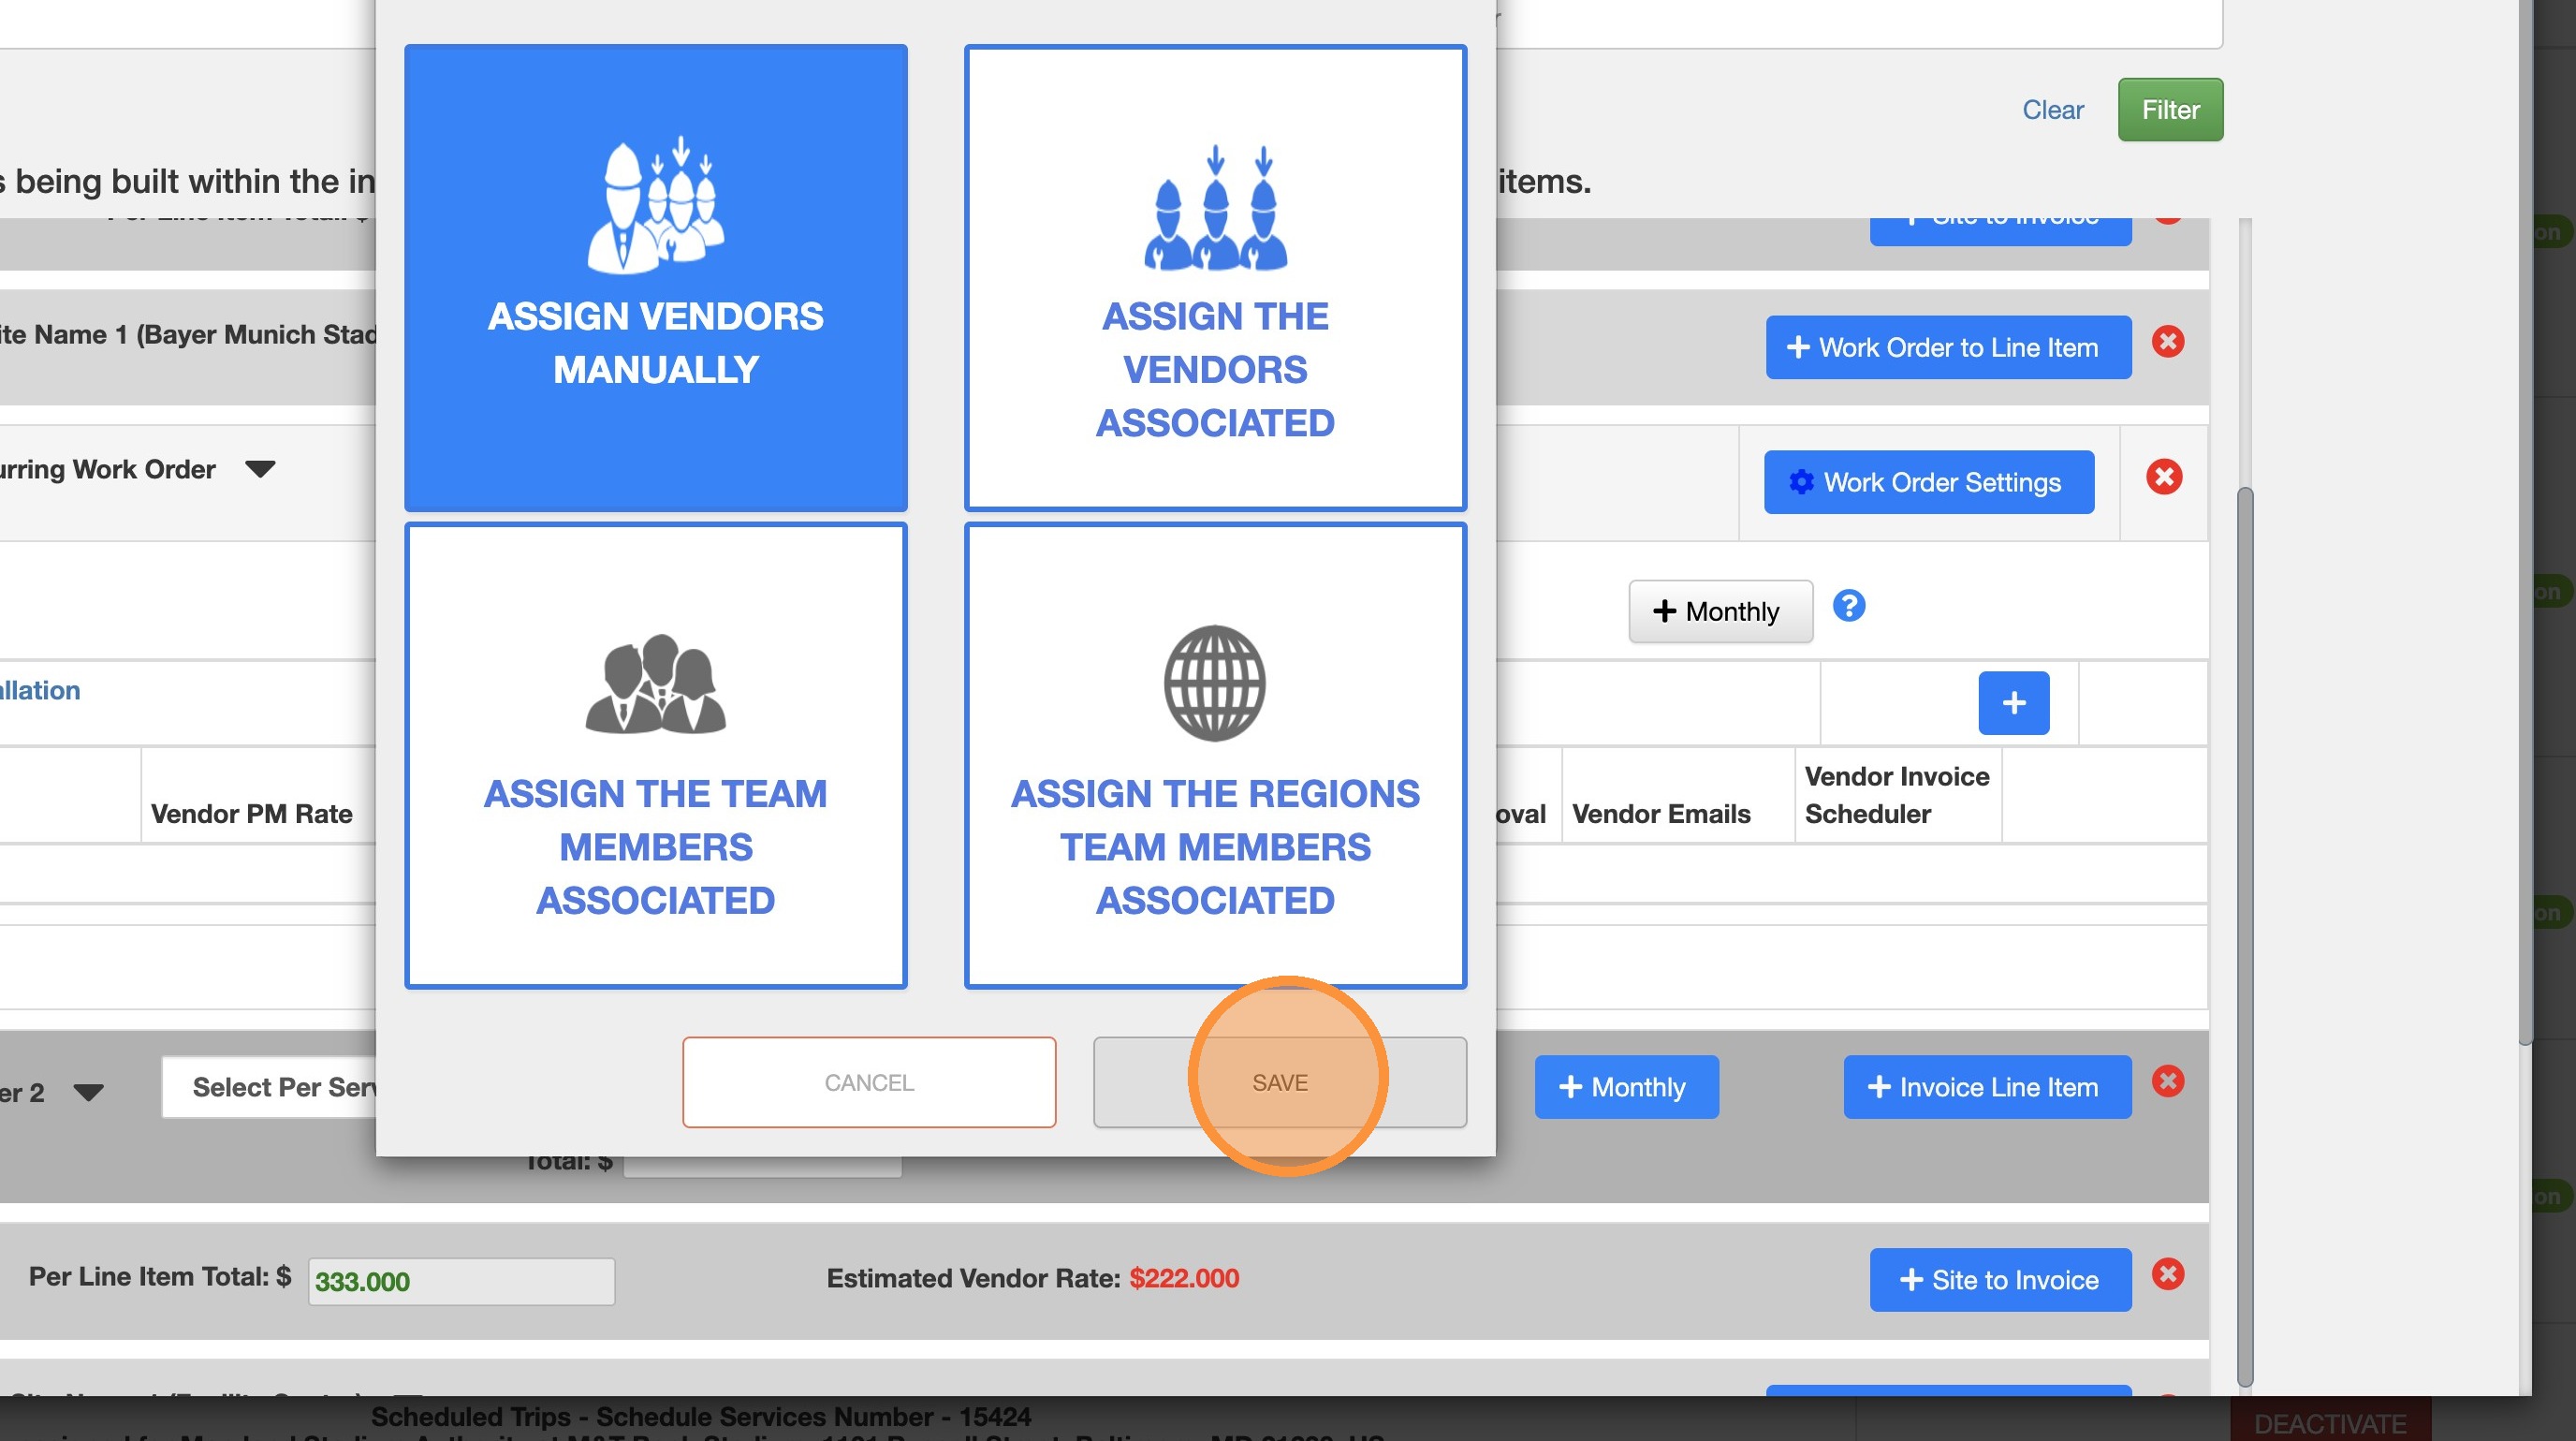
9. Click "Save"
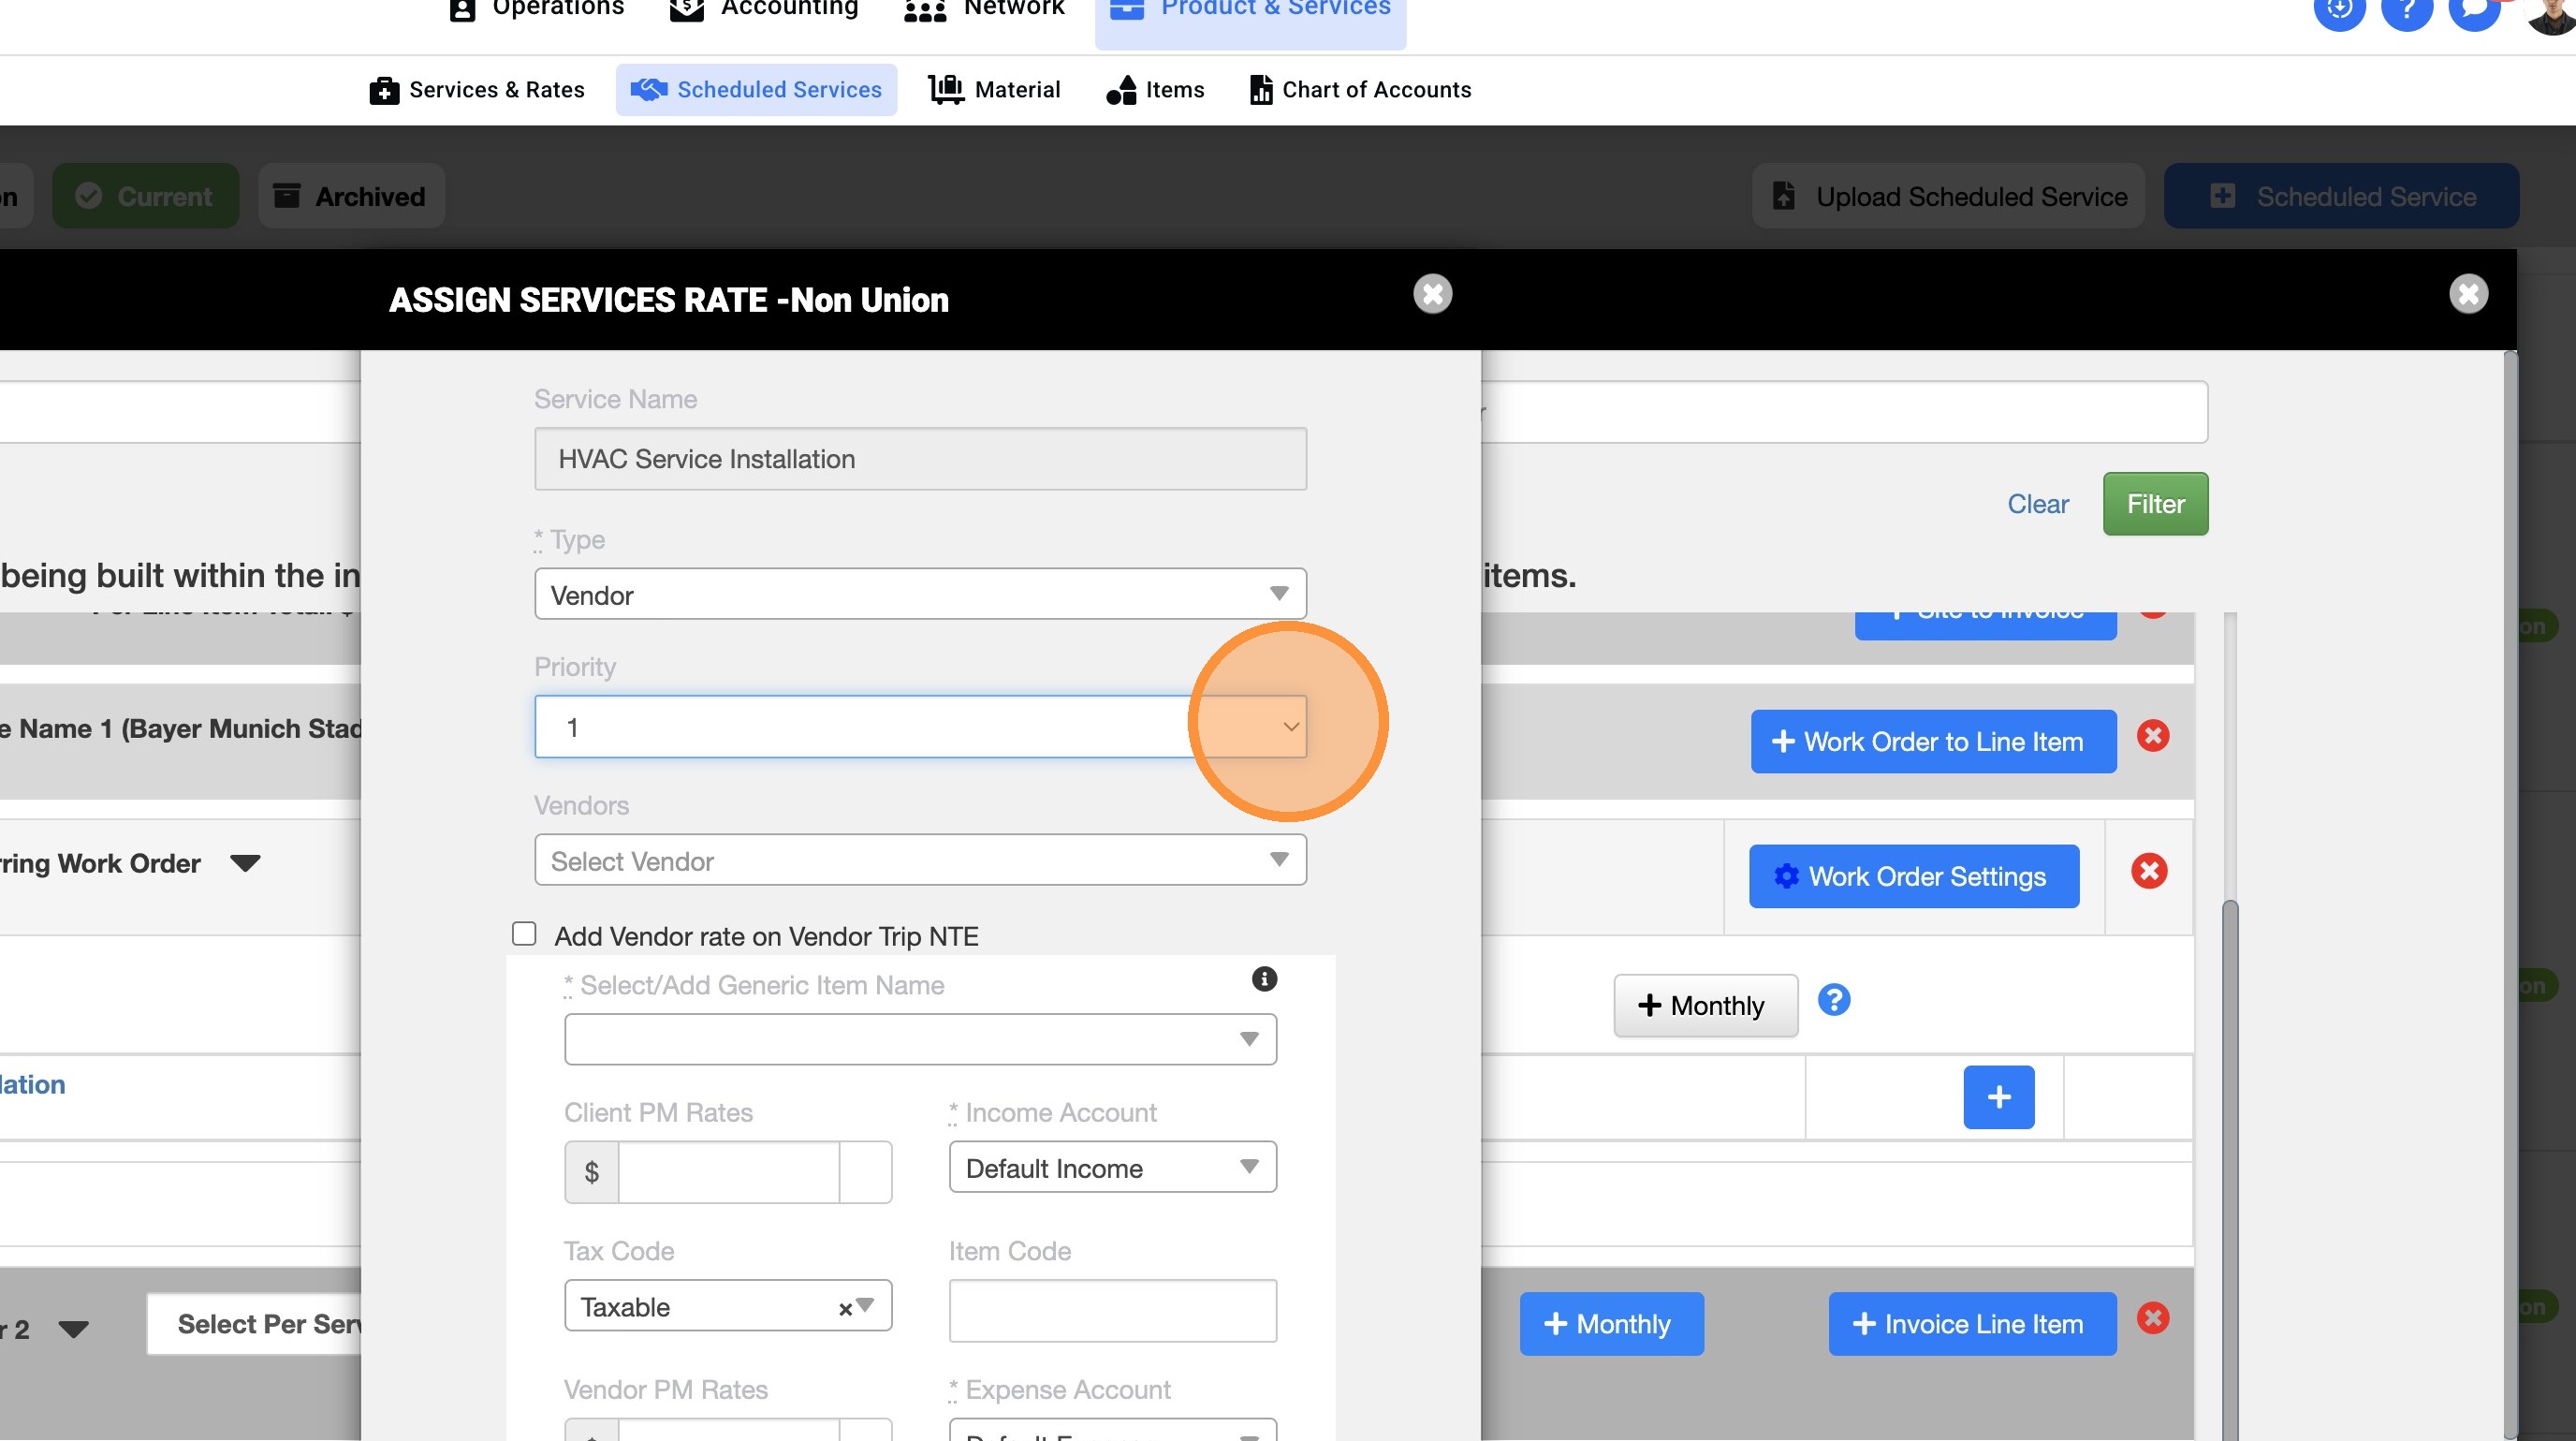
10. Select the priority option.
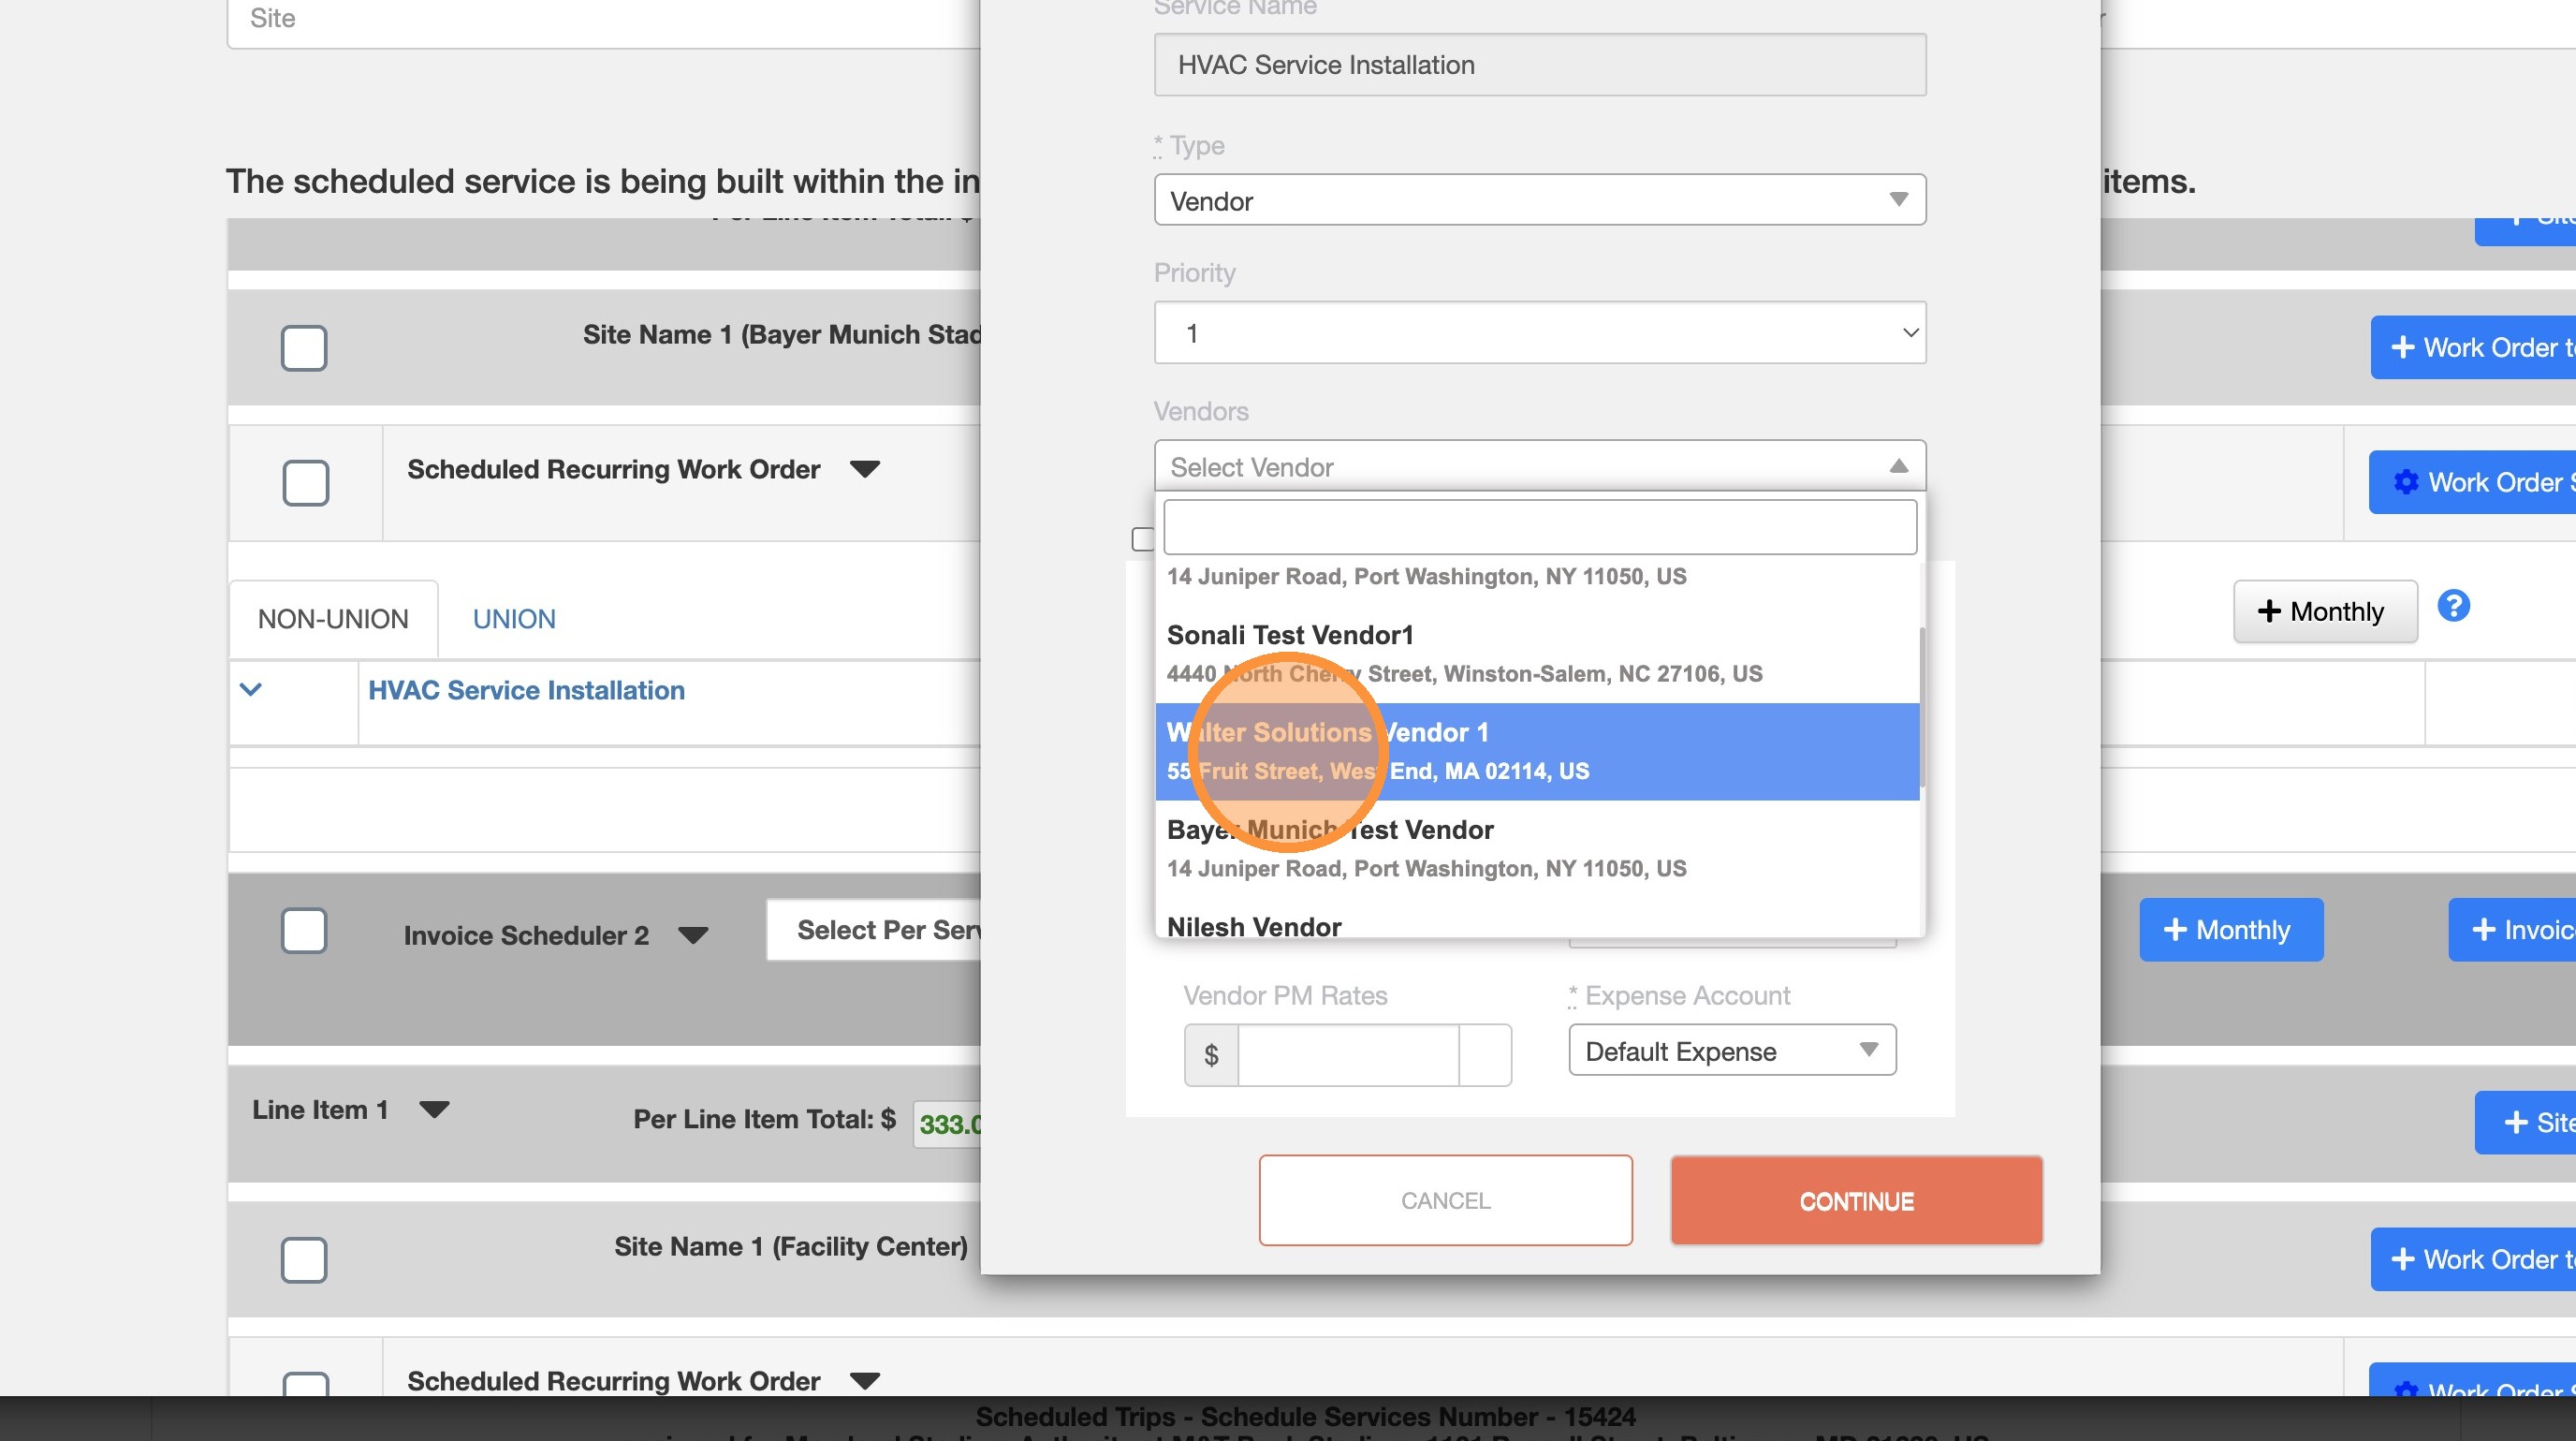
11.Search for the new Vendor.
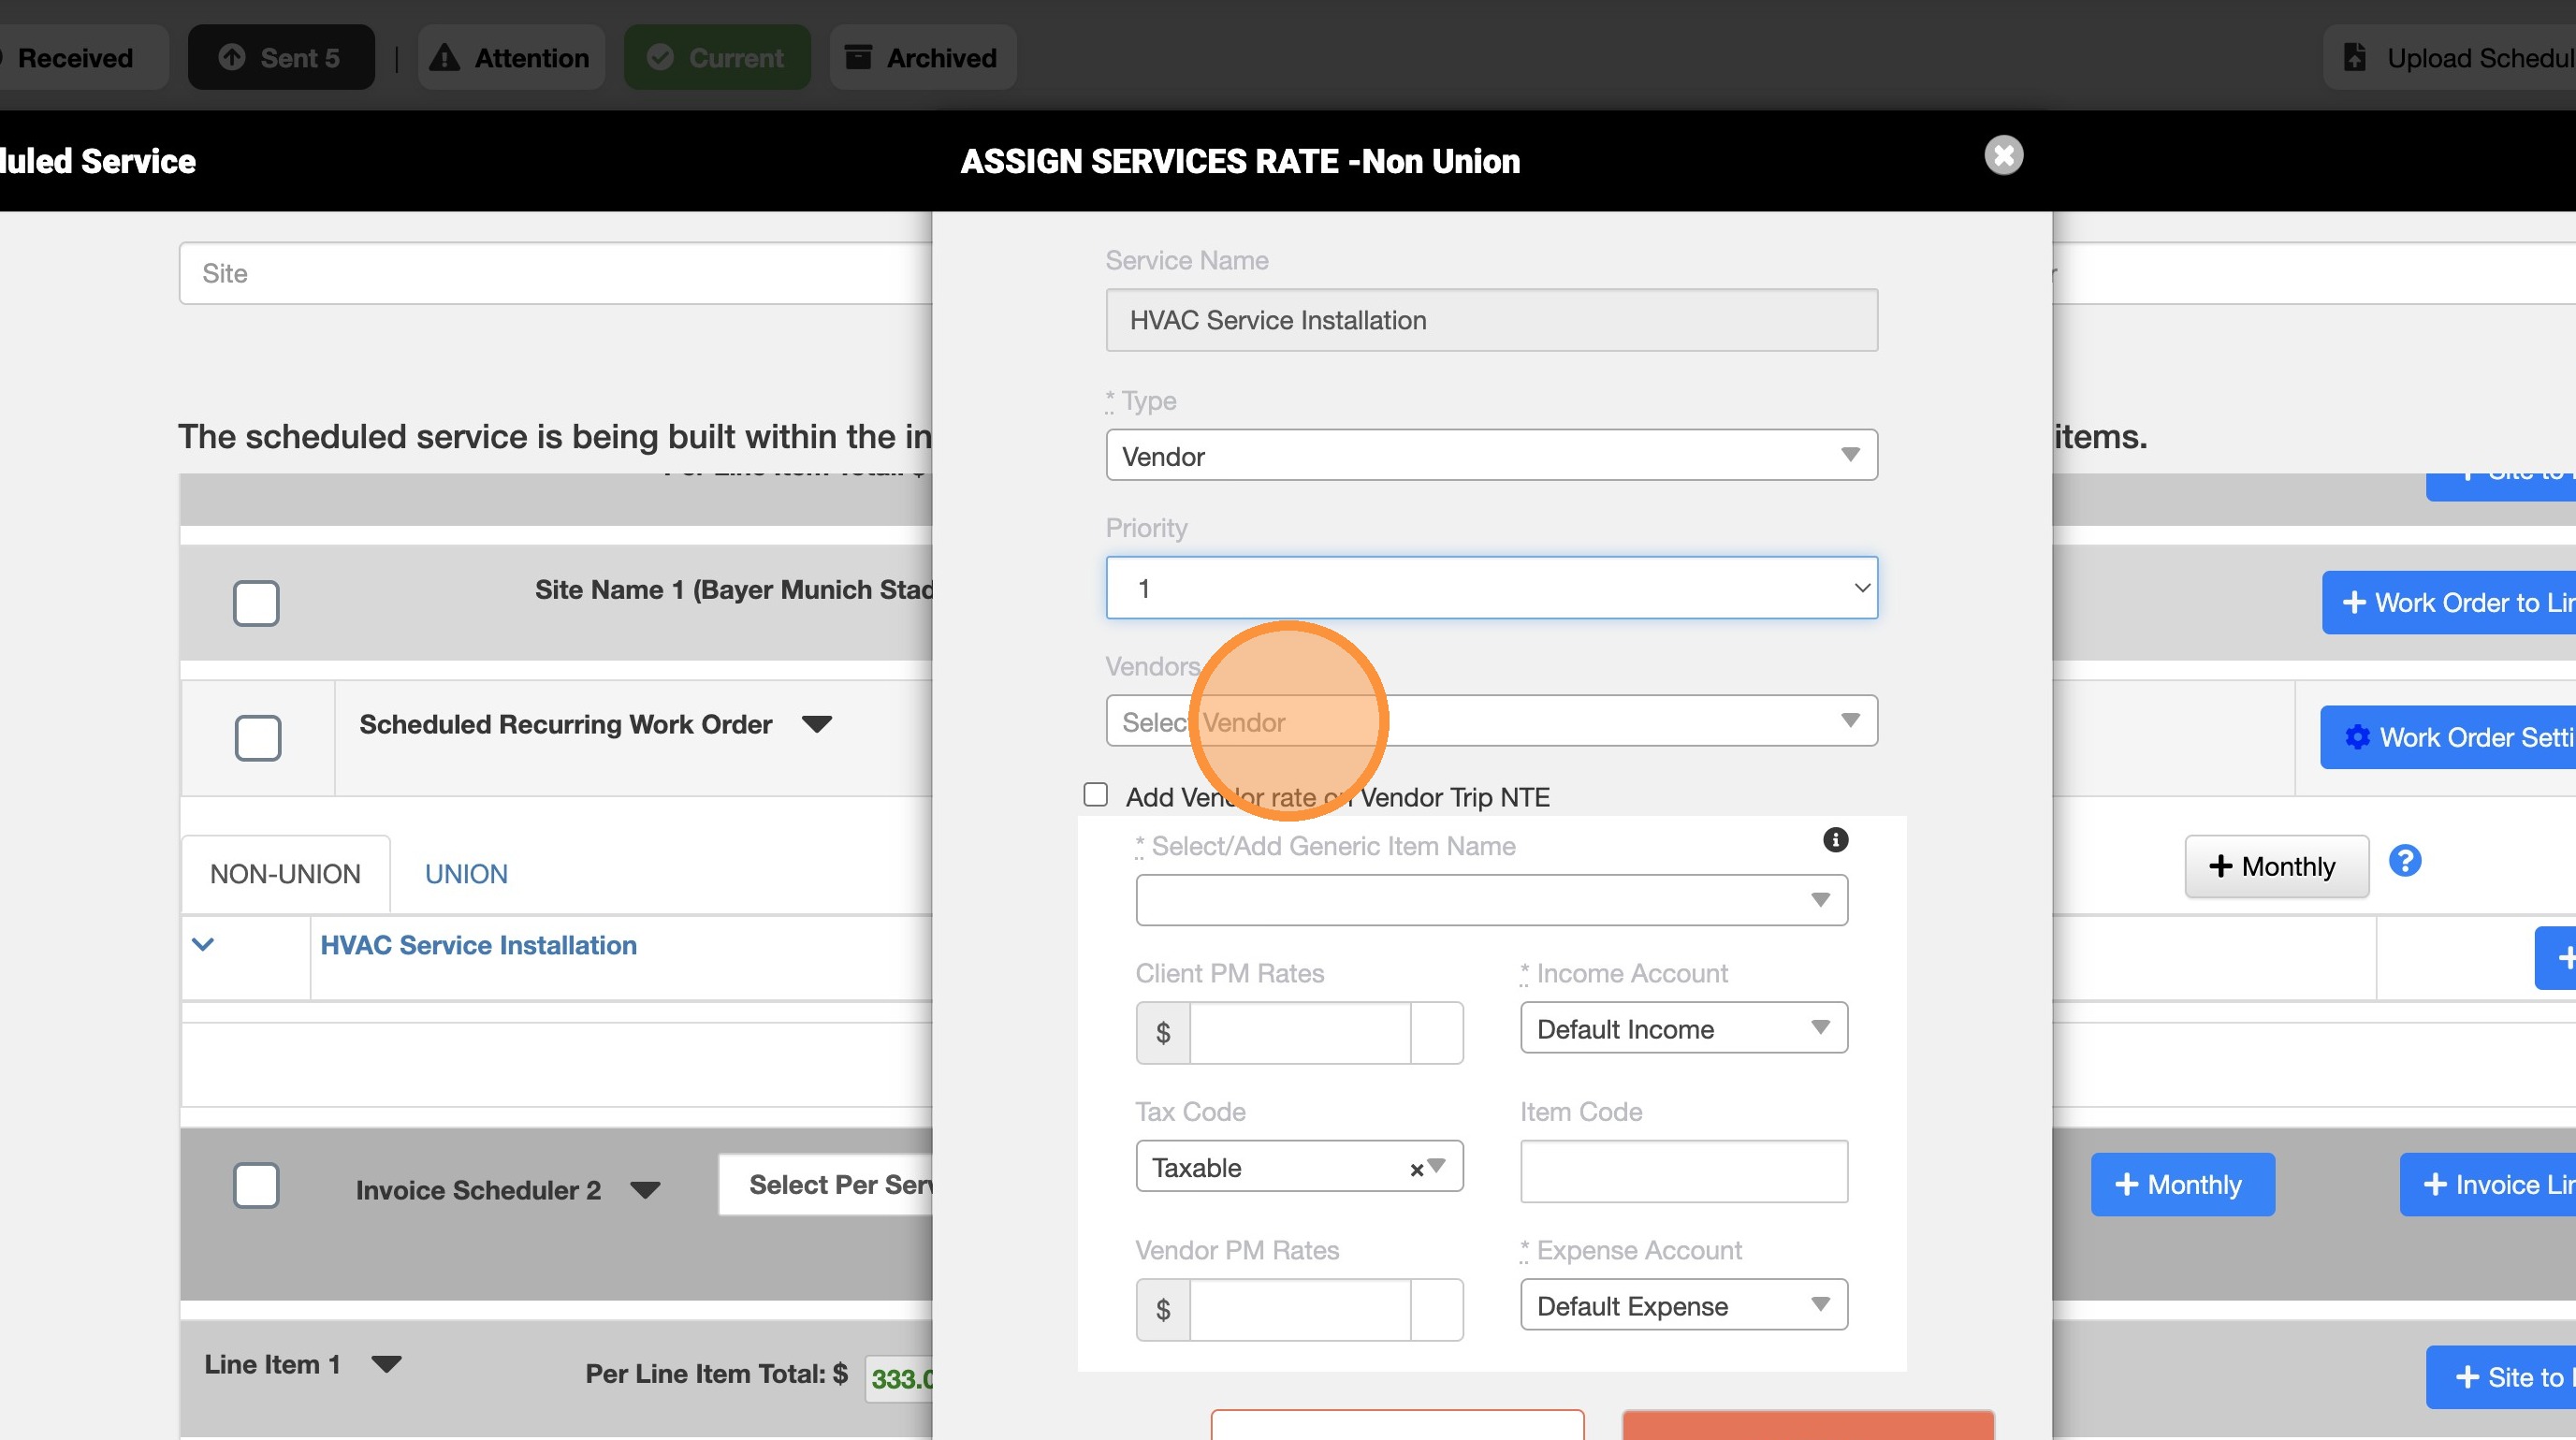
12. Select the Vendor required.
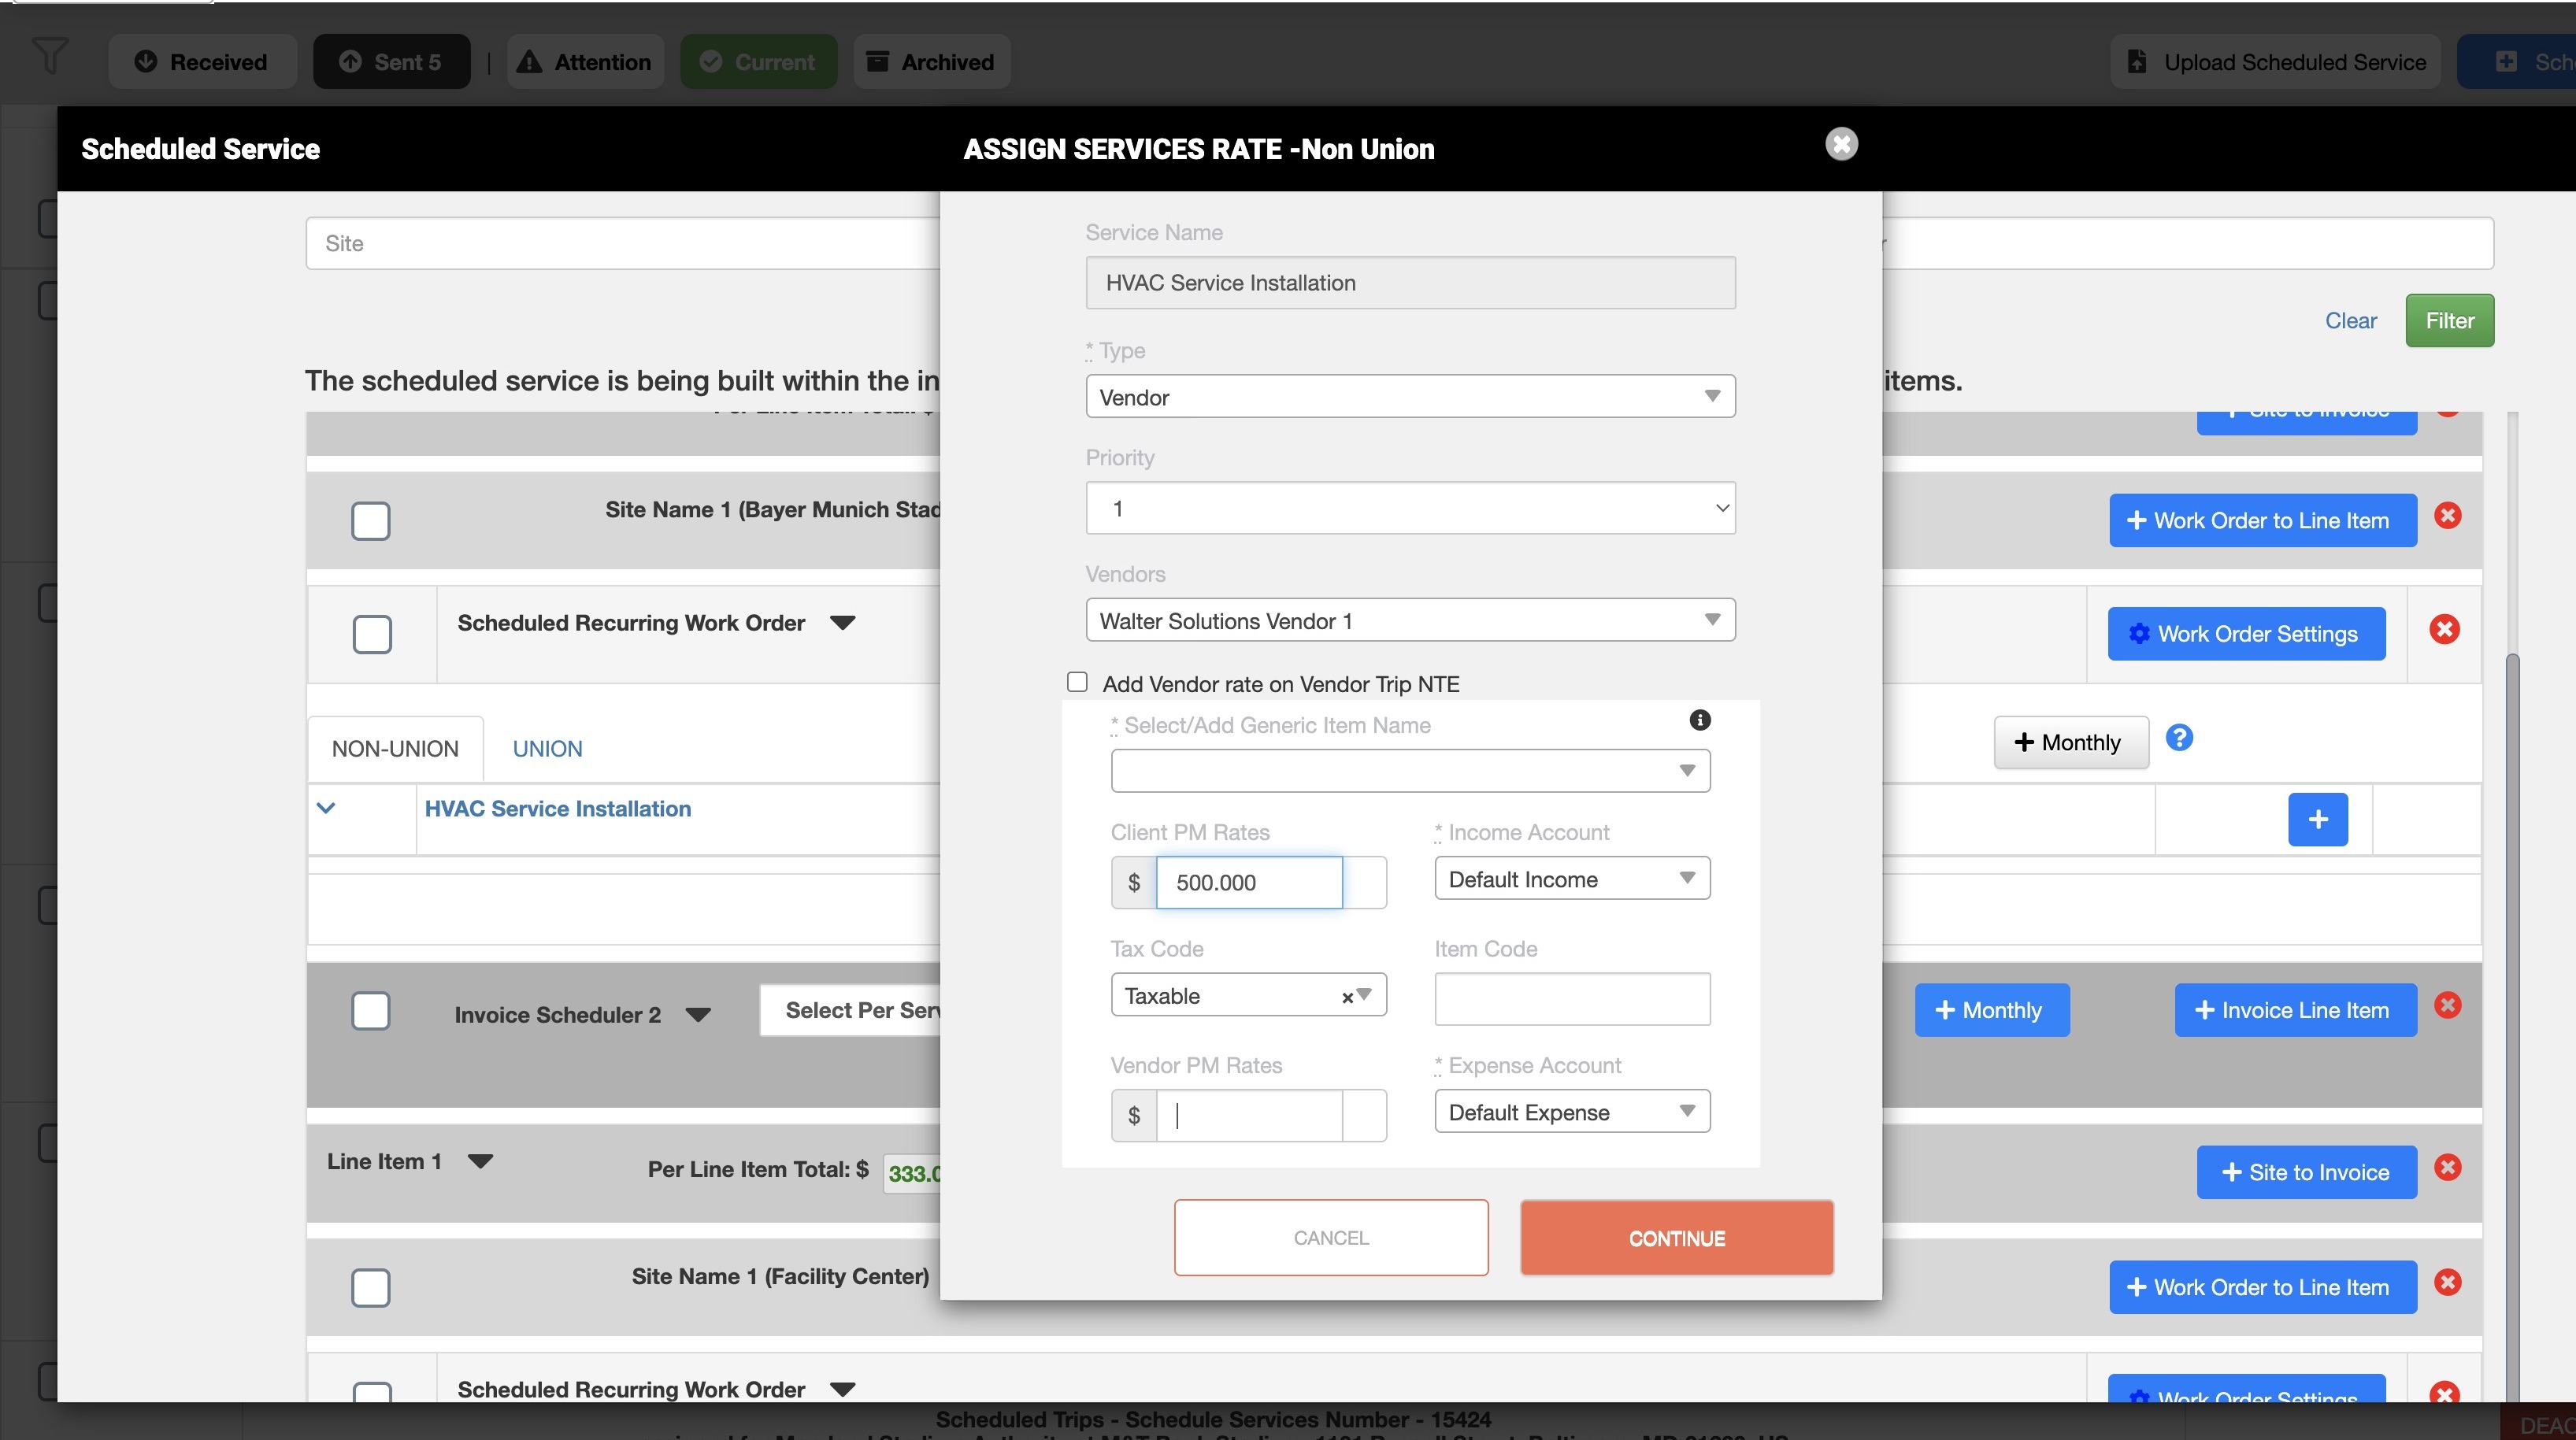
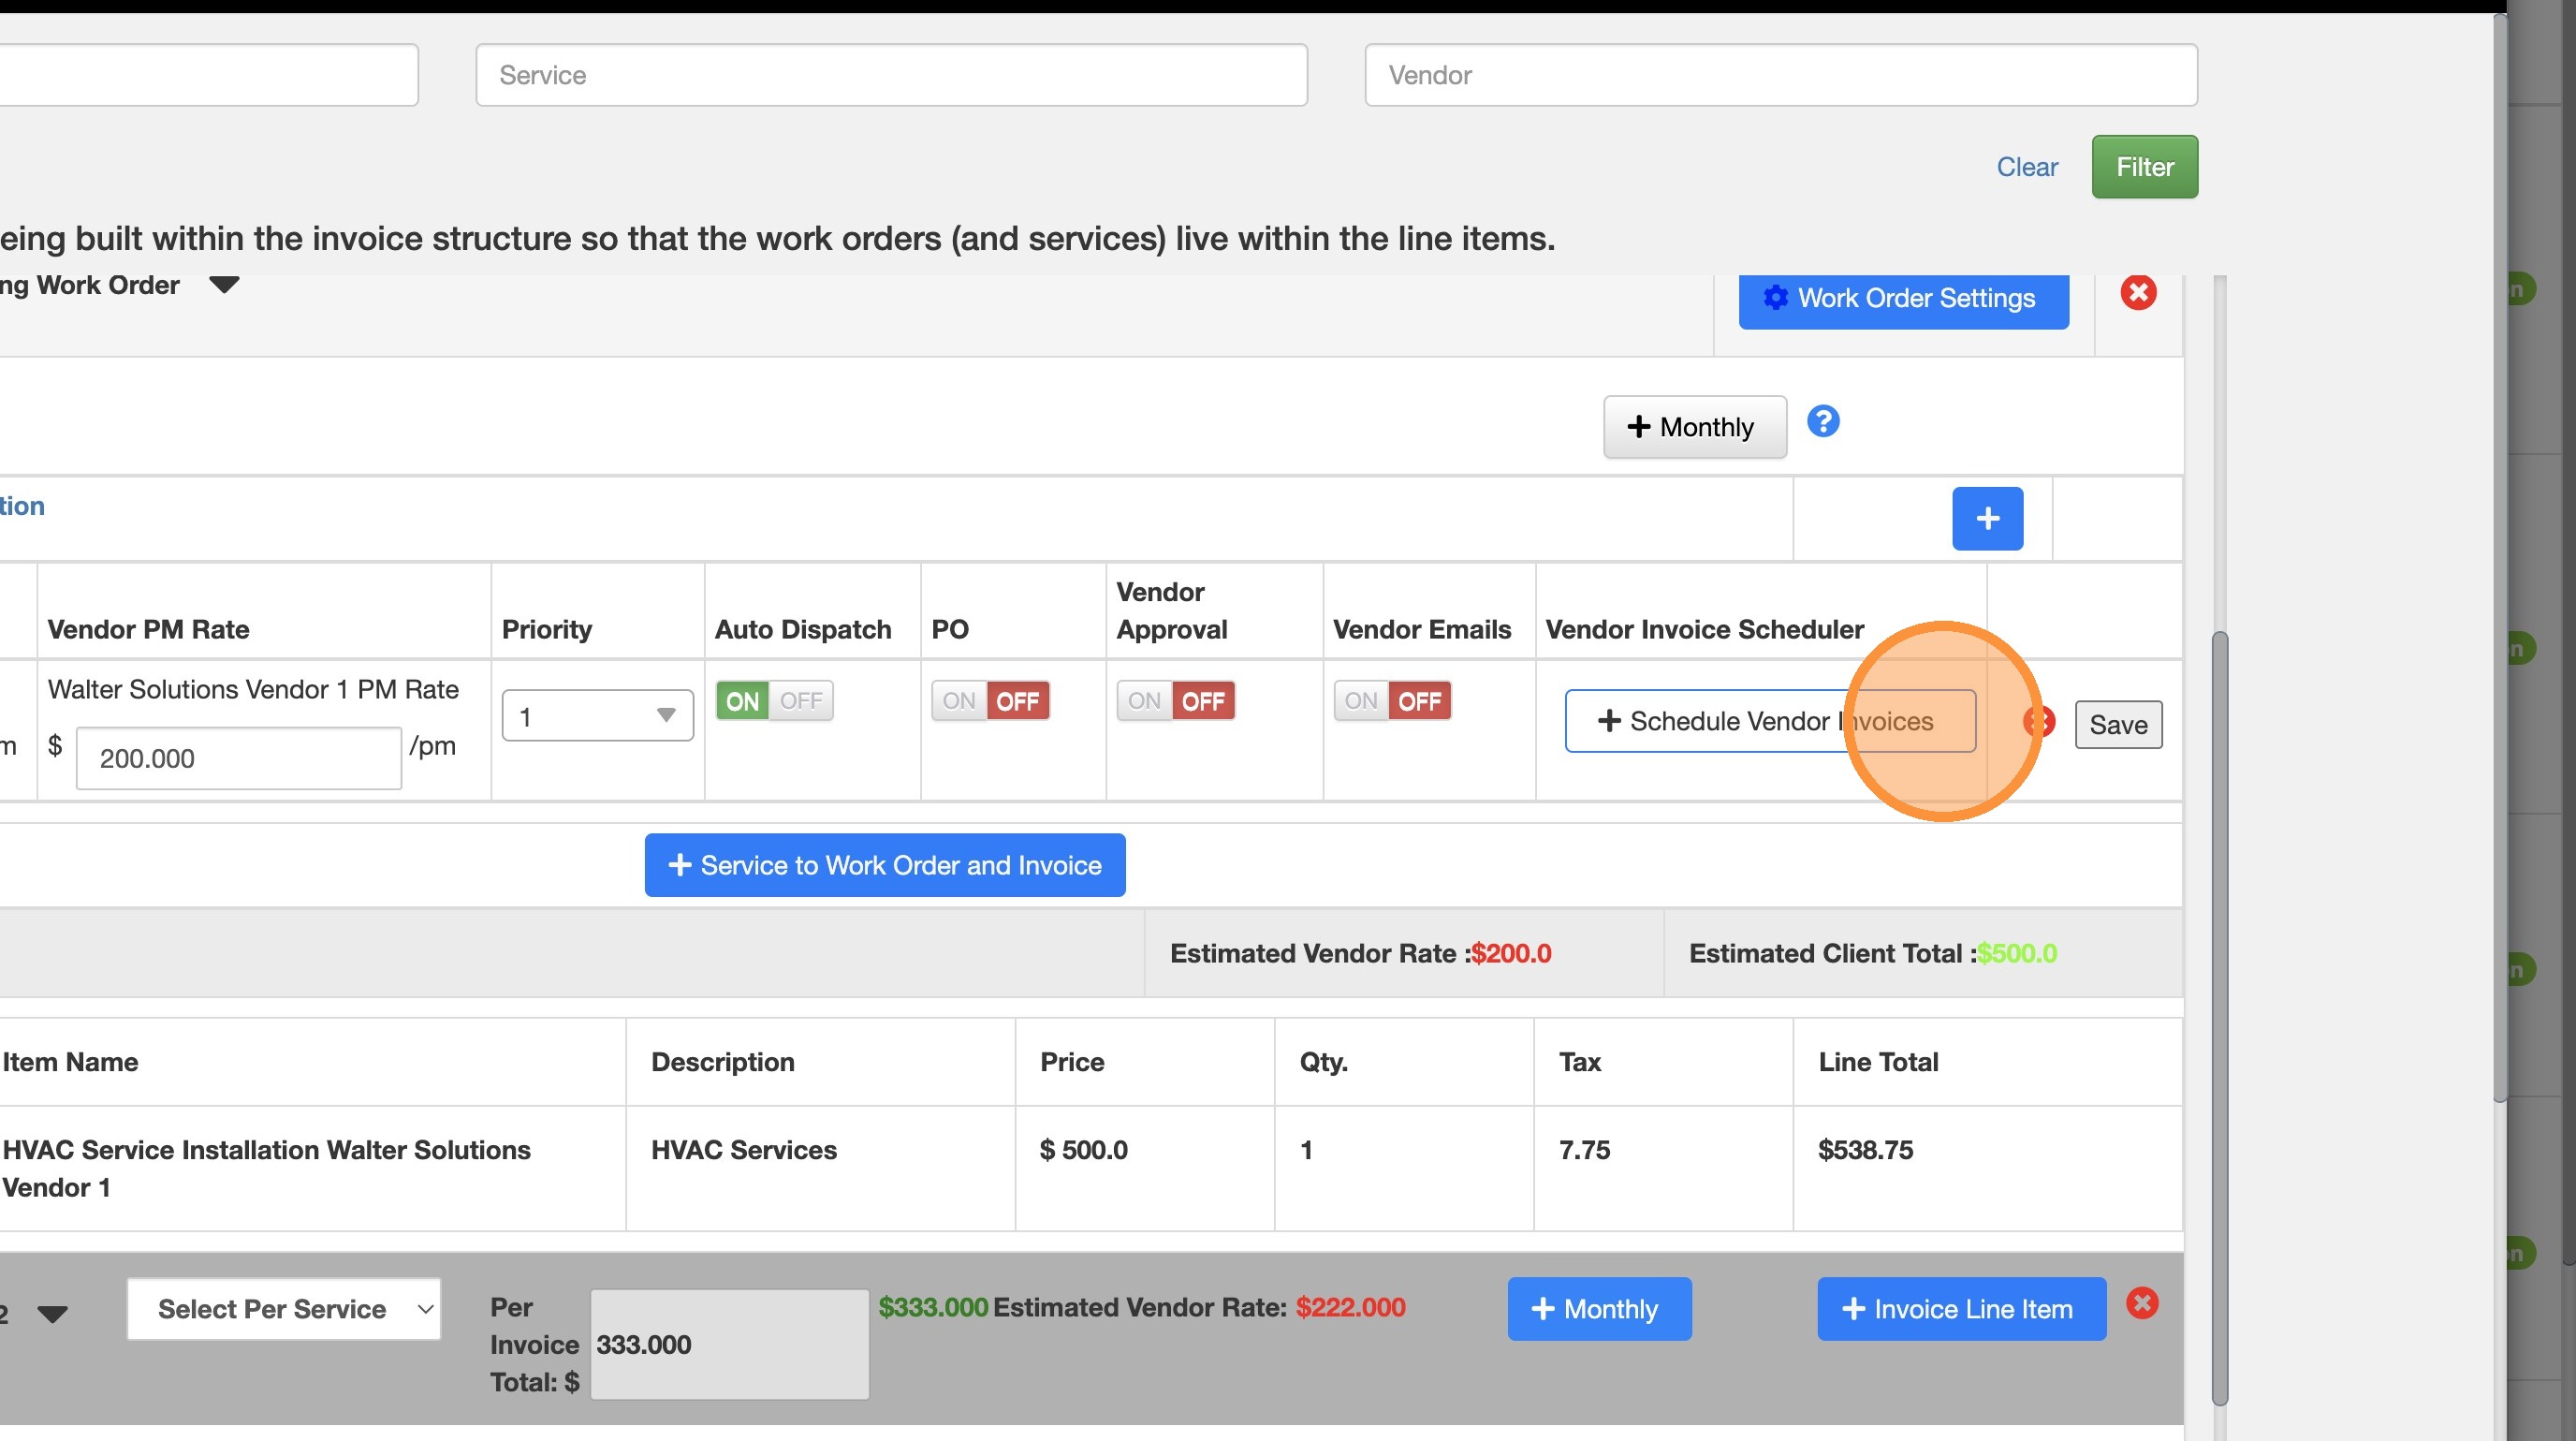
13. Make sure to add the Rates (Client and Vendor).
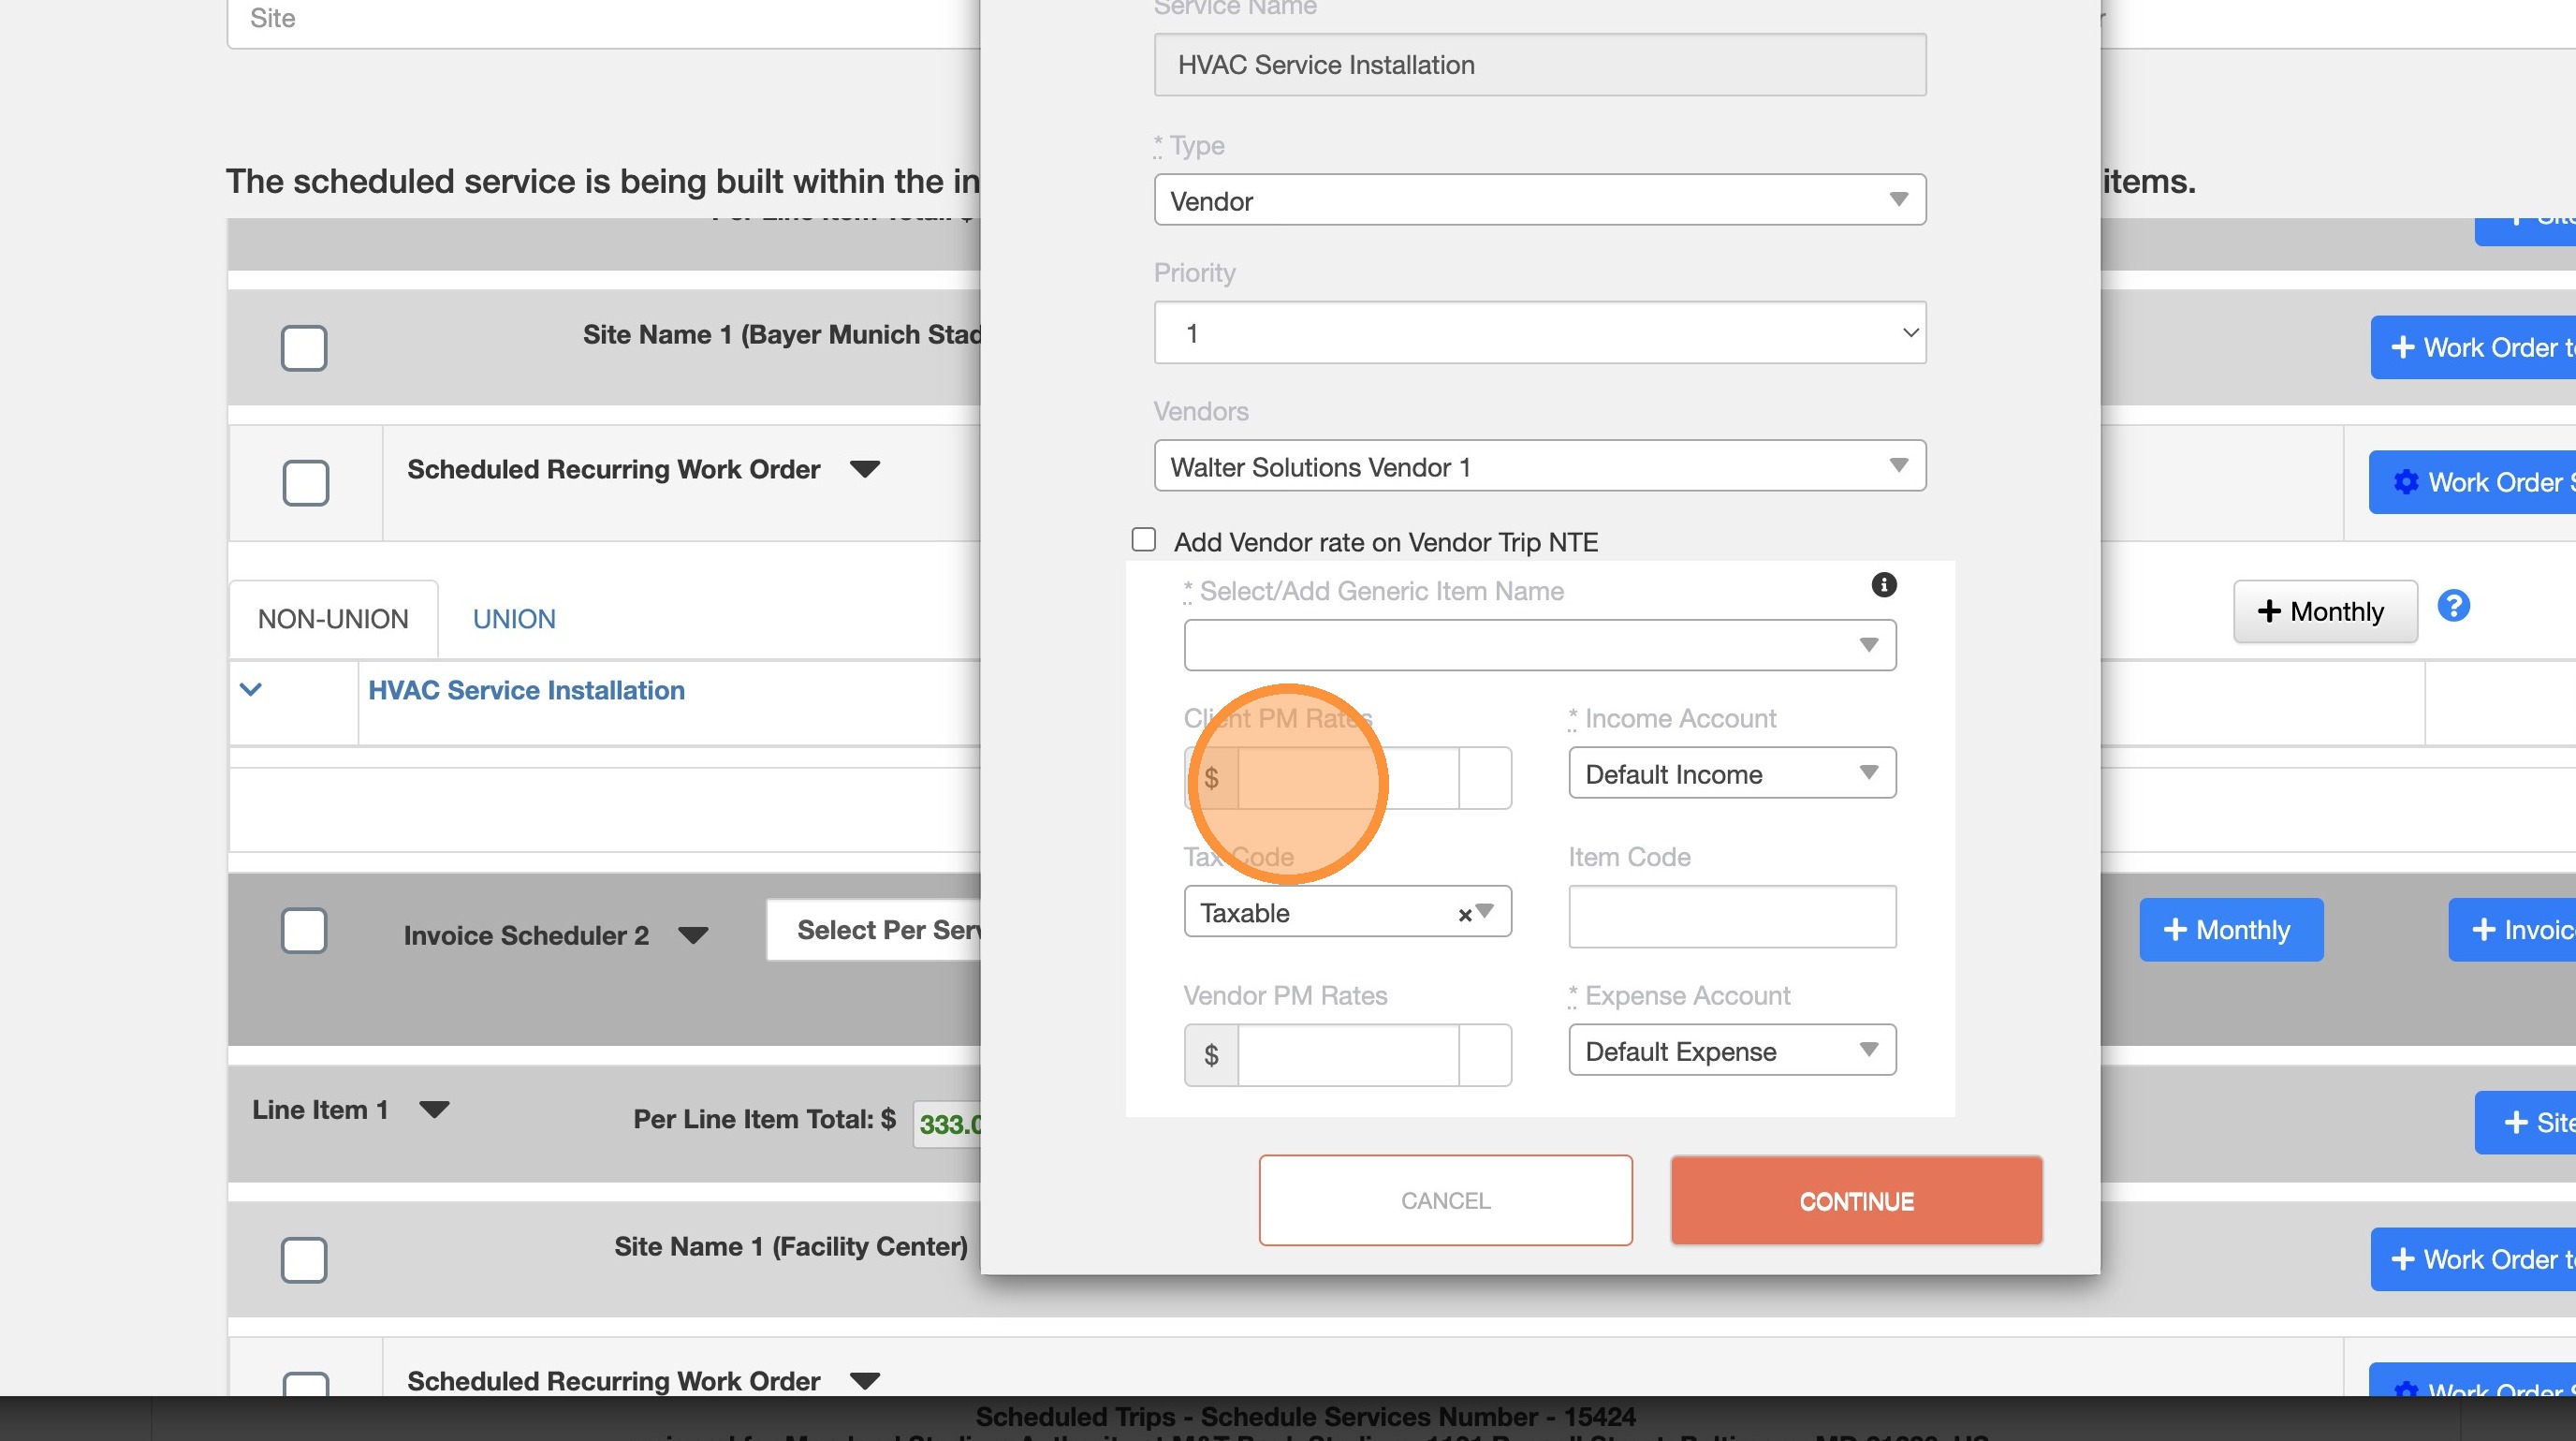
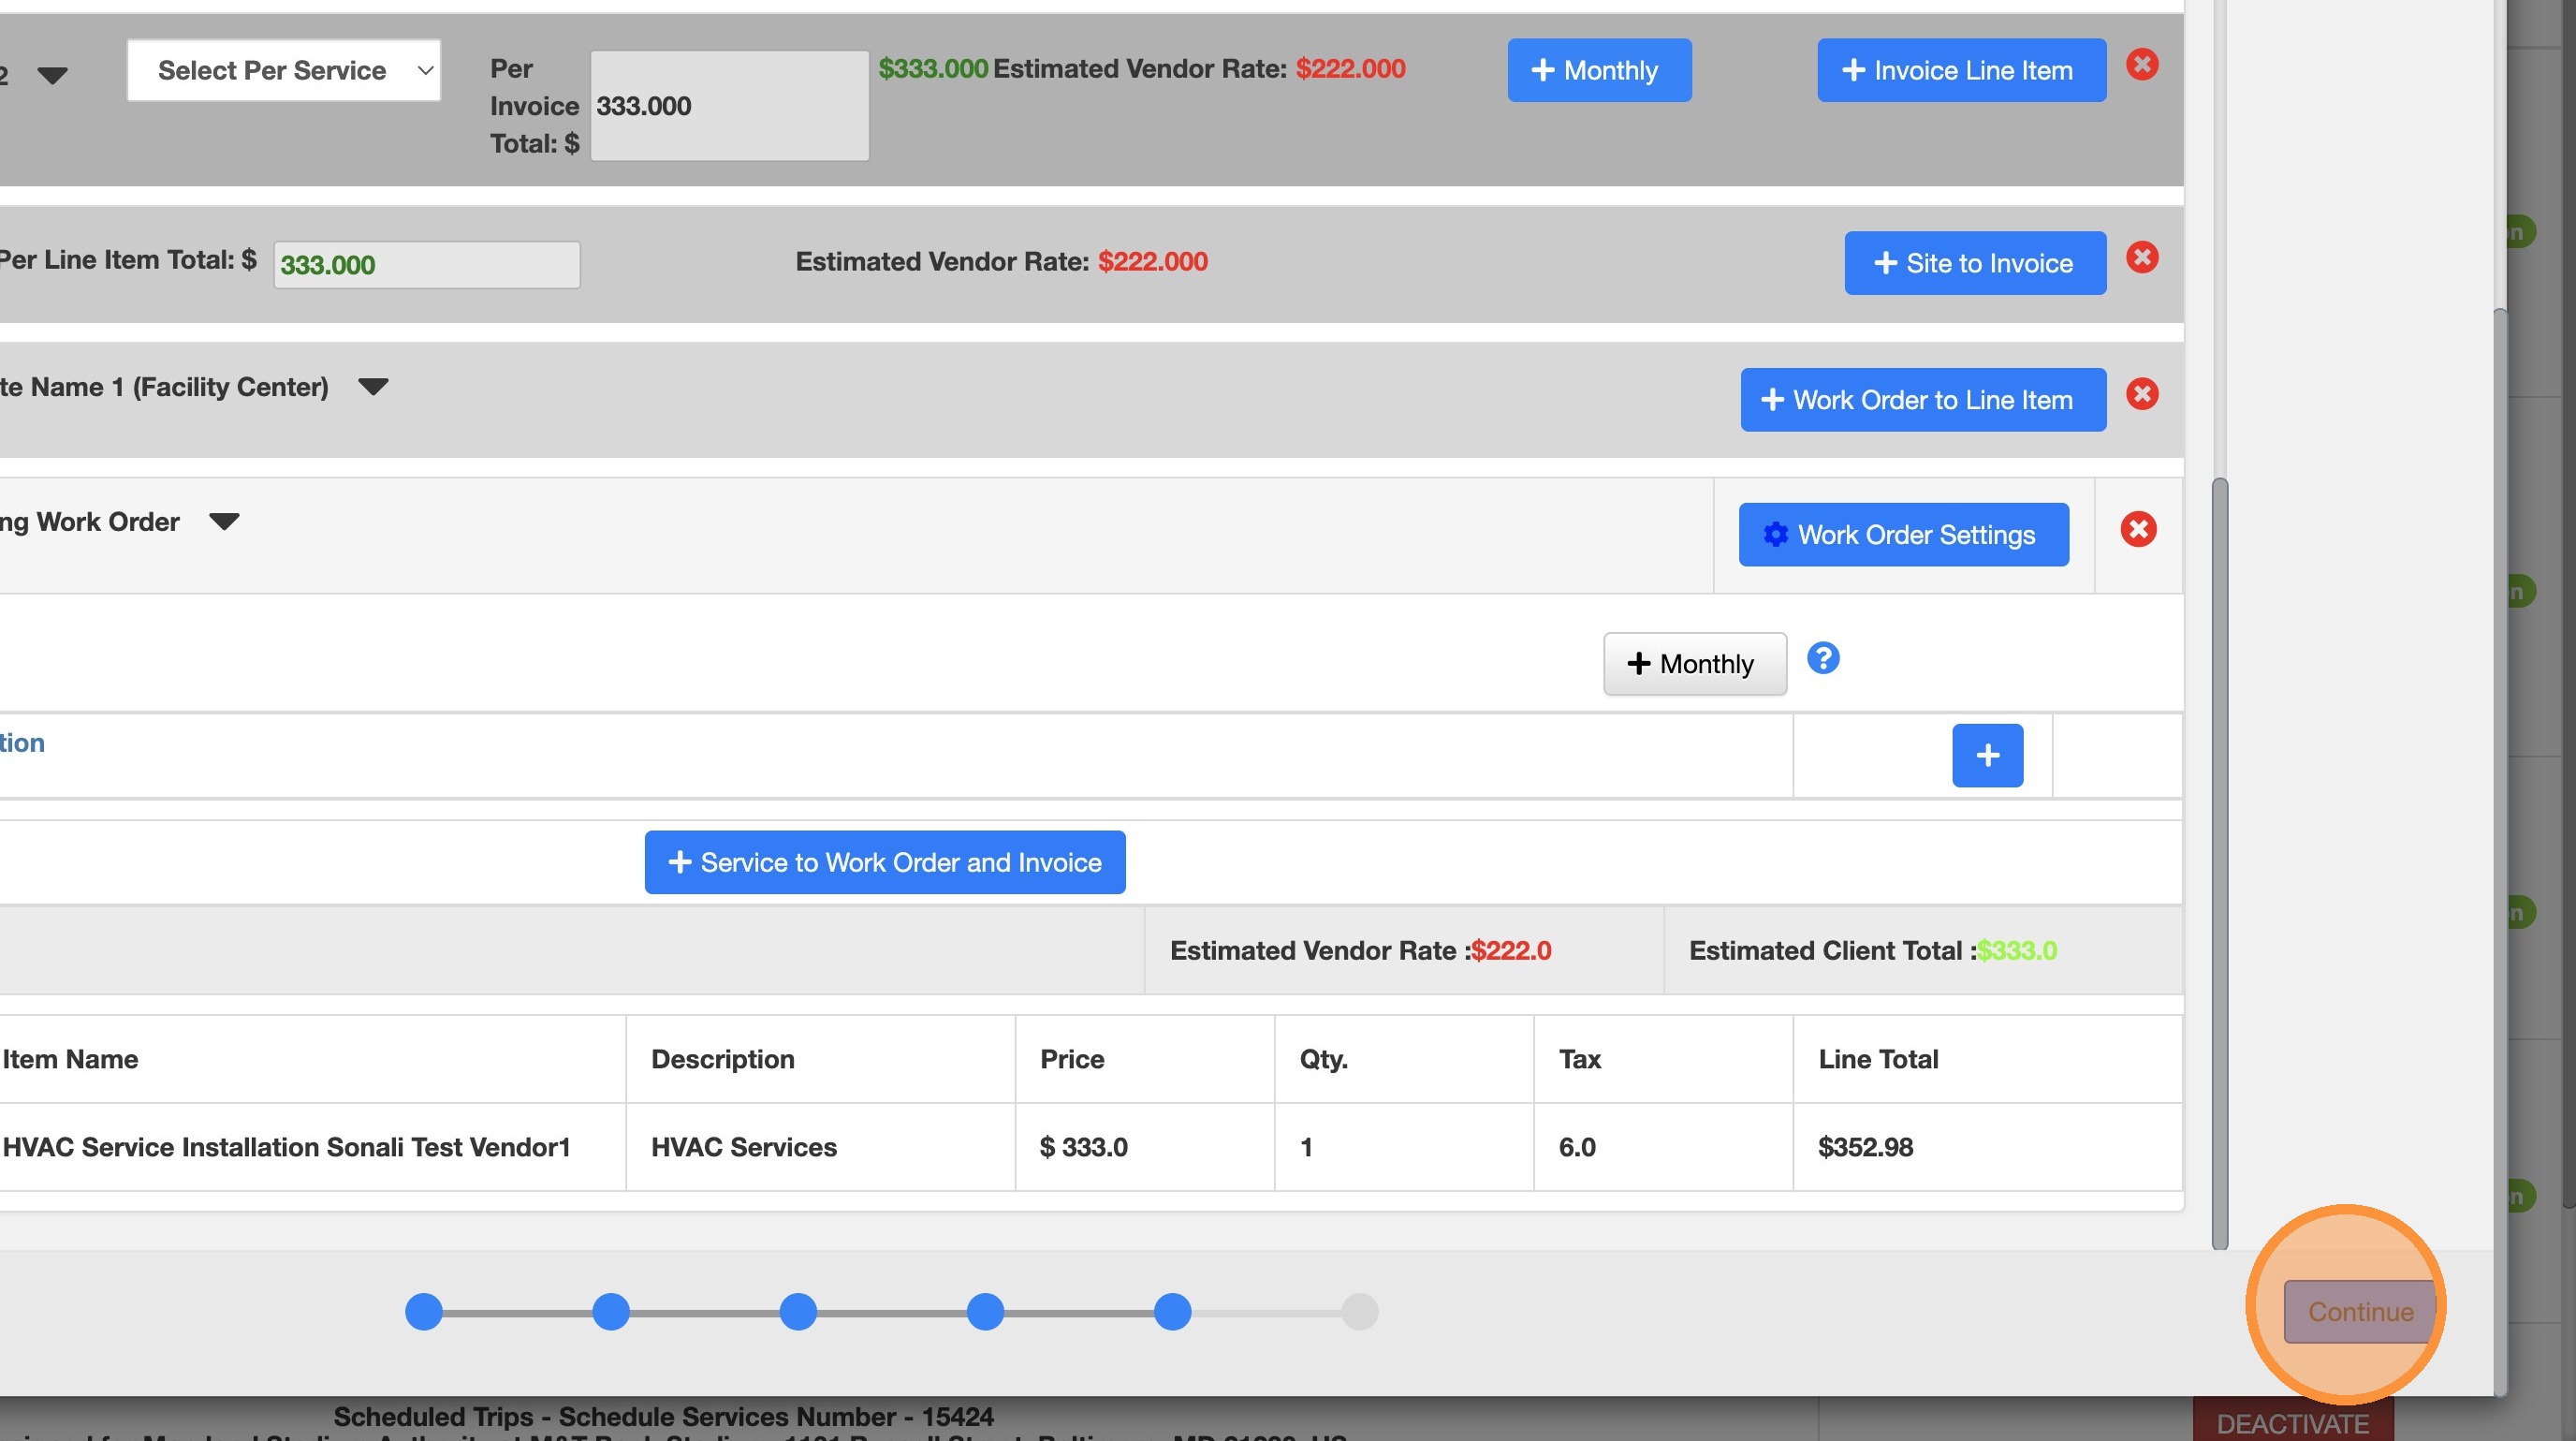
14. Review all the information required.
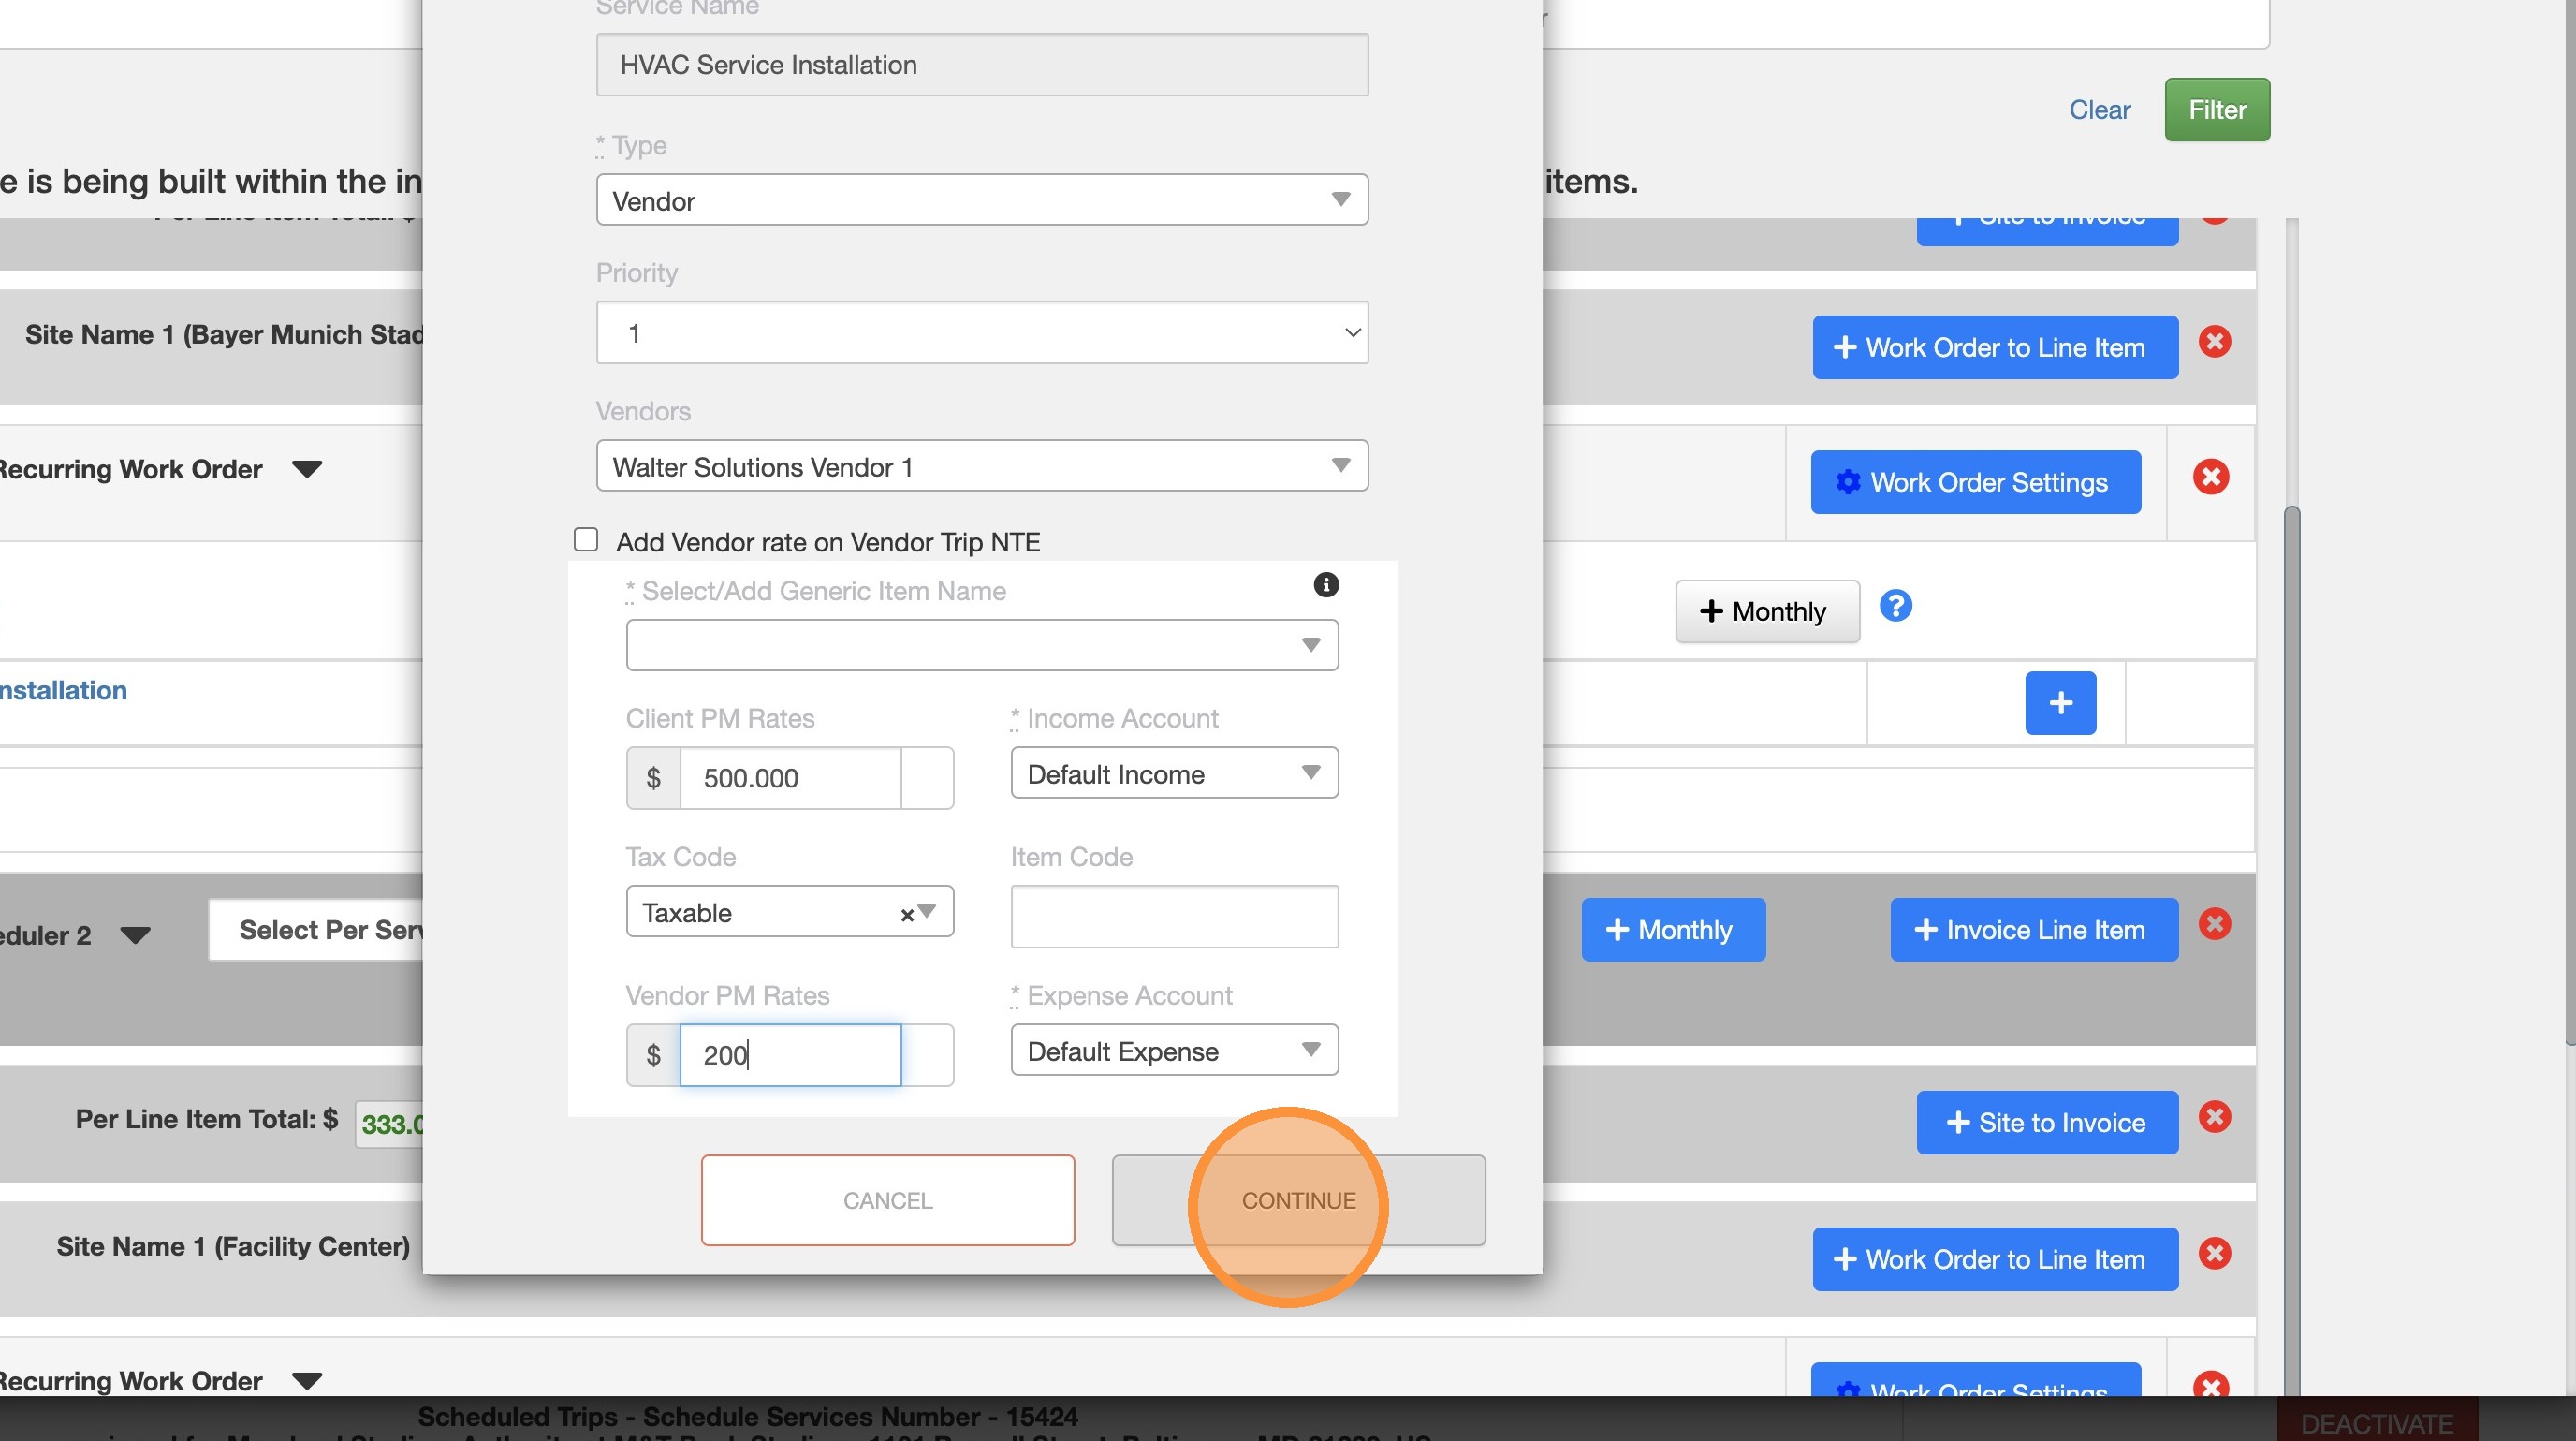
15. Review the information required and click on "Continue".
16. Expand the Service assignation to check the new vendor been assigned.

17. Do not forget also to add the Schedule Vendor Invoice configuration.
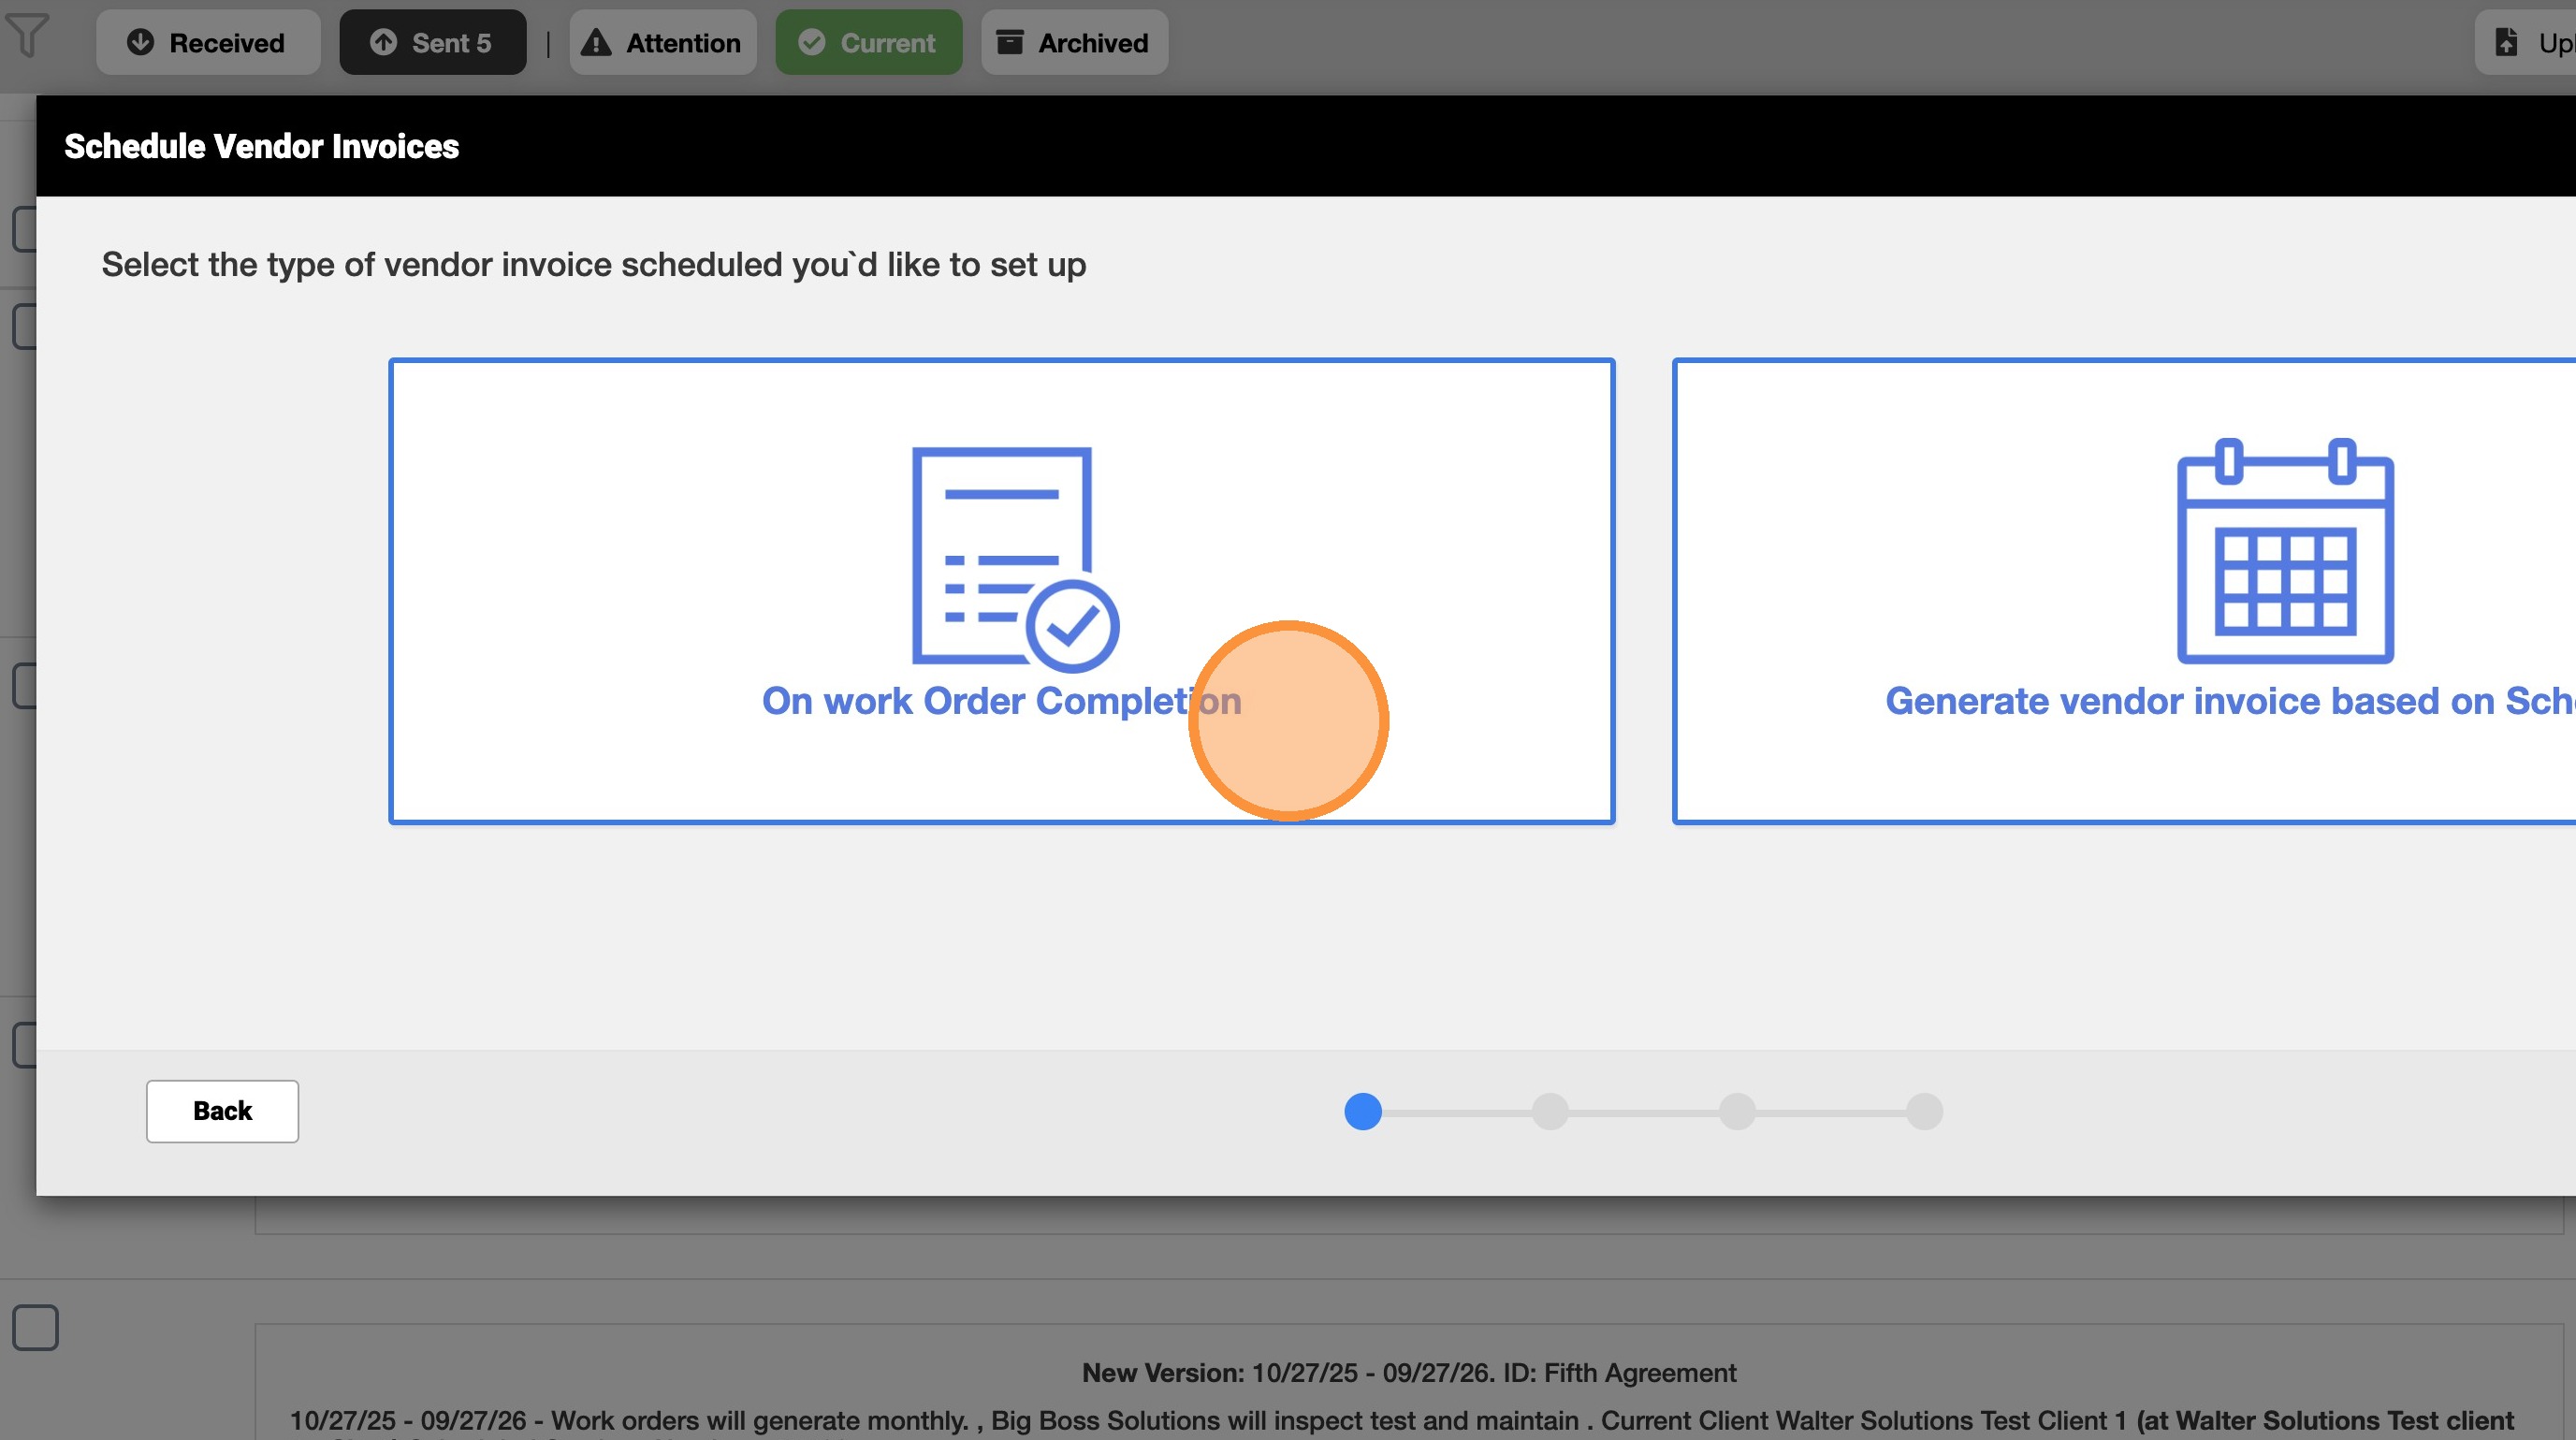
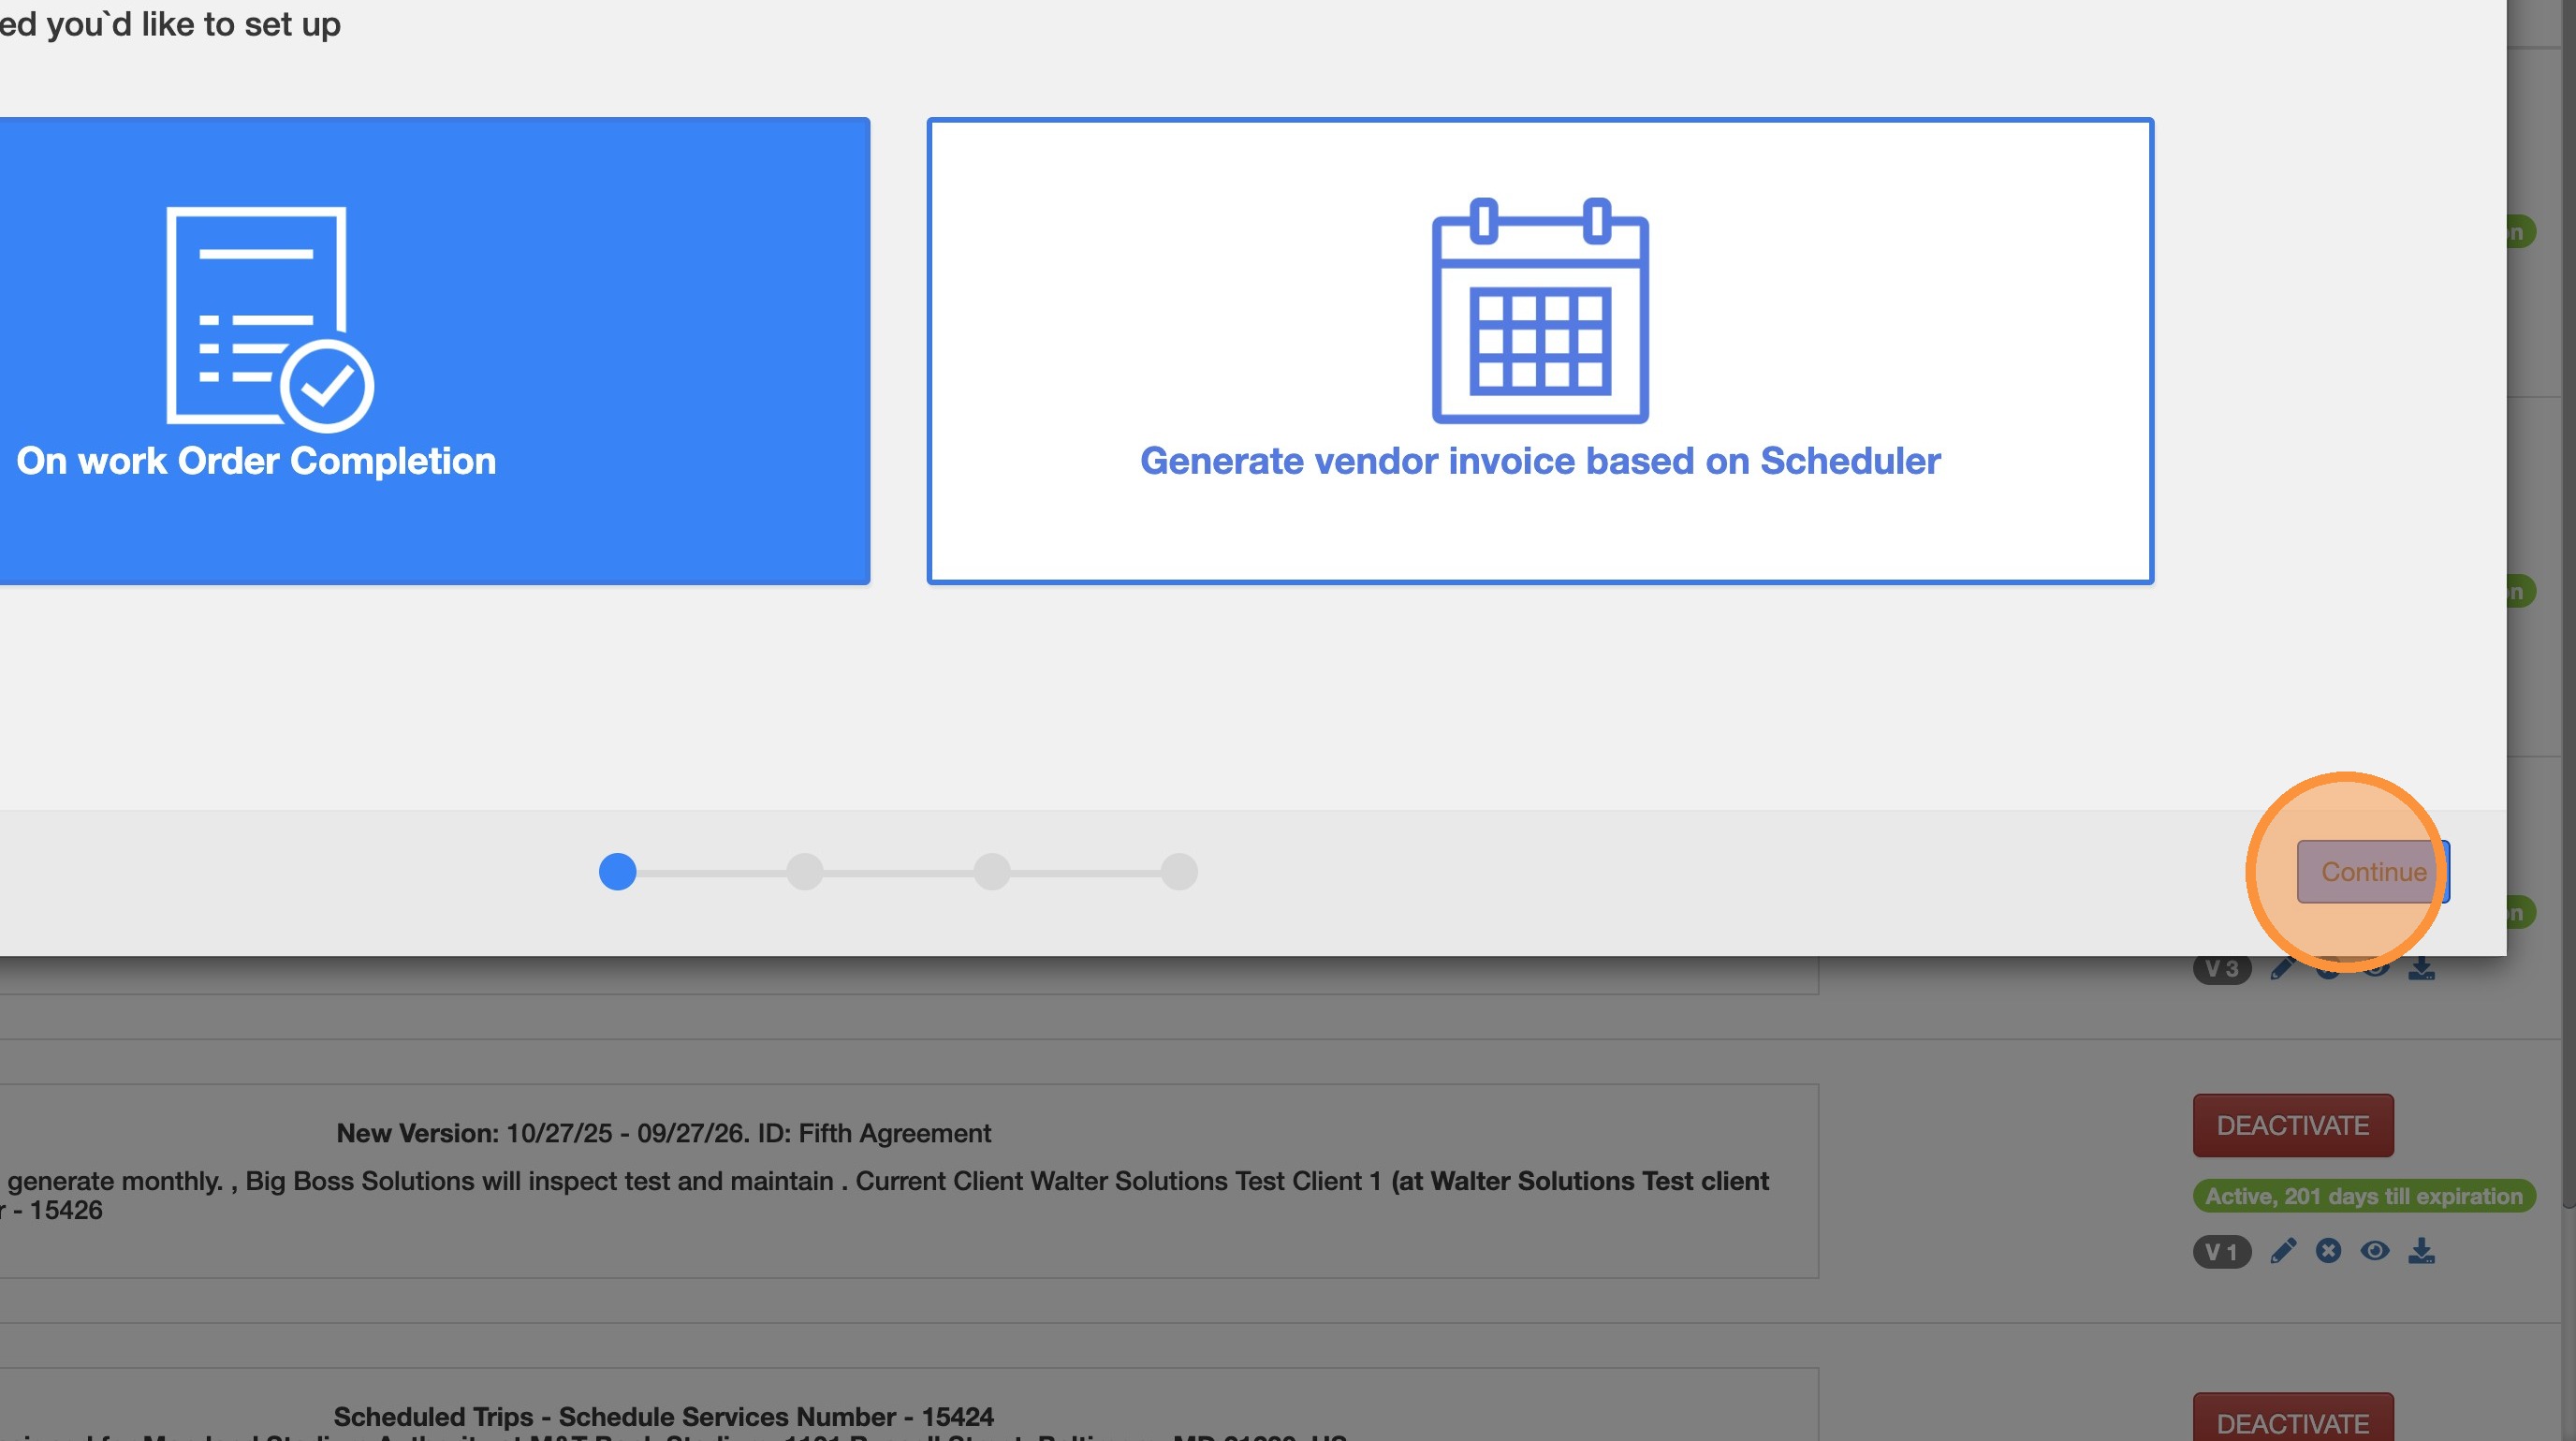
18. On this example it is selected "On Work Order Completion" the vendor billing configuration.
19. Click "Continue"
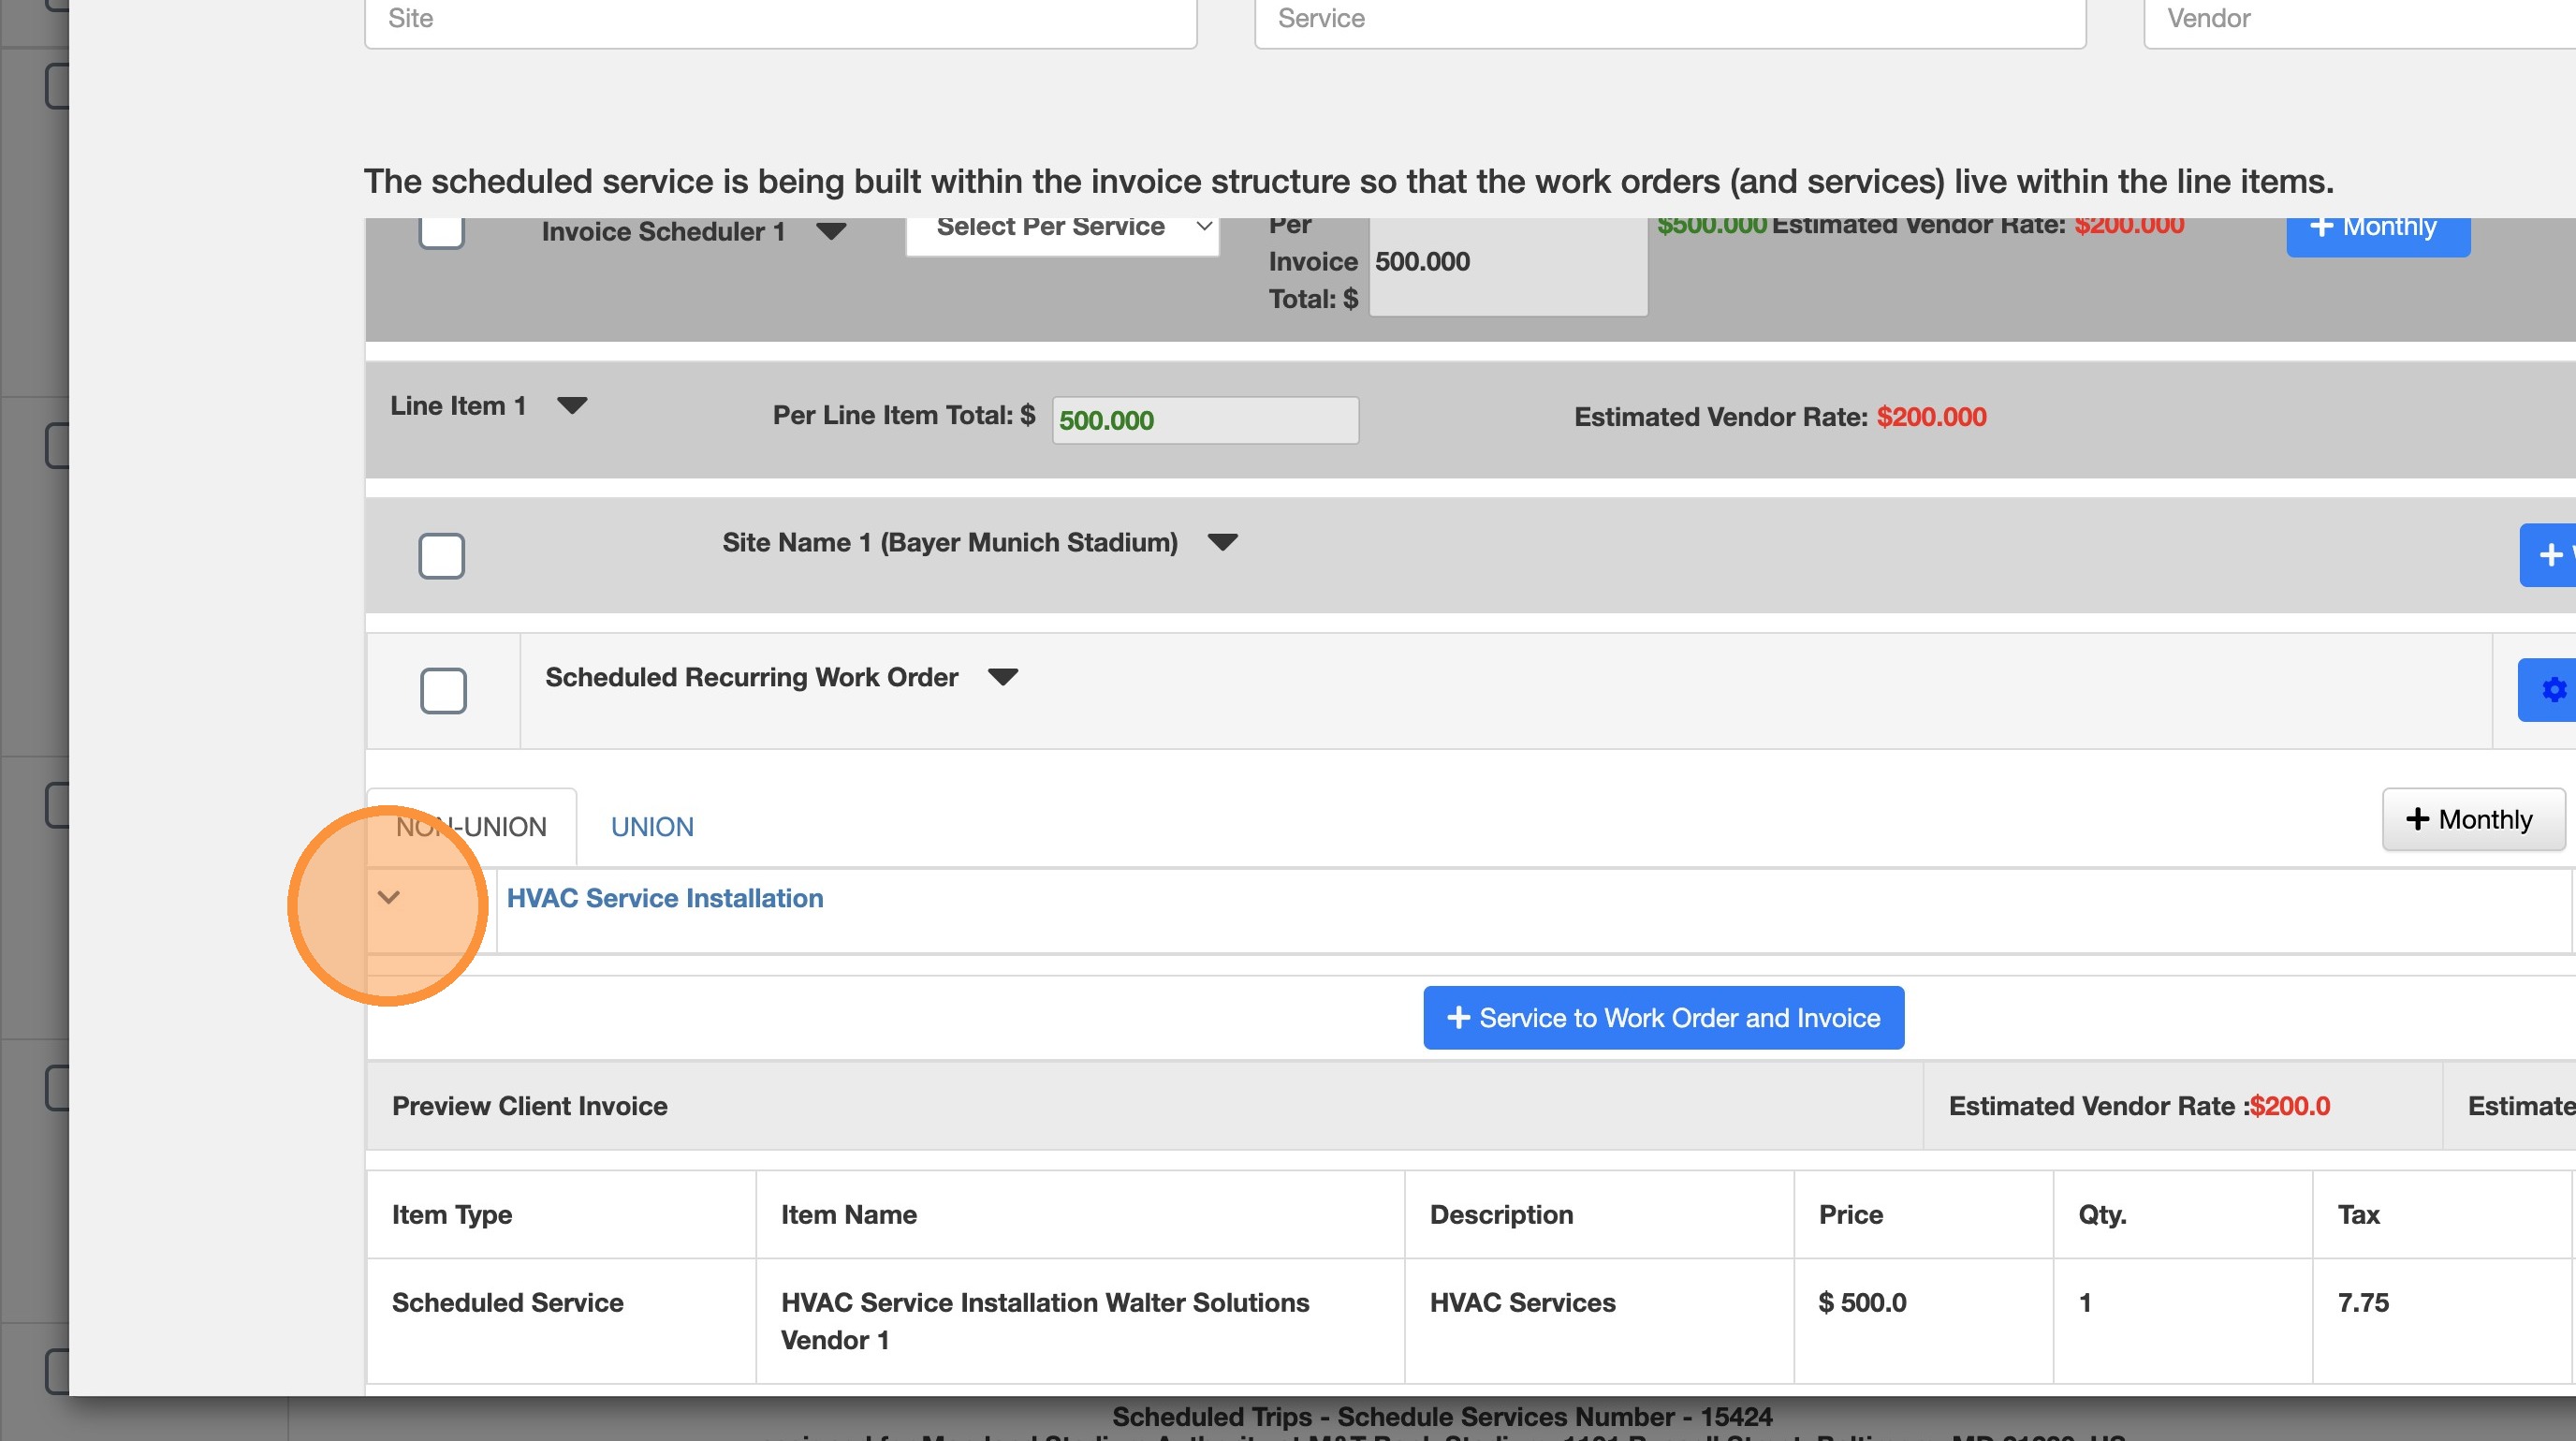
20. Expand to make sure all the information is correct, the new Vendor is seen, the rates assigned.
21. Click "Continue" to save and keep the changes.
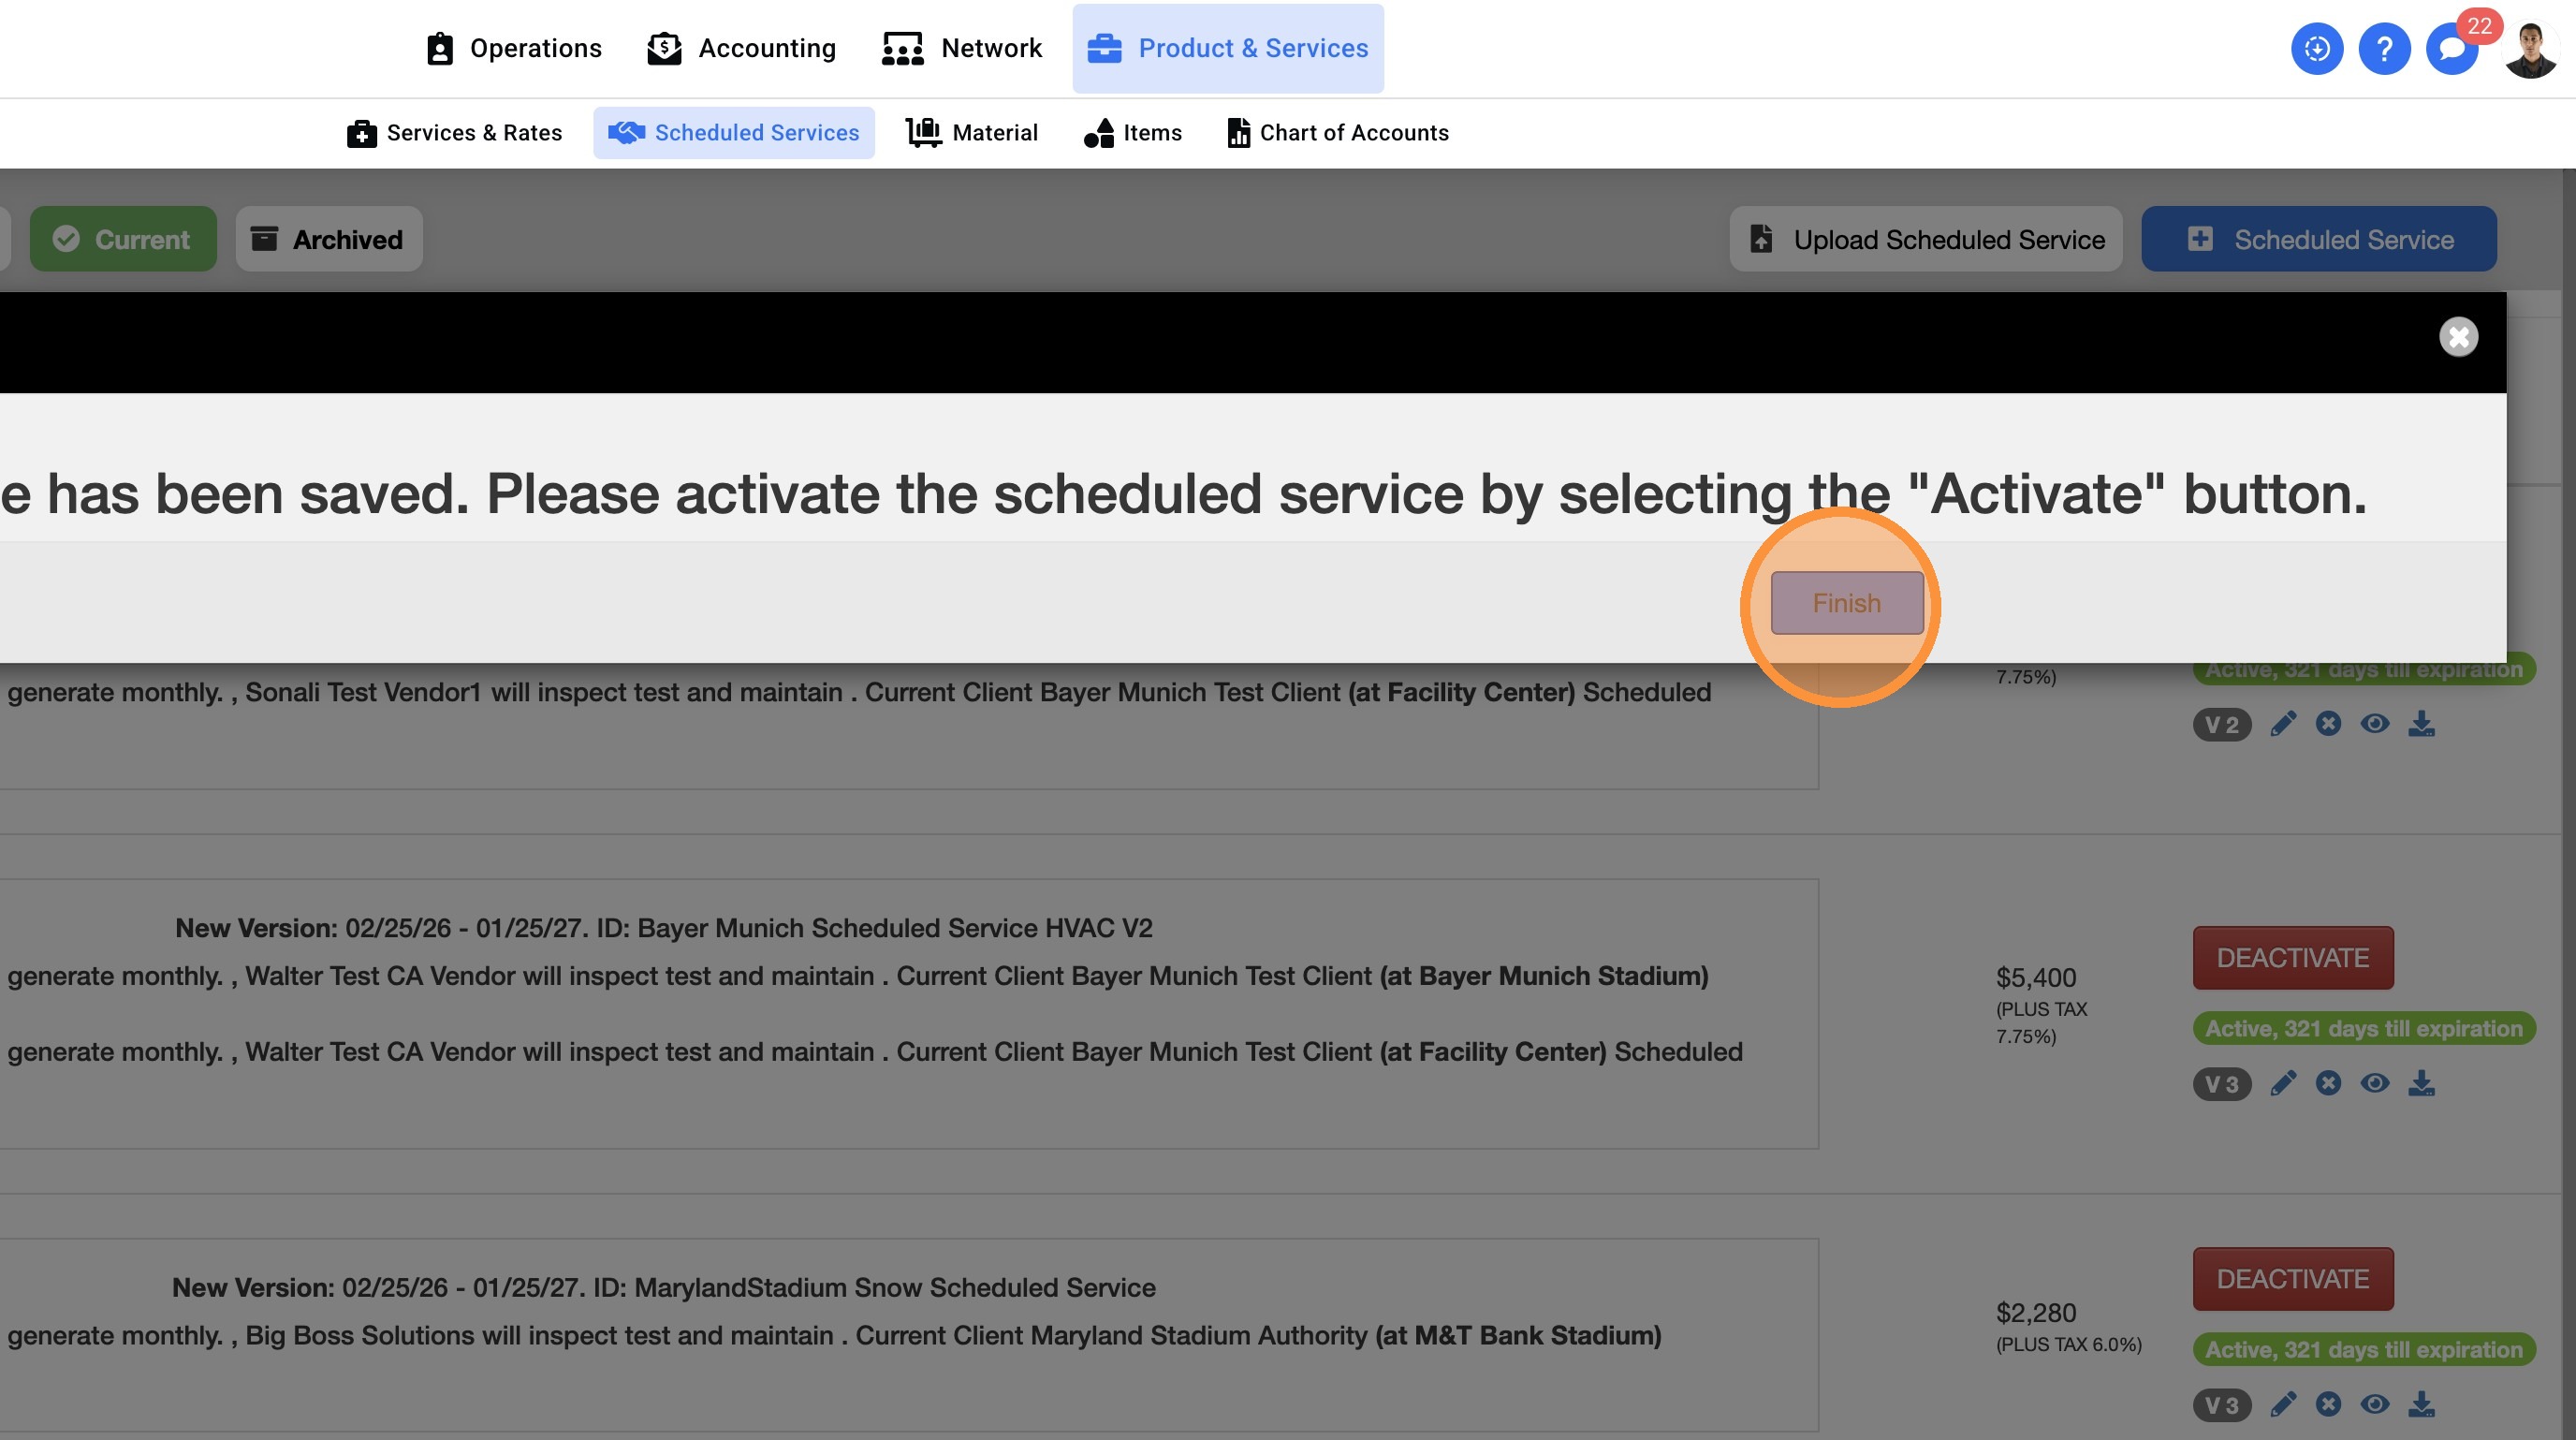
22. Click "Finish"