1. Navigate to your portal
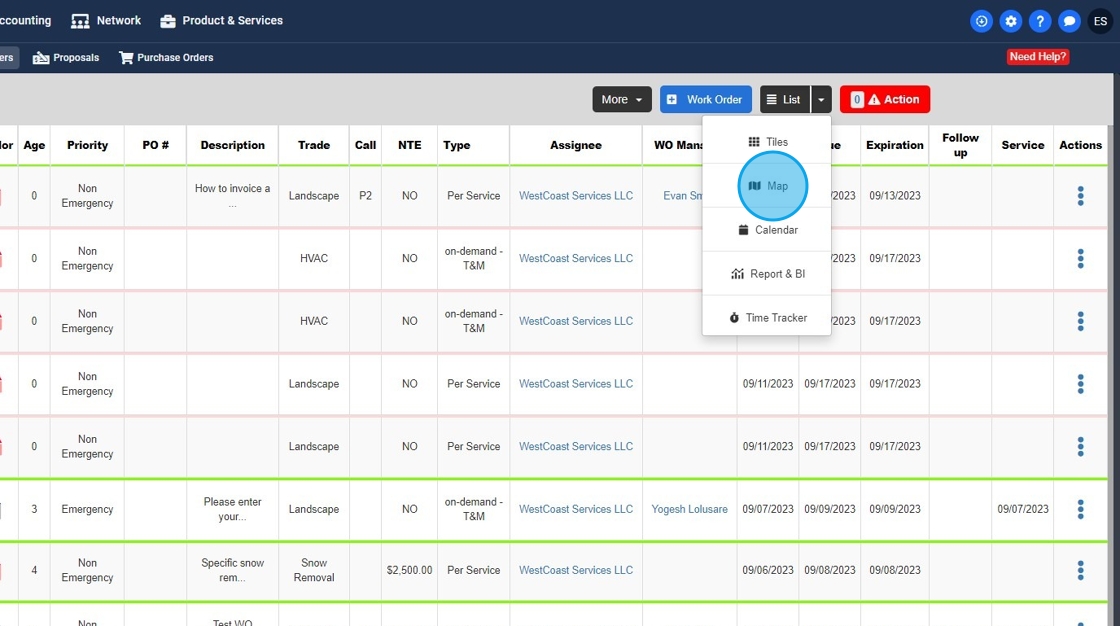
2. Select the drop down next to "LIST"

3. Select MAP
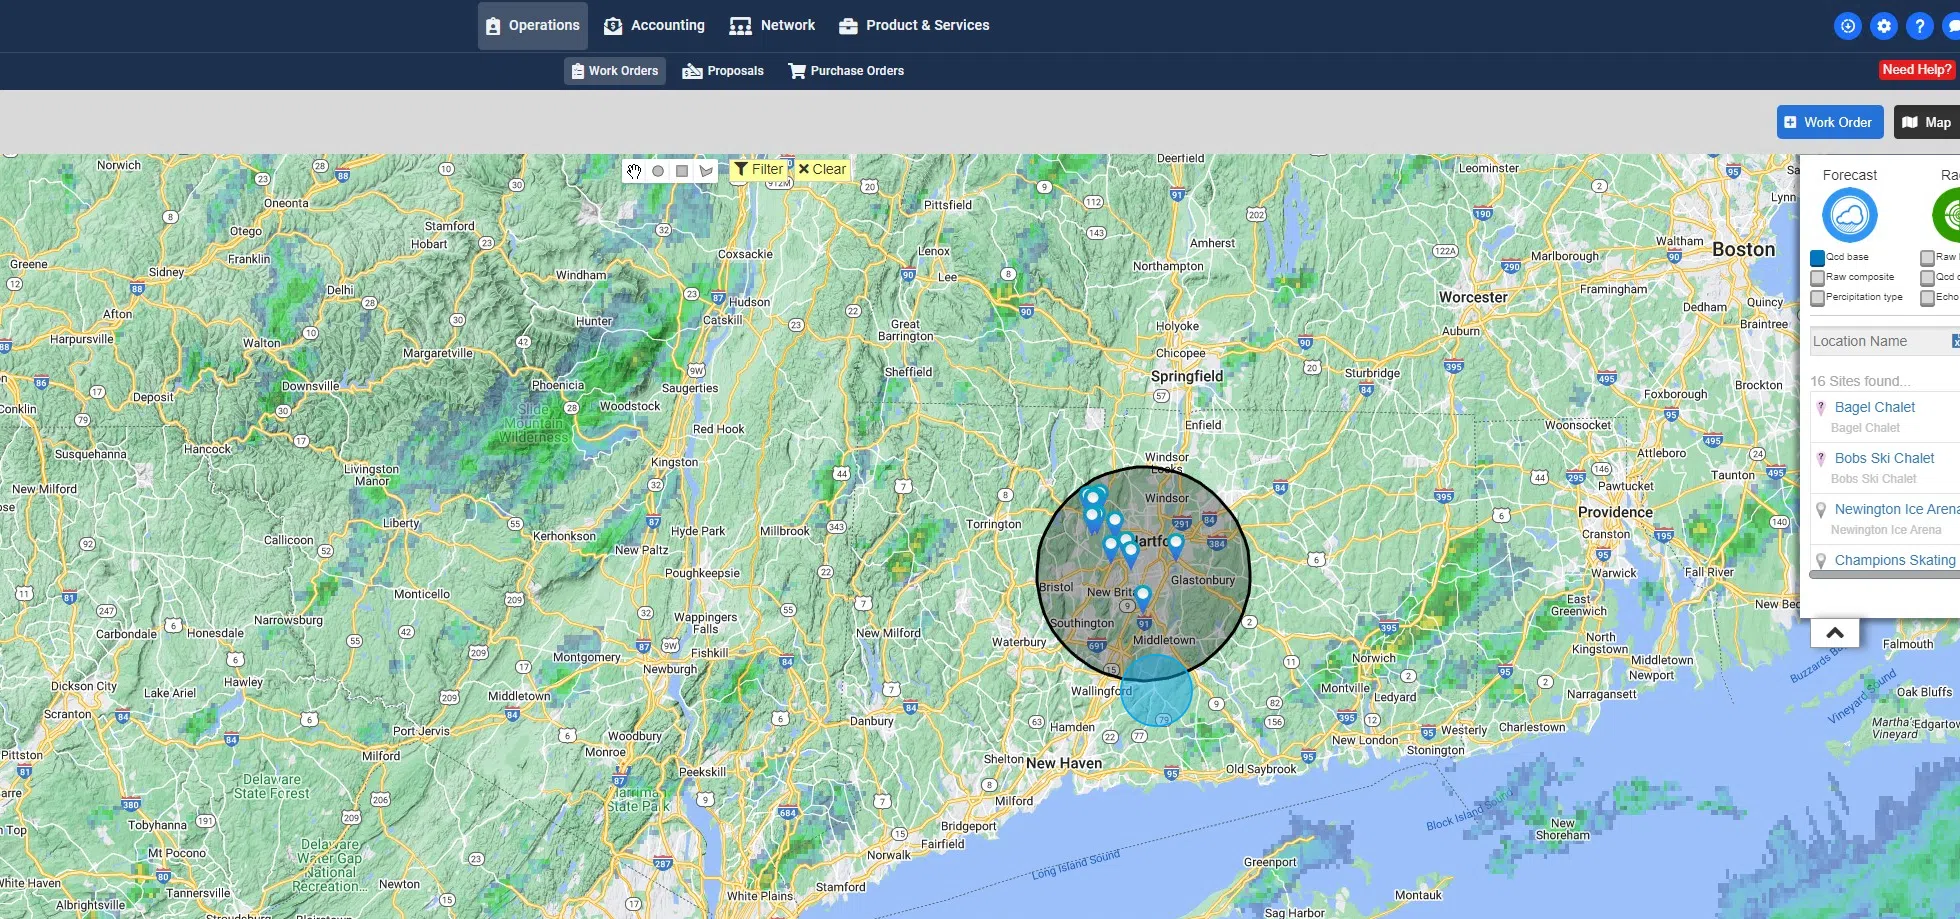
4. Here you will see all of your site pins on the map.

5. If you choose the "Forecast" or "Radar" buttons you can choose to bulk dispatch based on weather if you desire
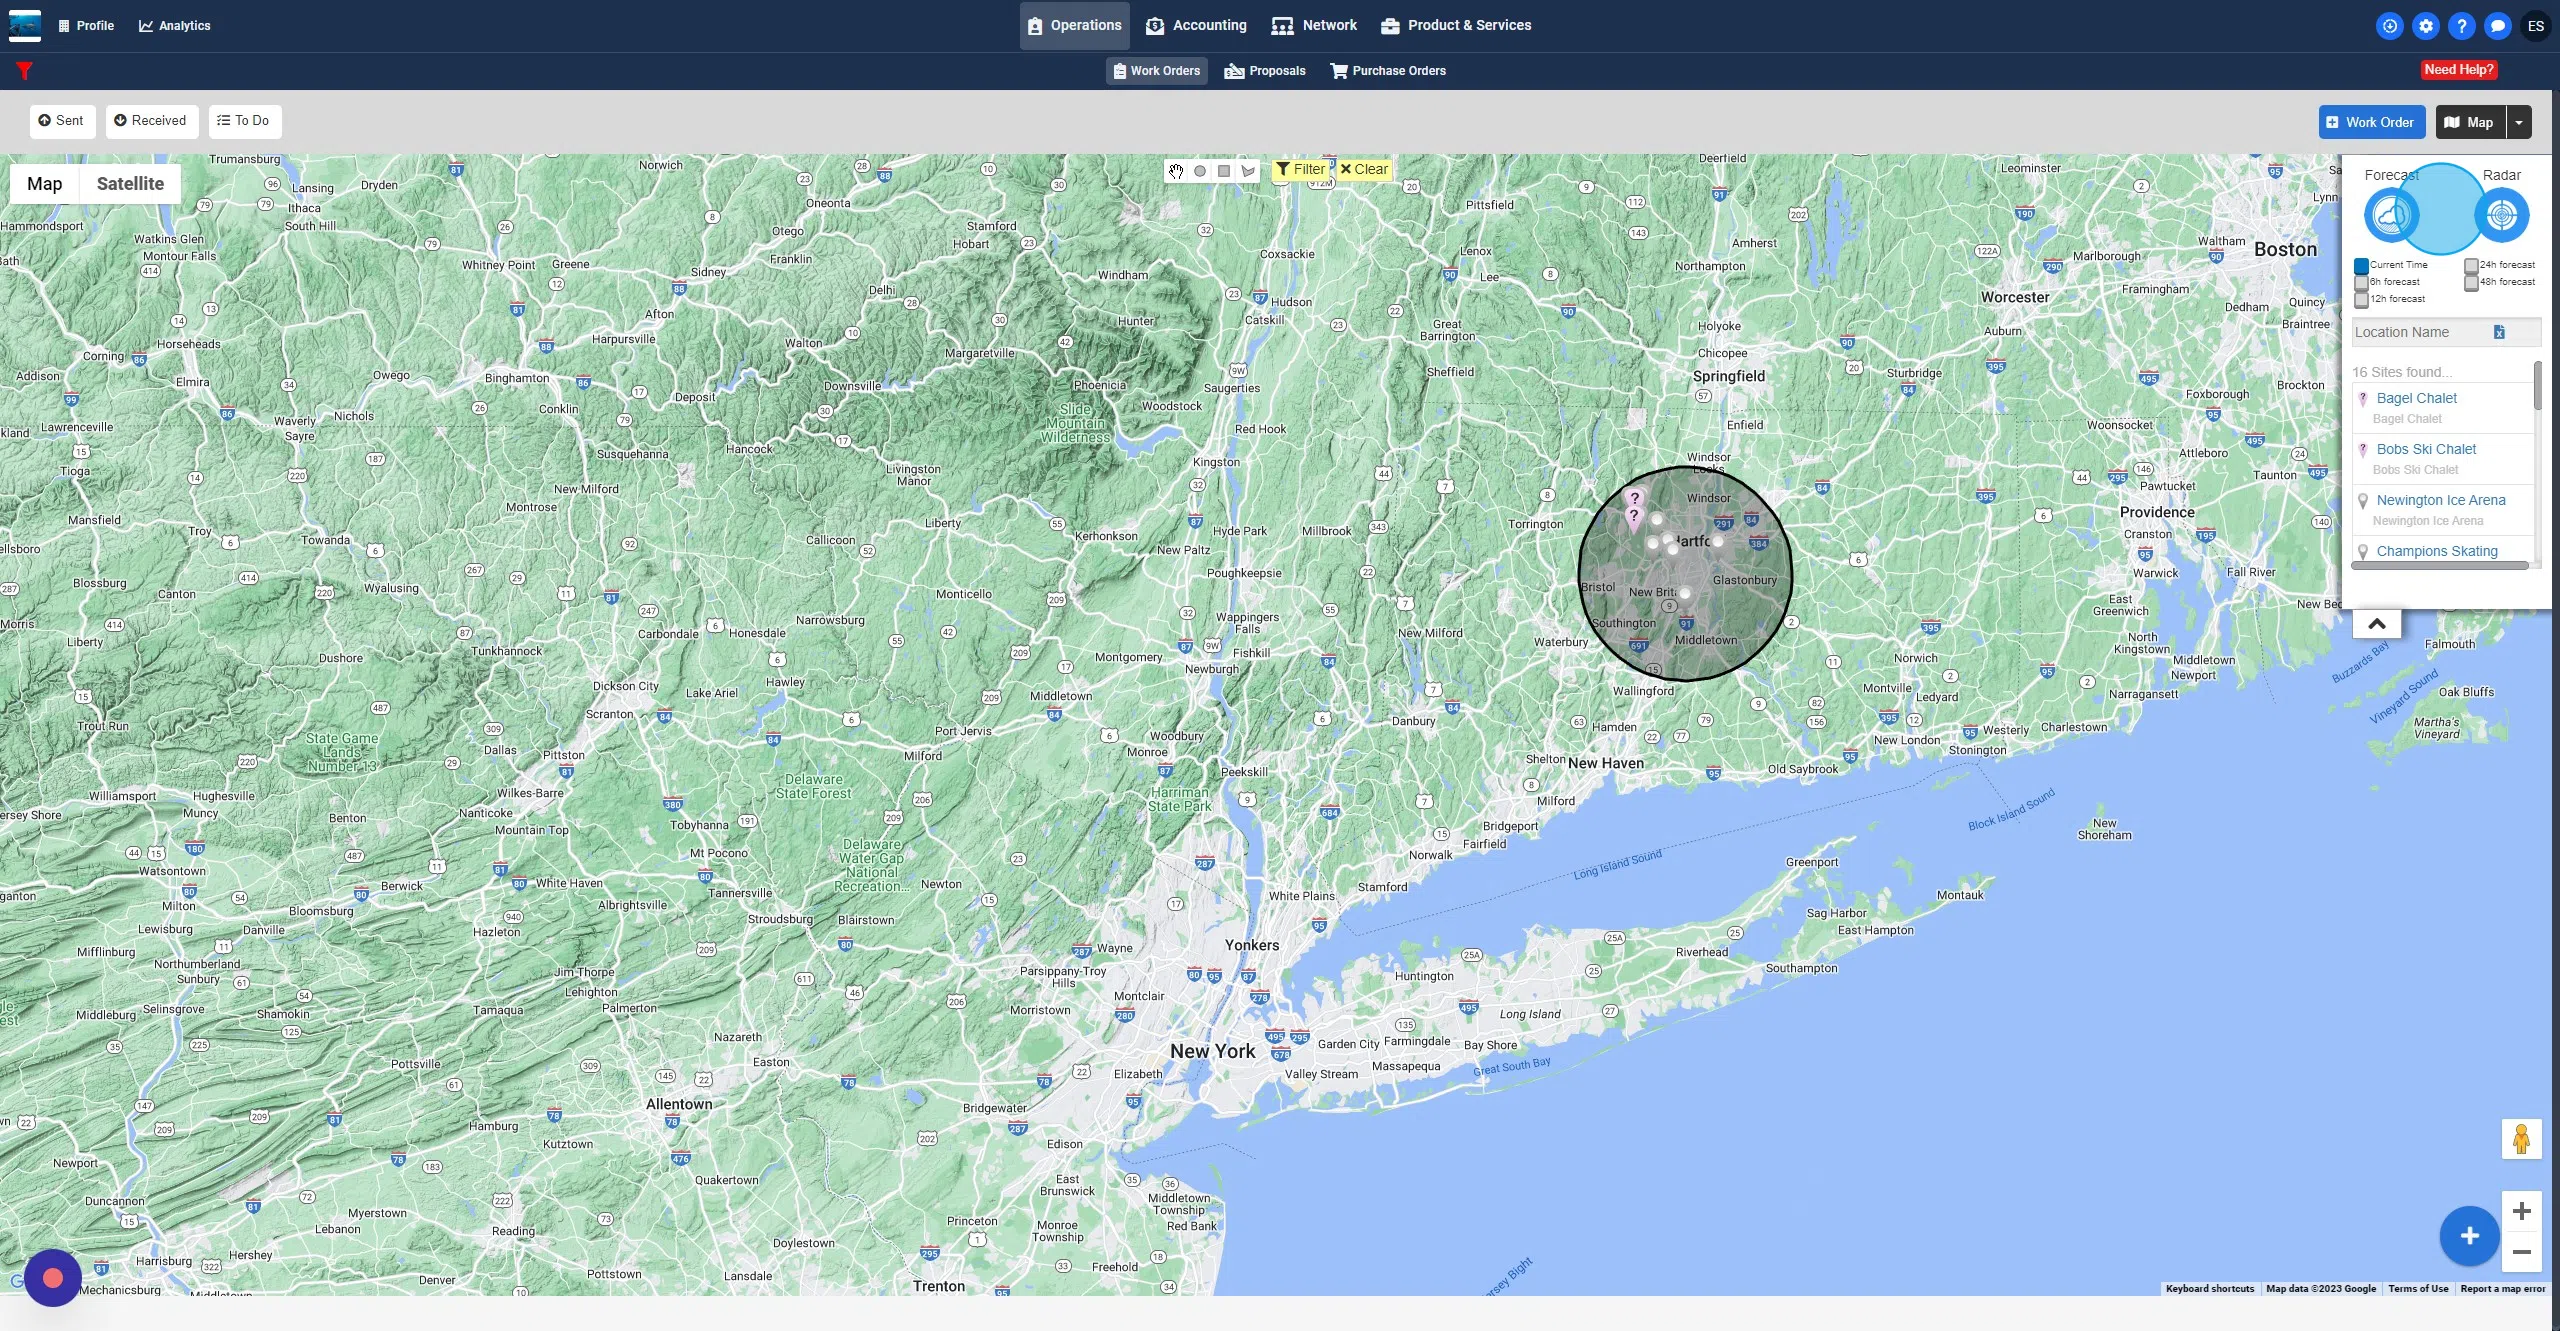
6. Now select the circle or square icon at the top of your screen and select the sites you want (make sure they are within the filter tool (circle or square)

7. Now select the YELLOW filter button (this will activate the filter and only engage the selected sites)

8. Now start to fill out the necessary WO information required

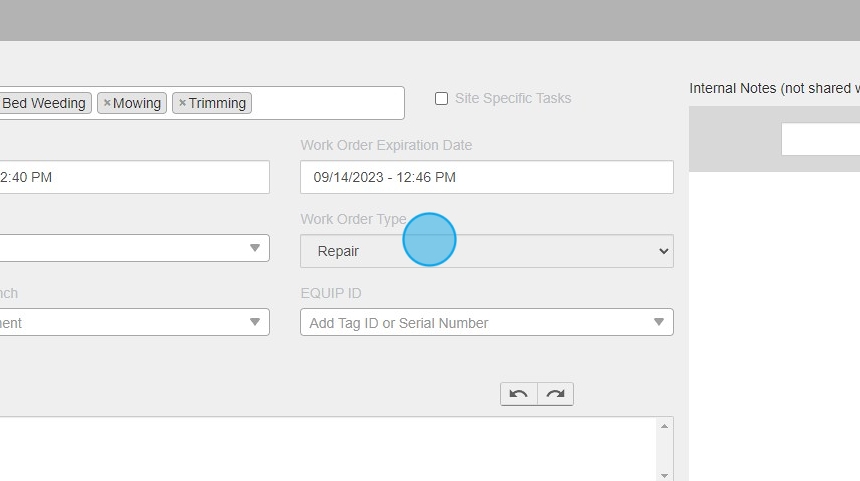
9. Start with selecting a TRADE

10. Now select your Service
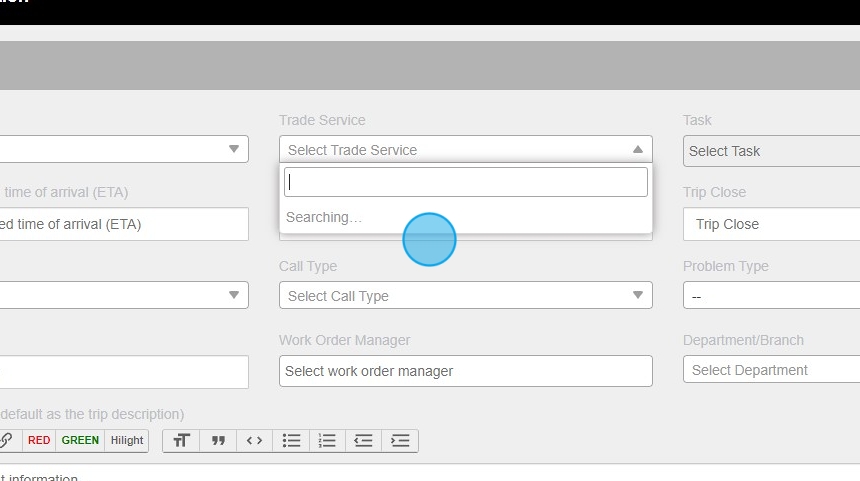
11. Ensure your tasks are selected, if not auto populated (company specific setting)
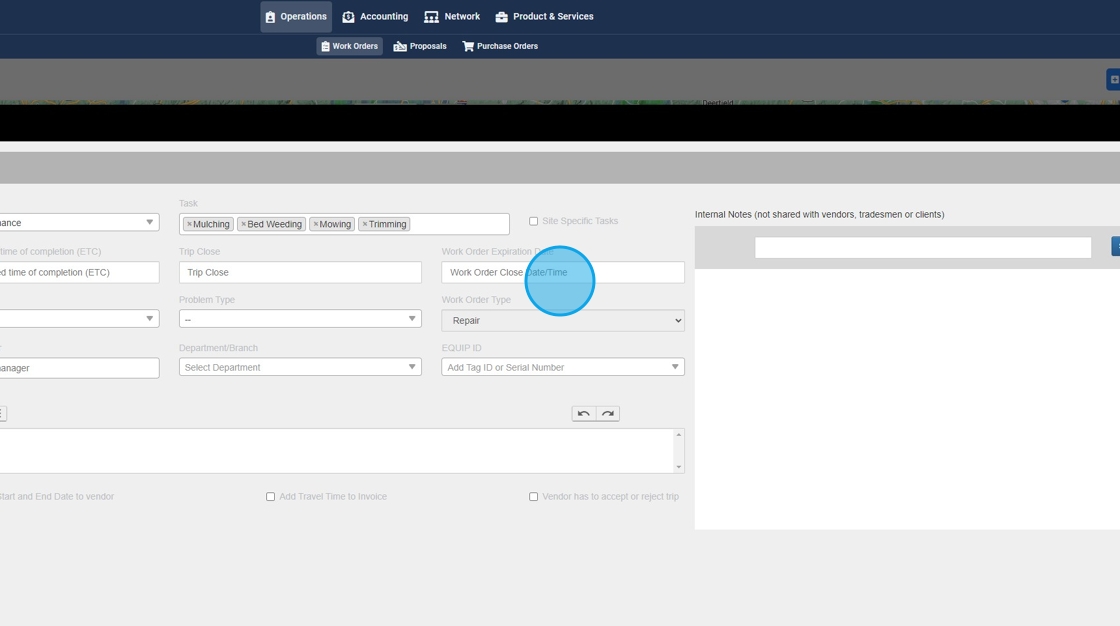
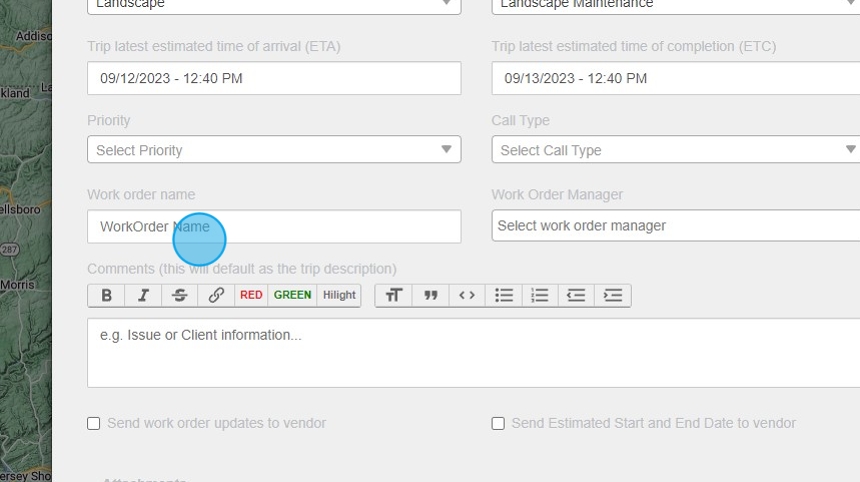
12. Choose your ETA

13. Choose your ETC
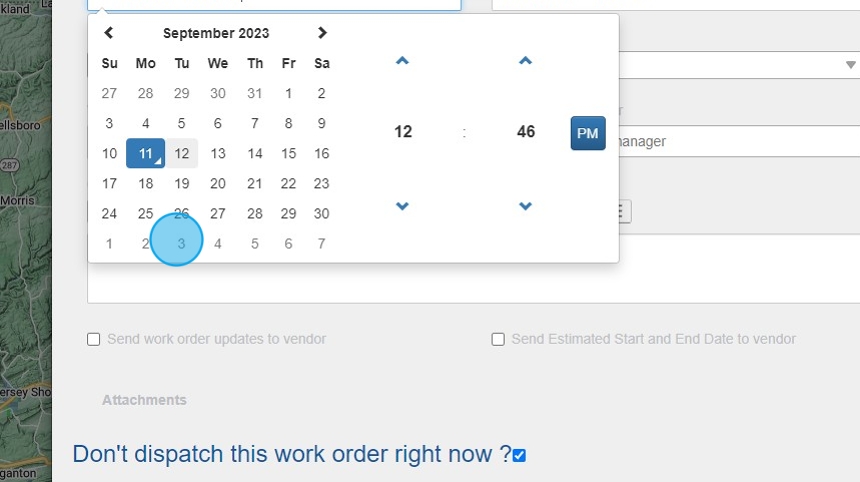
14. Click "Work Order Expiration Date"
15. Choose WO name preferred
16. Select your desired priority

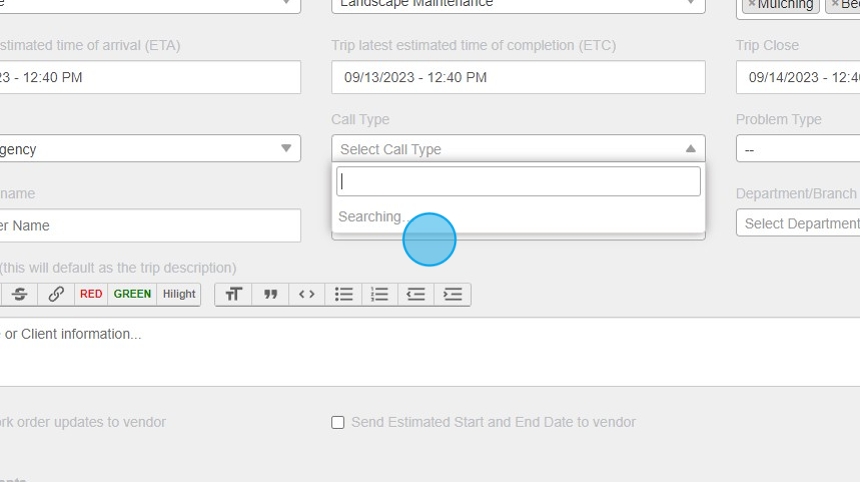
17. Choose a Call Type if preferred
18. Click the "Select work order manager" field.

19. Click "Send work order updates to vendor" - This must be checked to send out email correspondence
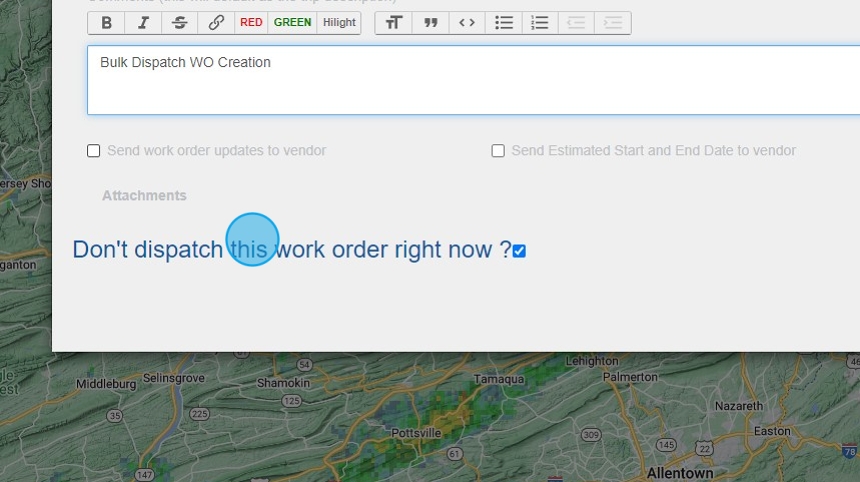
20. Hit Apply

21. Using the SECOND row to choose bulk choices, start with selecting your client billing type

22. Next, choose Assignee Type

23. Click "WestCoast Services LLC"
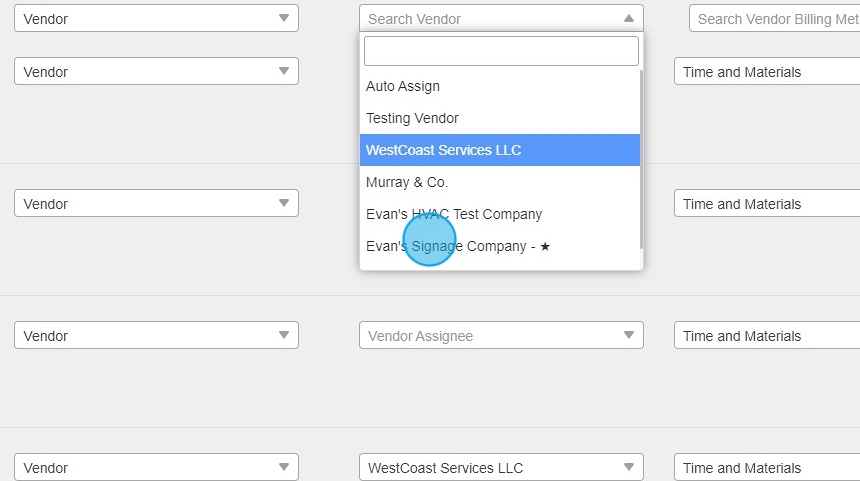
24. Next choose your vendor billing method & the Vendor/Team Member desired

25. Next you will select the "APPLY" button at the far right of the second row
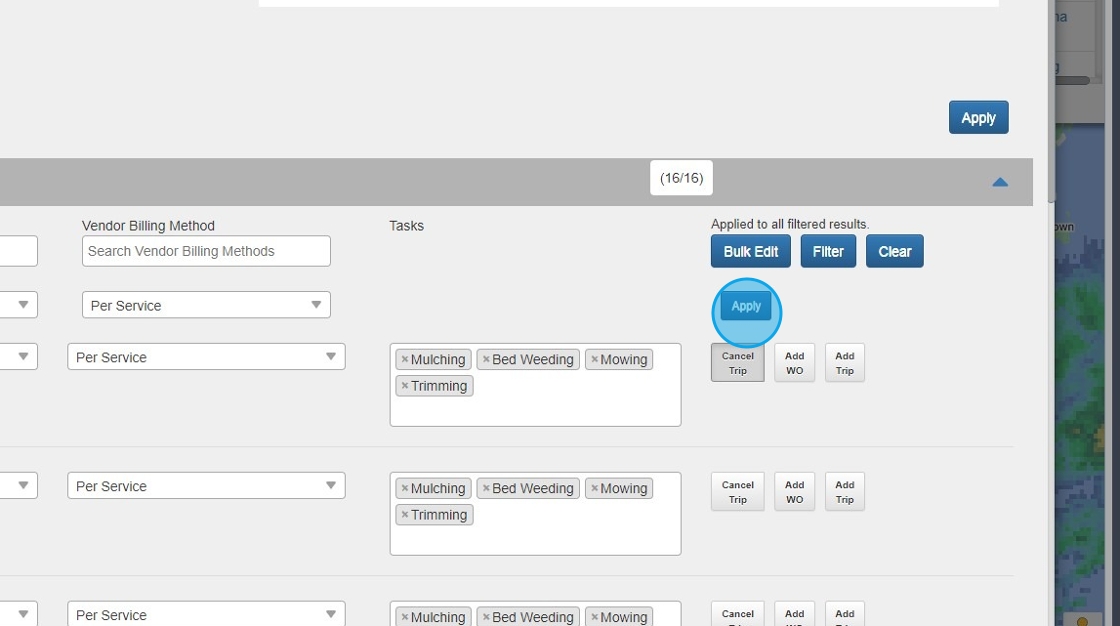
26. Click "Schedule" to complete

27. Now you will wait for all WO's to be created. You will see the green status bar showing successful

28. Once back on the map, don't forget to clear your filter
29. Now go back to your WO's page and you will see all of the newly created bulk WO's

30. Open up each trip drawer for review if you desire
