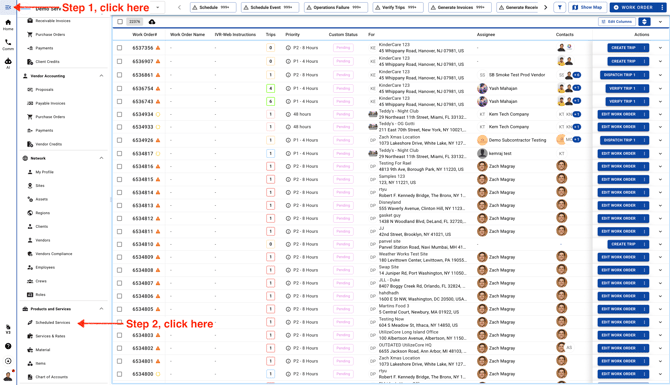
- To get started, open the menu in the top-left corner, then scroll down and select Scheduled Services.
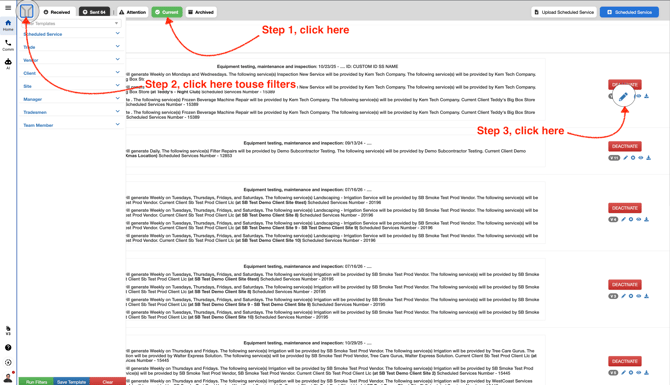
- Next, click the Current tab to view all active Scheduled Services. You can narrow down the list using the Client, Sites, or Vendors filters. Once you’ve found the Scheduled Service you’d like to update, click its pencil button to edit it.
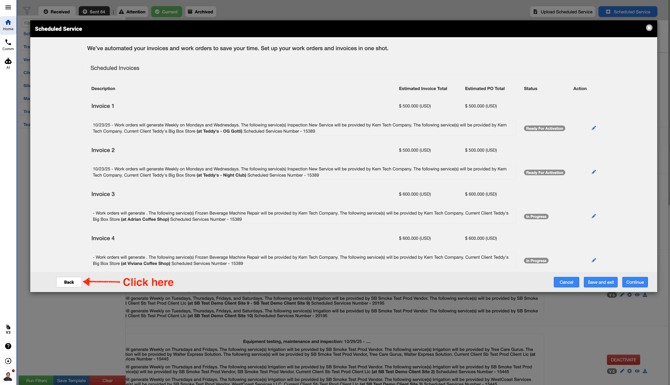
- Click Back.
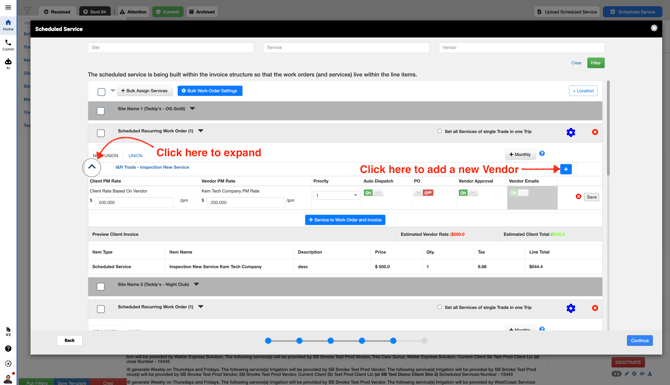
- Now, expand the Service name, then click the blue plus button to add a new Vendor.
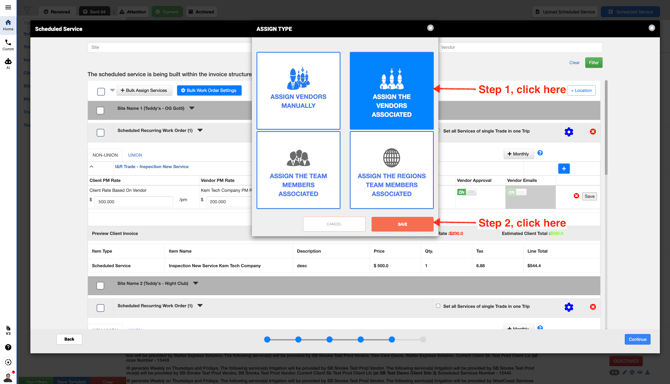
- Click "Assign The Vendors Associated," then click Save. This automatically adds the Vendor associated with the Site, so you don’t need to add it manually.
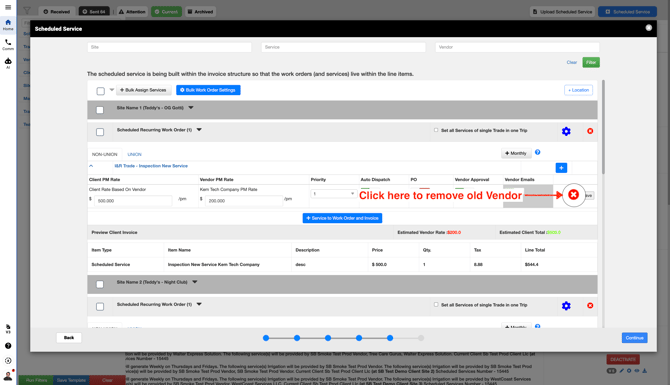
- Click on the red cross icon to remove the old Vendor.
- Click Save.
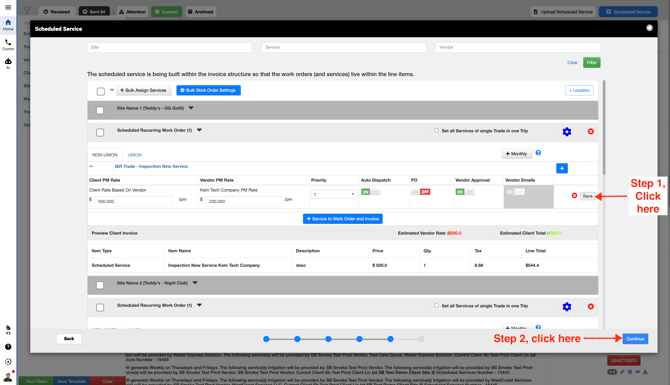
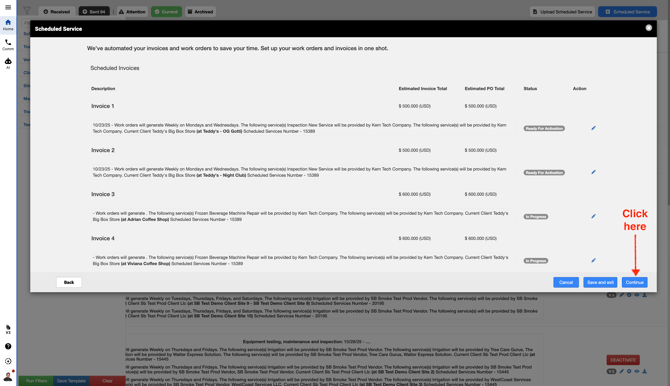
- Click on Continue.
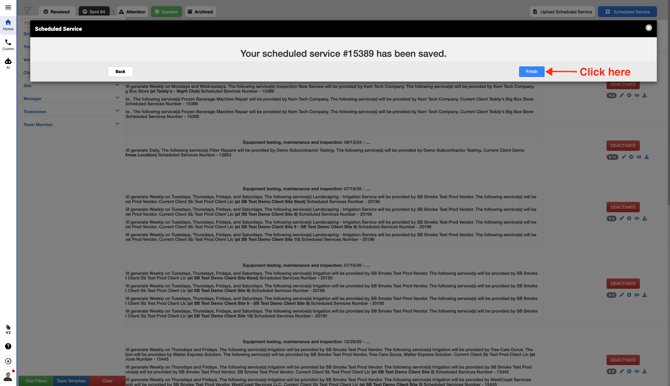
- Click Finish.