Learn the step-by-step process for registering a new client account within the Utilizecore platform. This guide covers inputting essential business information, contact details, and financial settings to ensure your client database is accurately managed.
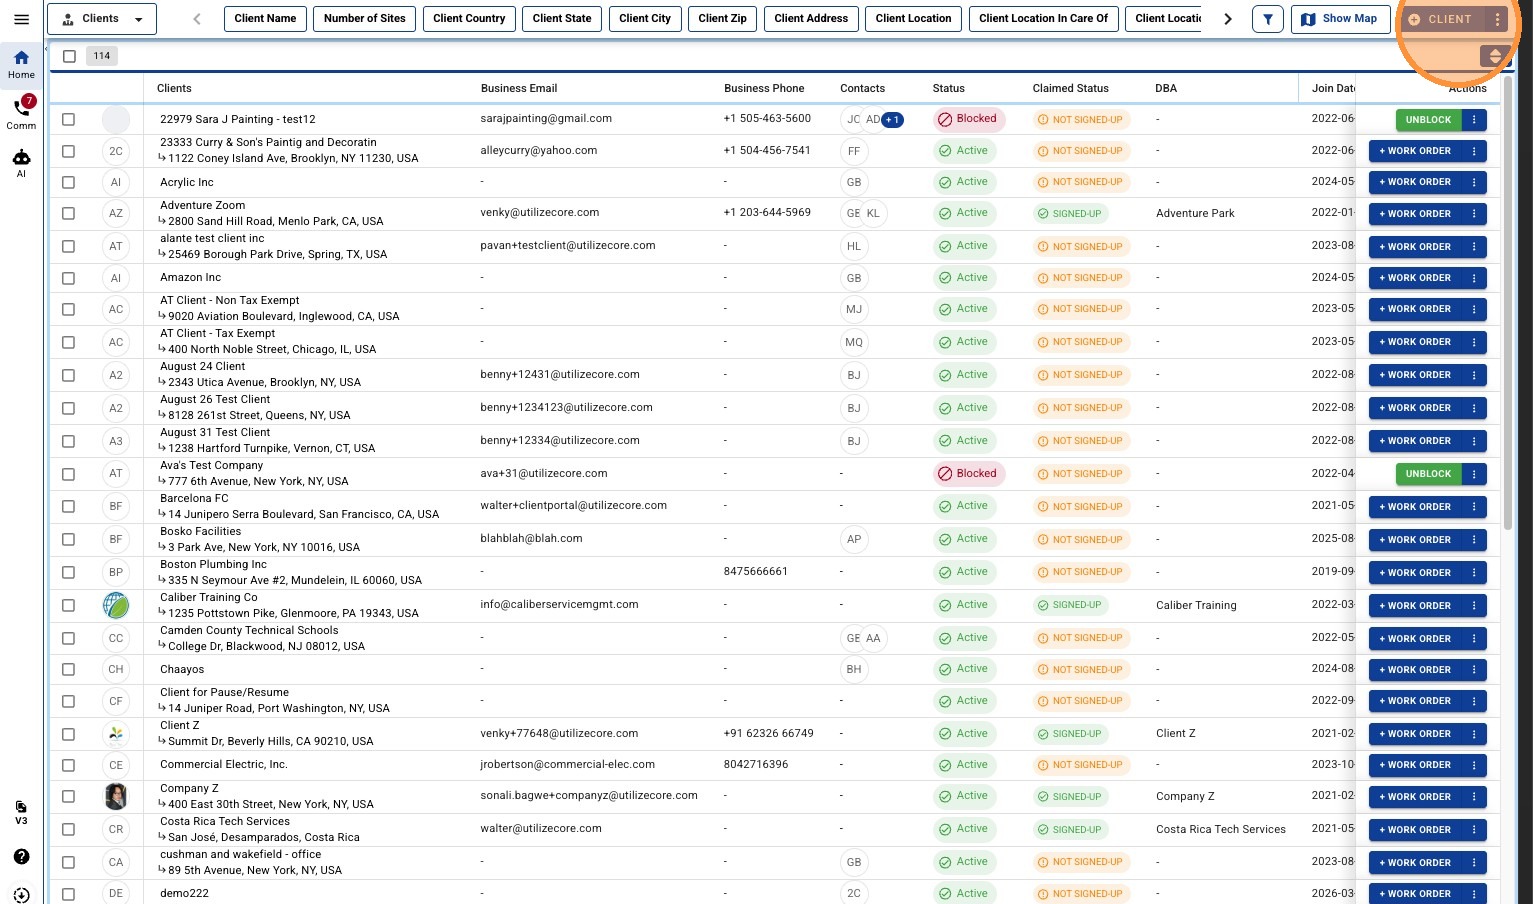
1. Navigate to the Client Module, then click "+ CLIENT"
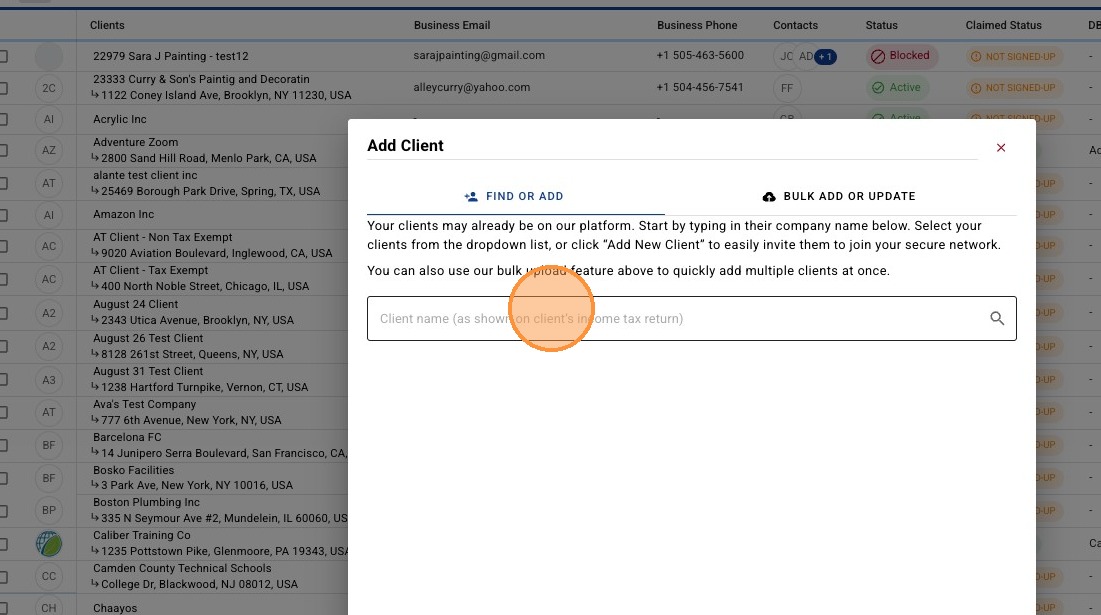
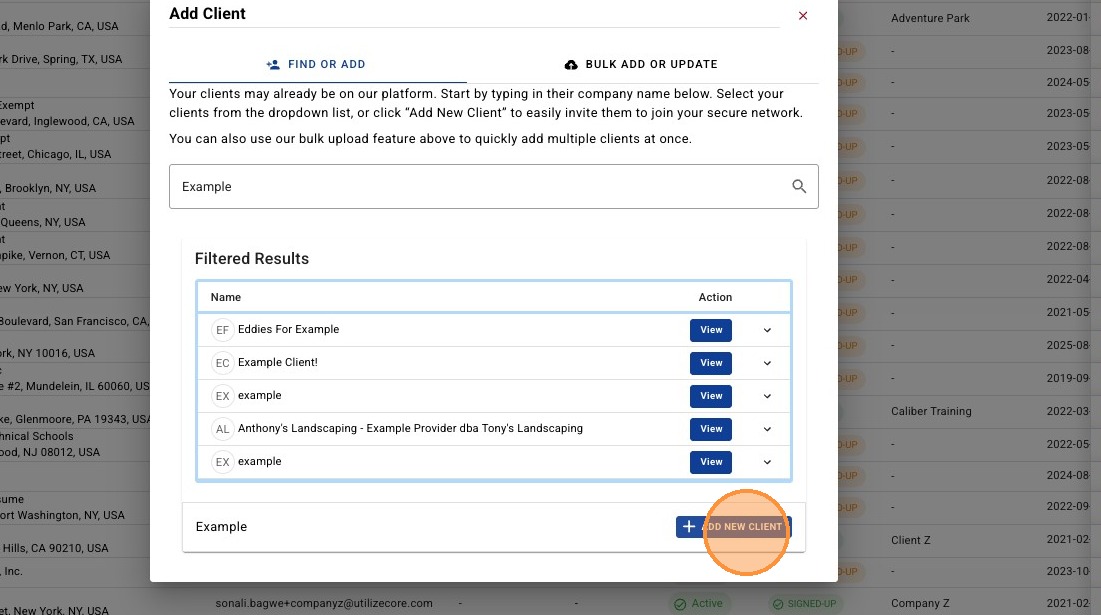
2. Search to see if the Client already exist in the UtilizeCore network.
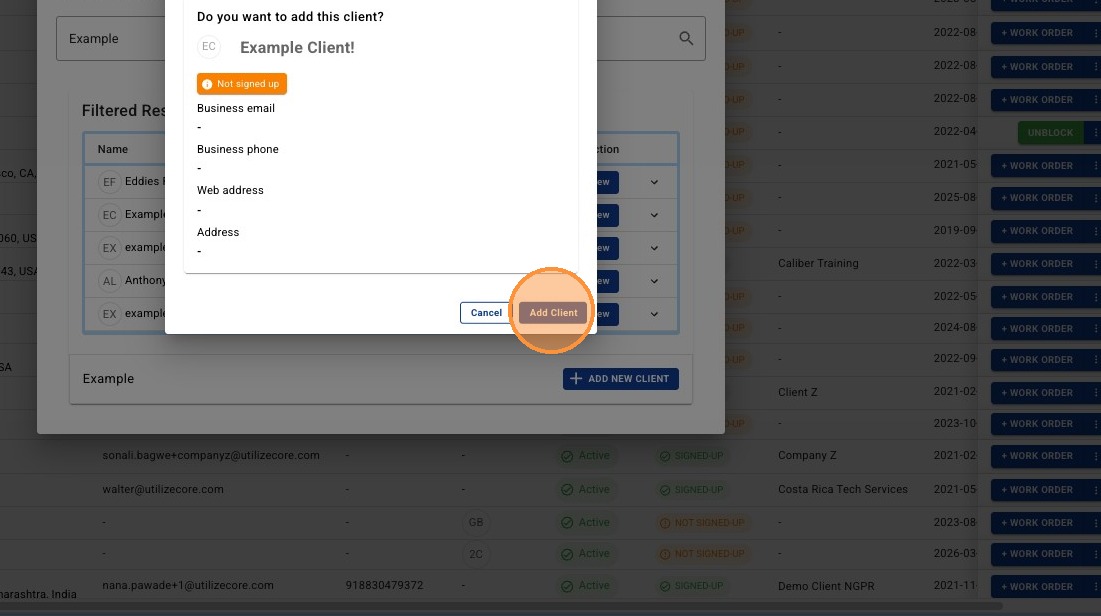
3. If the Client has an active Profile on UtilizeCore, click "View" to see more details to confirm you have the correct Client.
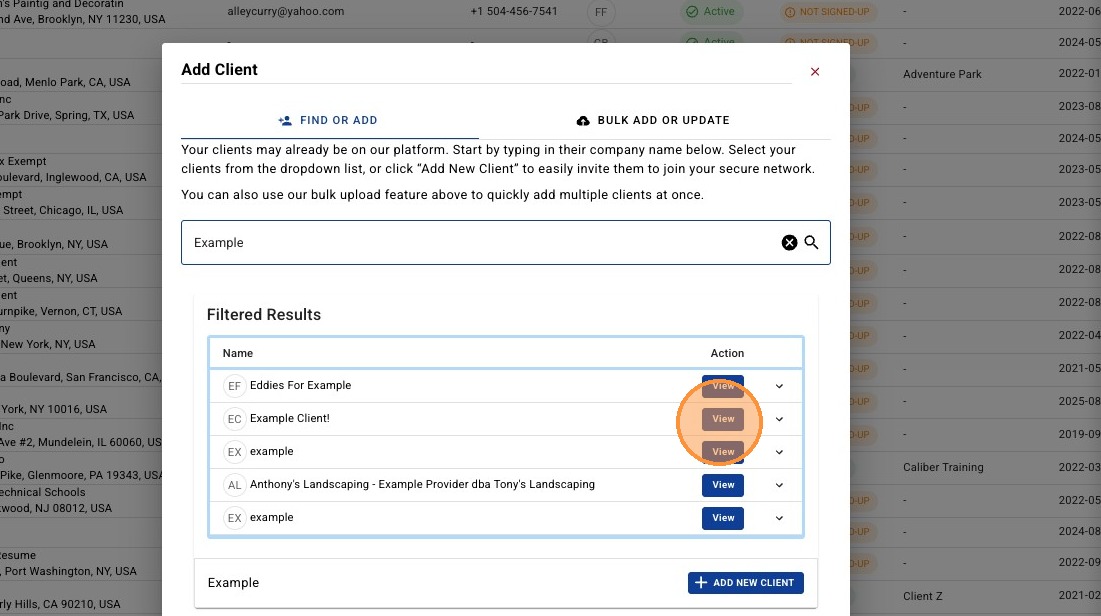
4. Click "Add Client" to confirm adding an existing Client to your network.
Create and Invite New Client
5. If the Client does not exist in the filter results, then click "ADD NEW CLIENT"
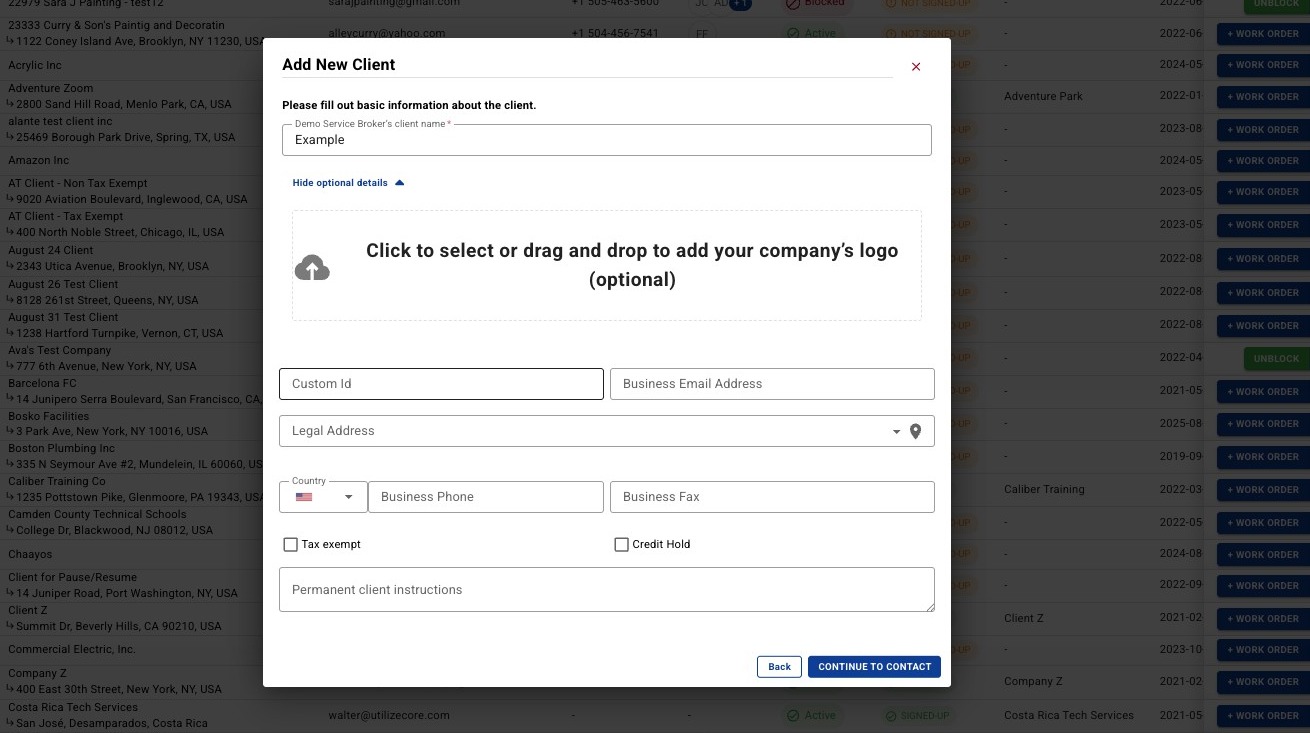
6. To add additional Client profile information, click "Edit optional details"

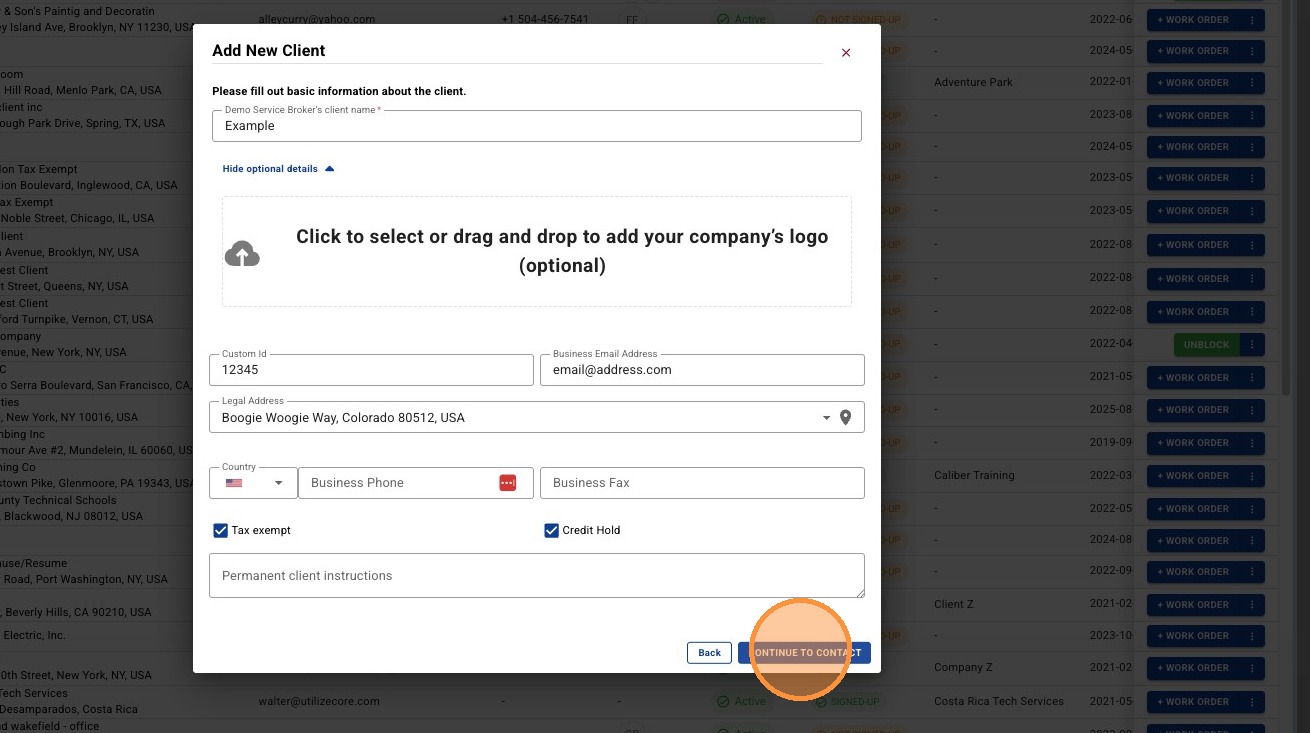
7. Populate known Client details as desired including Custom ID, Business Email, Address, Phone, Fax, Tax Exemption status, Credit Hold, and Permanent Client Instructions.
8. Once optional details added, click "CONTINUE TO CONTACT"
Add Client Contact Details
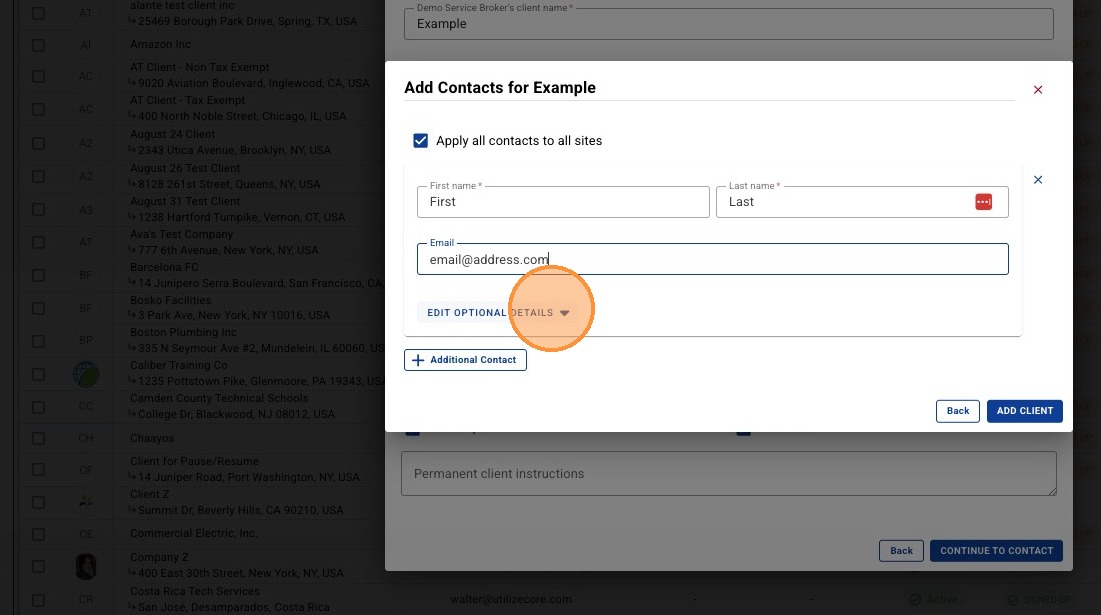
9. Enter the contact's First name, Last name, and email. You are required to create at least one Contact per Client.

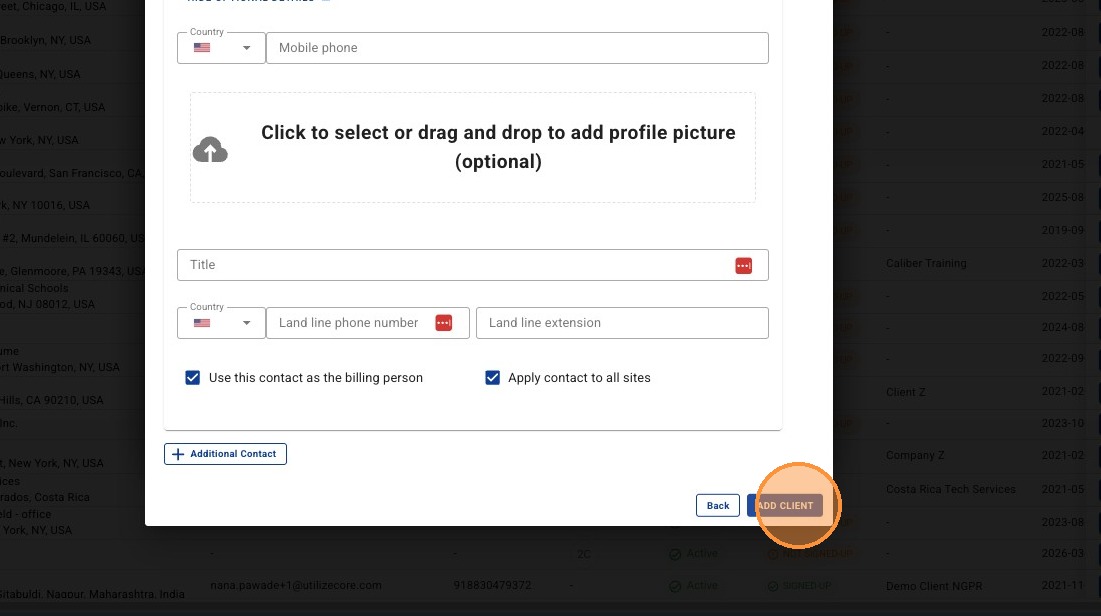
10. To add additional Client Contact information, click "Edit optional details"
11. Populate known Client Contact details as desired including Mobile Phone, Landline + Extension, Title, Profile Photo, Billing Details (Will be notified of invoices/proposals/etc) , and Site association.
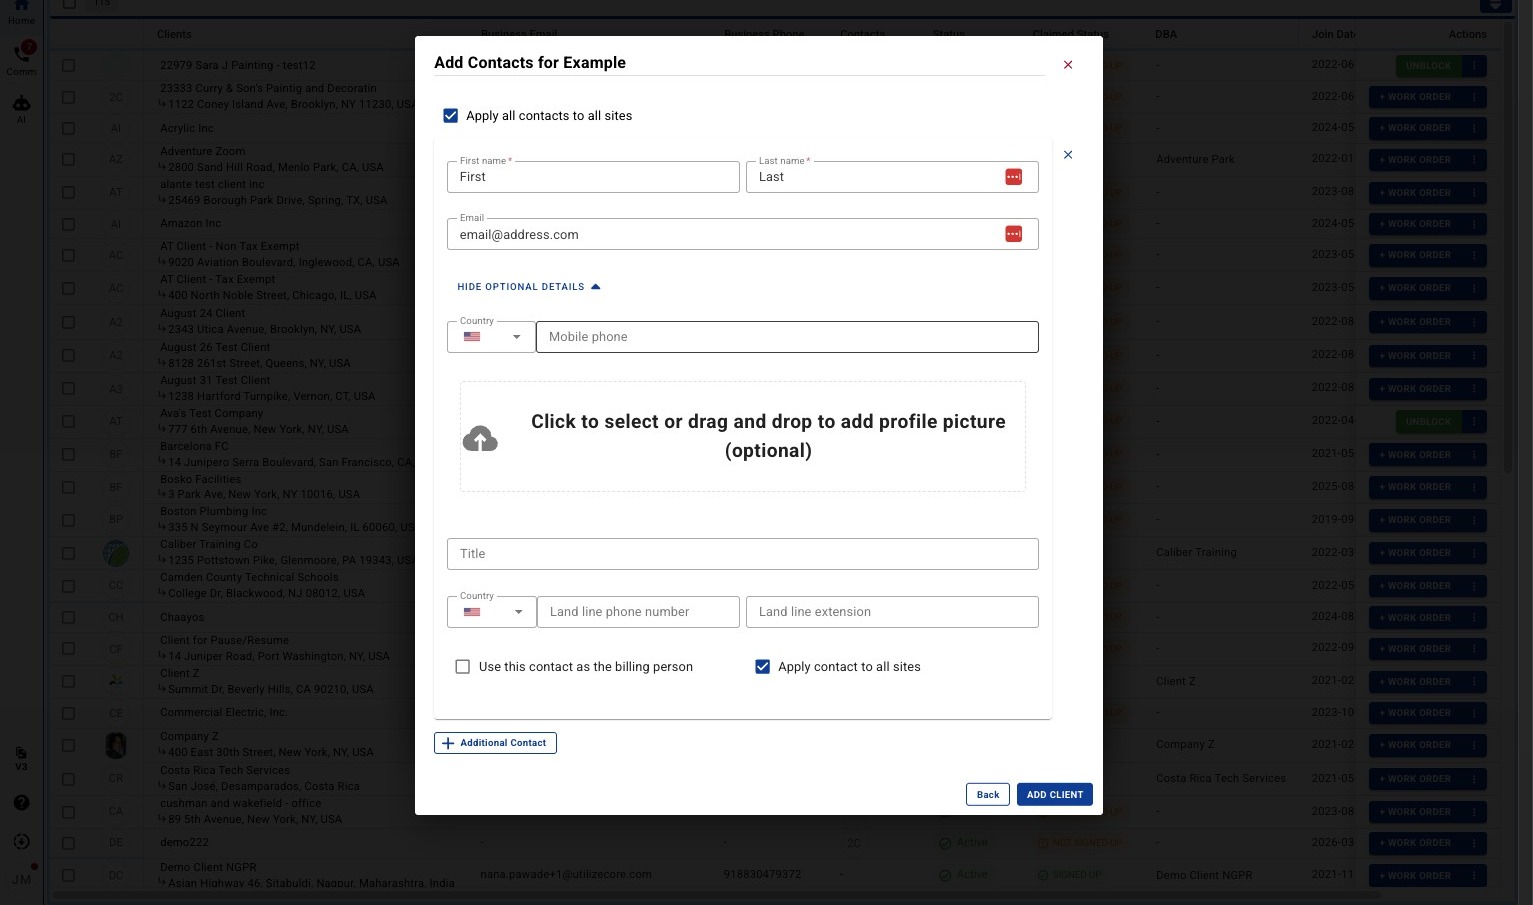
12. Once optional details added, click "Add Client" to finish Client creation.