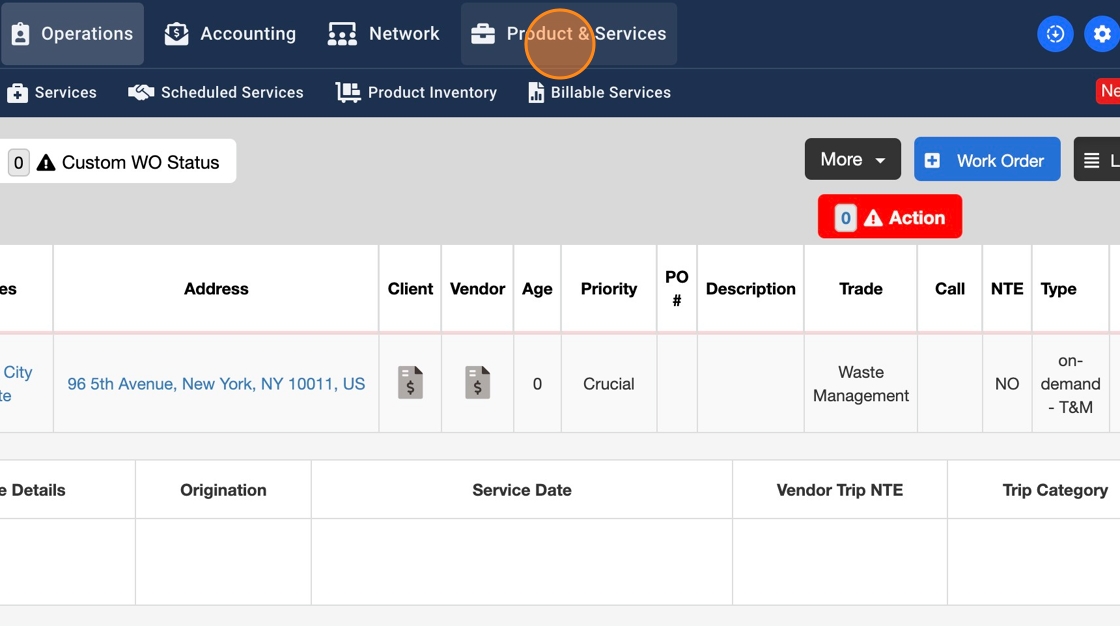
1. Click on "Product & Services" on the top menu
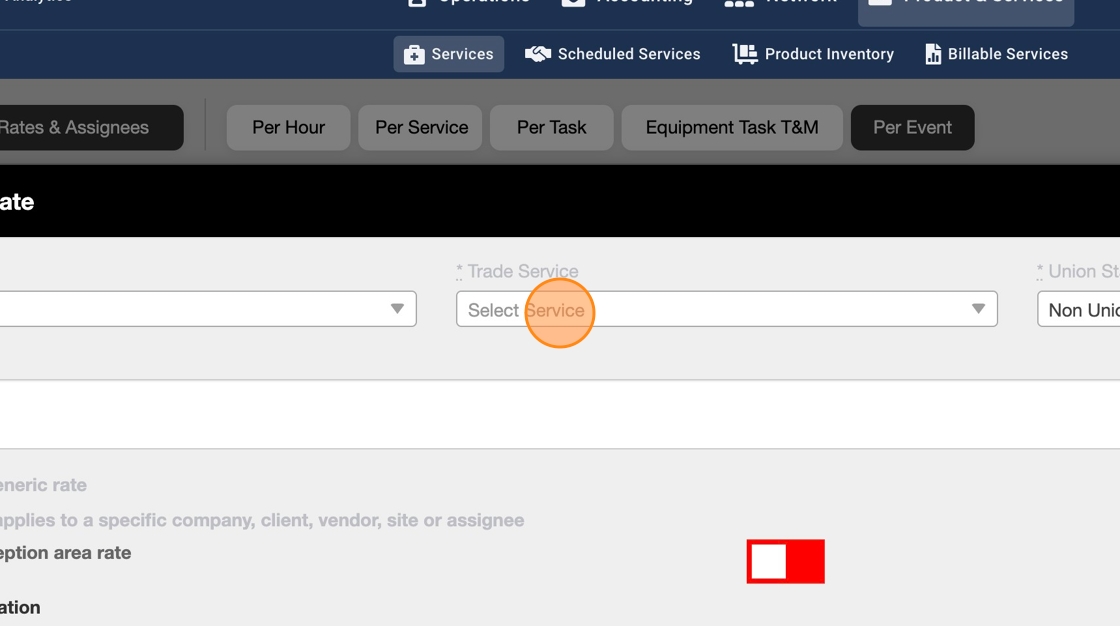
2. Select "Rates & Assignees" from here

3. Click "Per Event"

4. Click the blue button "+ Rates" to start adding a new Per Event Rate Type

5. Select a Trade

6. Select a Service
7. Enter a Description if needed

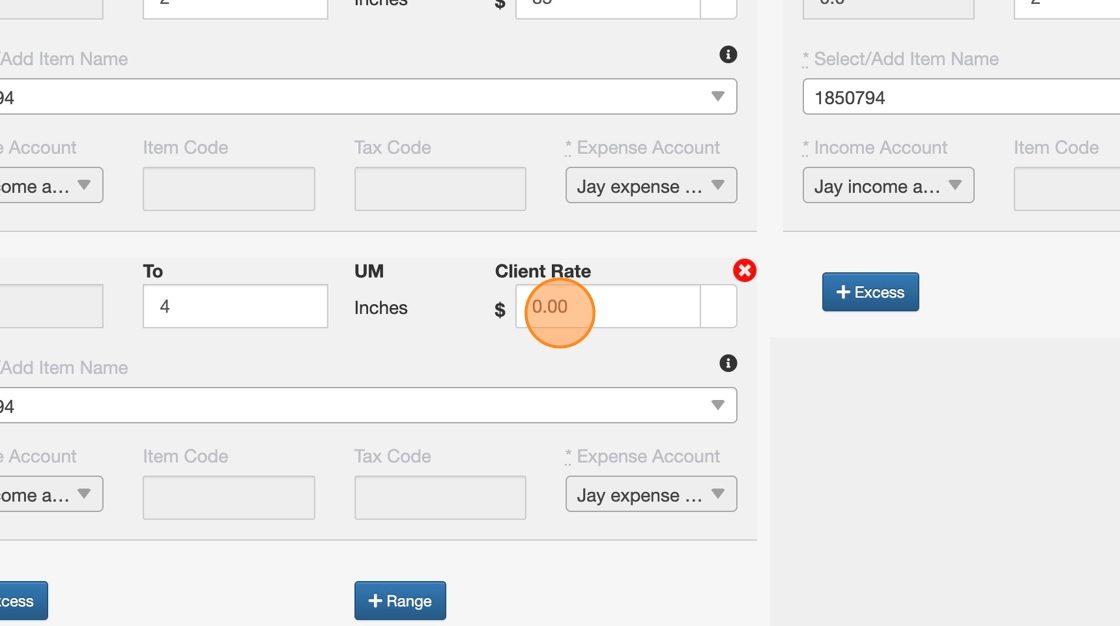
8. The snow range will start from 0 by default. Start by adding a range in the "To" field.
Note: This row reads "every 0-2 inches of snow Client Rate should be $$"
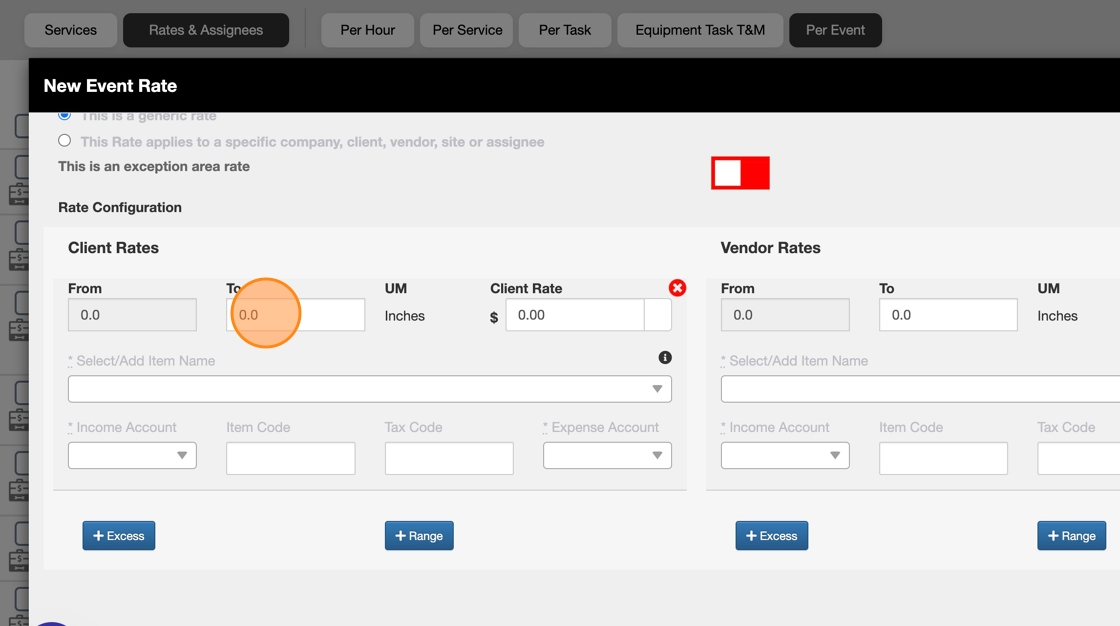
9. Enter your Client Rate for the first snow range

10. Go to the Vendor Rates to the right and enter a "To" range. The snow range will start from 0 by default. Start by adding a range in the "To" field.
Note: This row reads "Every 0-2 inches of snow Client Rate should be $$"

11. Enter your Vendor Rate

12. Select an existing Item Name or enter a new Item Name manually and press "Enter". Item Names from the list is shown from the Items under "Accounting" module on the top menu.

13. Select an Item Name or enter a new Item Name for your Vendor too

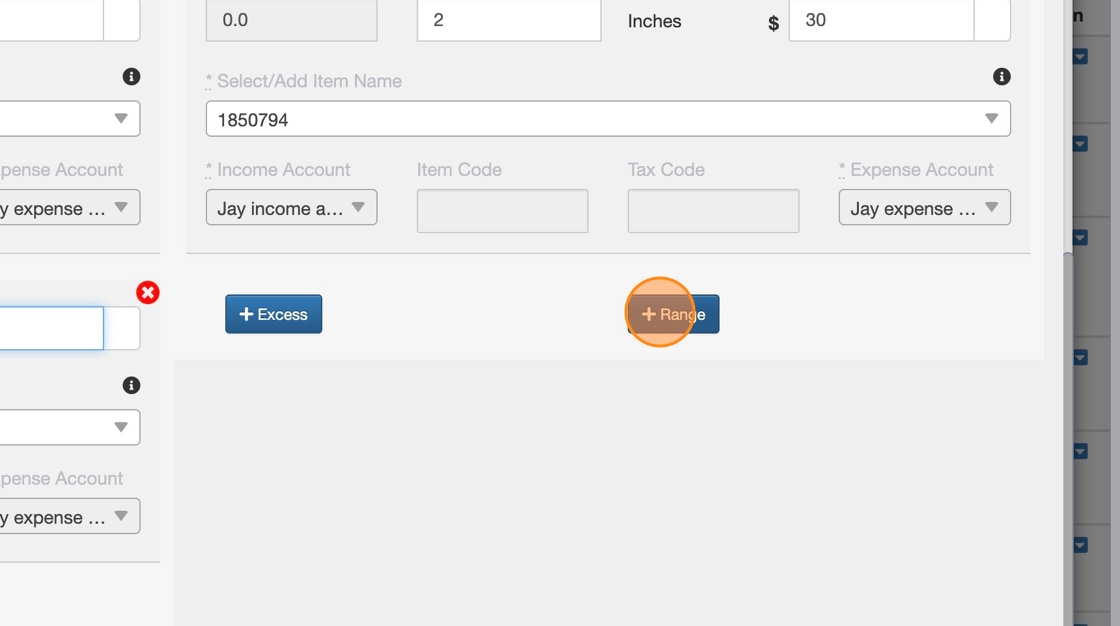
14. To add a new Range, click on the blue button "+ Range".
Note: This range will start from your previous "To" range. For instance, the "From" field will be non-editable and it'll start from "2" because our prevoius range in the "To" field is set up as 2

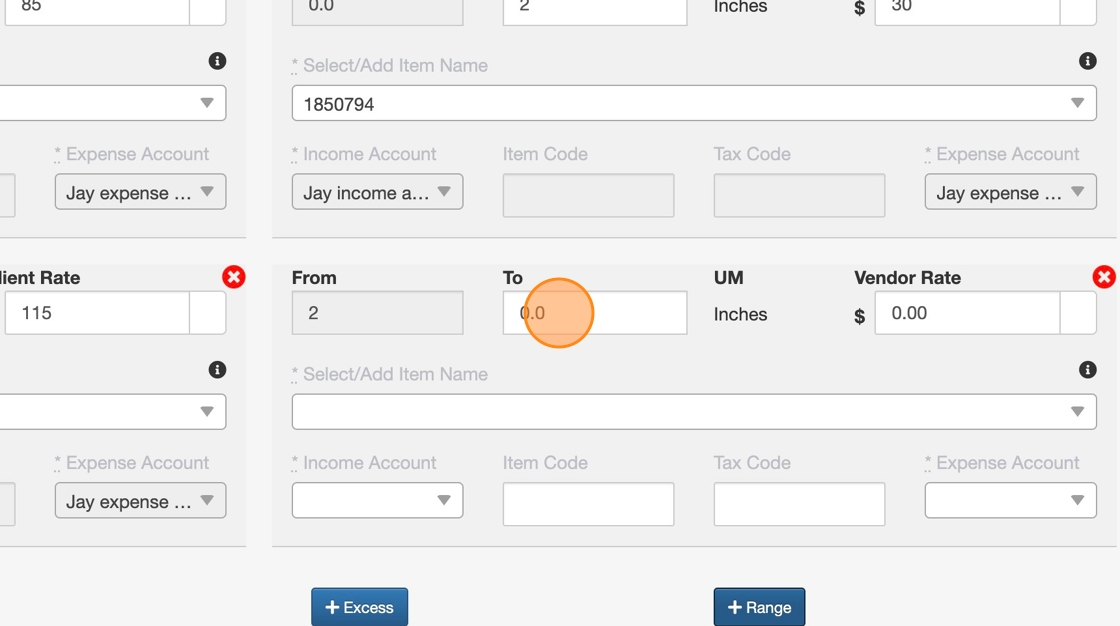
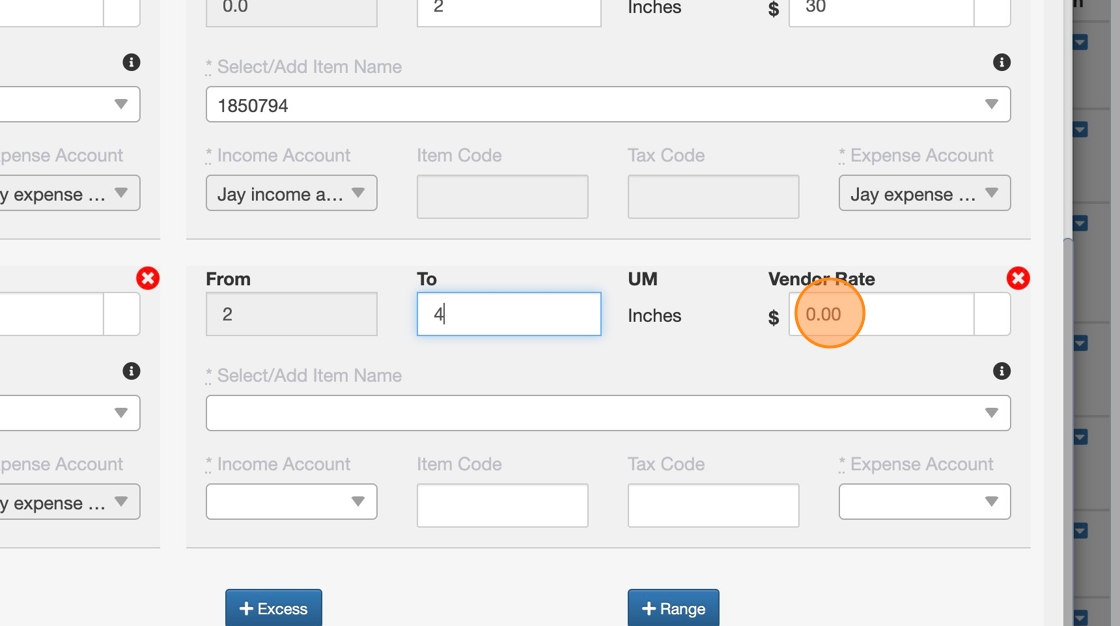
15. Enter a "To" range

16. Select an Item Name from the existing list or add a new Item Name manually and press "Enter"

17. Enter your Client Rate and follow the same steps for Vendor Rates on the right side
18. To enter a new Range for your Vendors click on the blue button "+ Range"
19. This range will start from your previous "To" range. For instance, the "From" field will be non-editable and it'll start from "2" because our prevoius range in the "To" field is set up as 2
20. Enter your Vendor Rate
21. Select an existing Item Name from the list or enter a new Item Name manually and press "Enter"

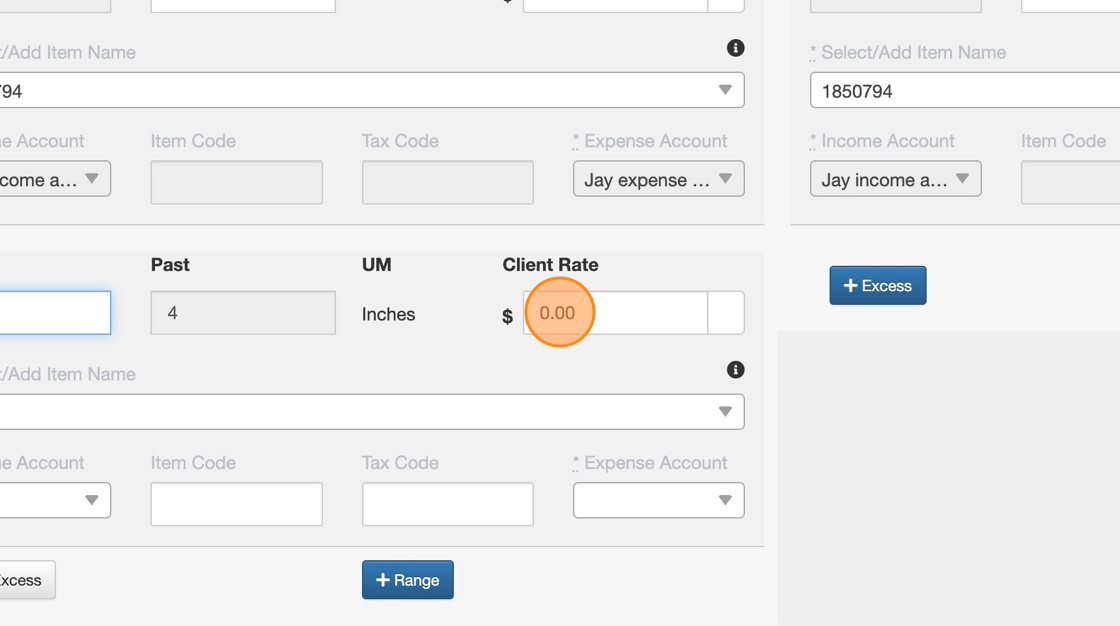
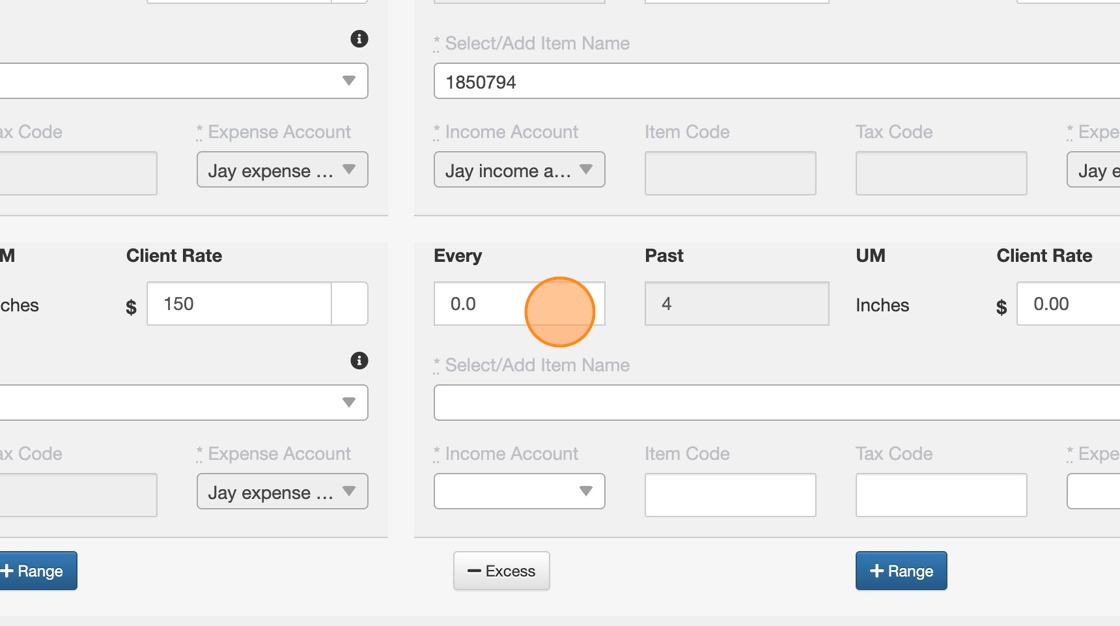
22. You can add an "Excess" range if the Snow inches go beyond your setup (4 inches in this scenario) by clicking on the blue button "+ Excess"
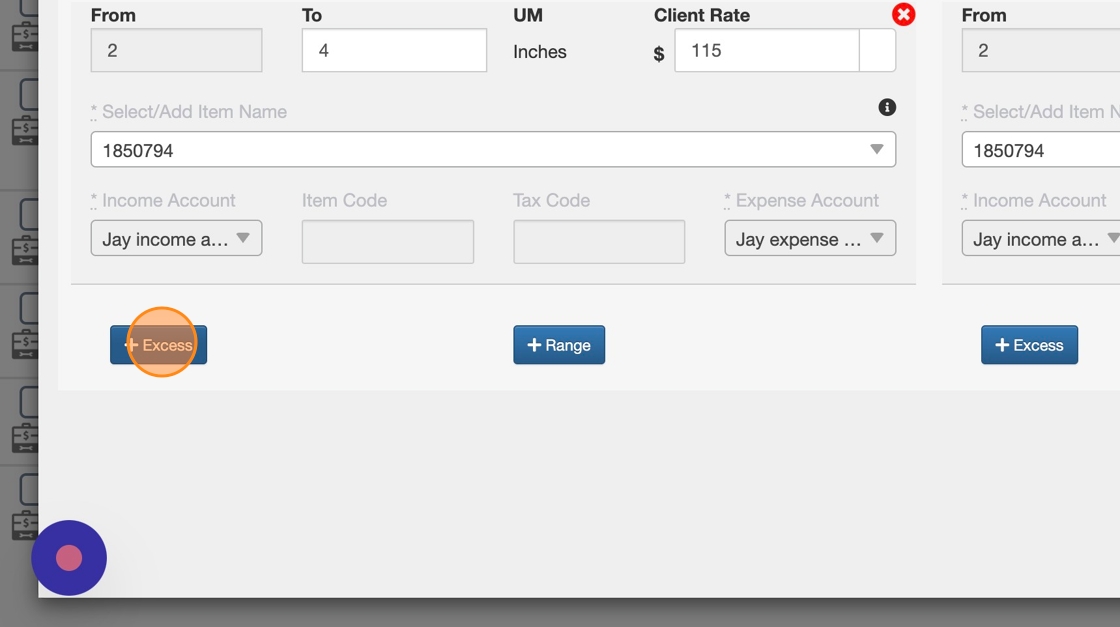
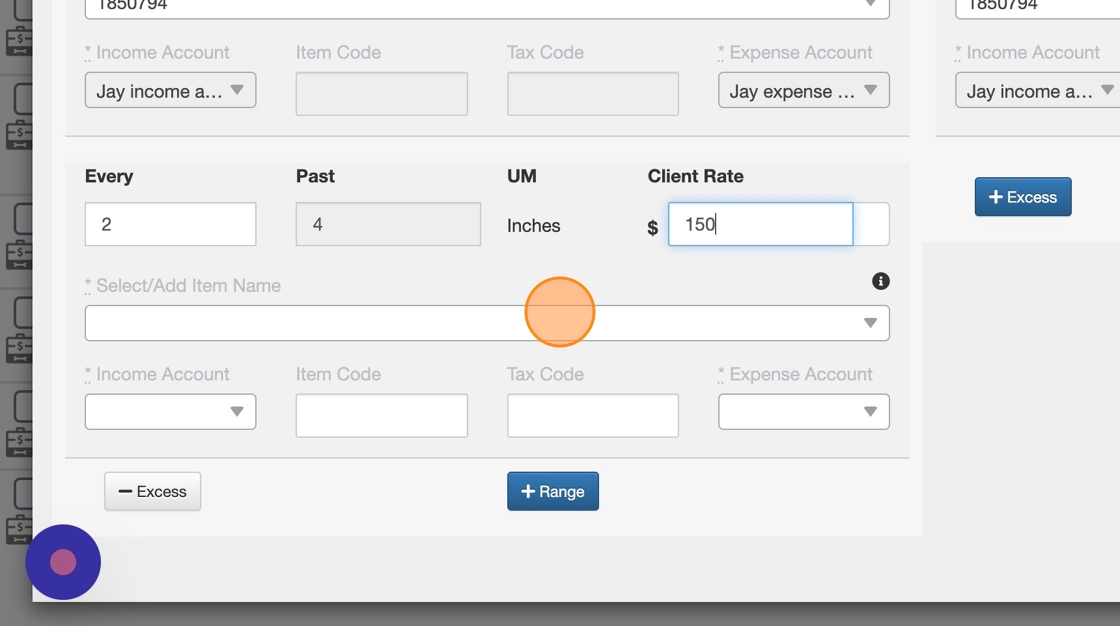
23. Enter a range in the "Every" field.
Note: This row reads data as "Every ## of extra Snow inches from 4 Inches your Rate Types are $$"

24. Enter your Client Range for the "Excess" range
25. Select an Item Name from the existing list or enter a new Item Name manually and press "Enter"
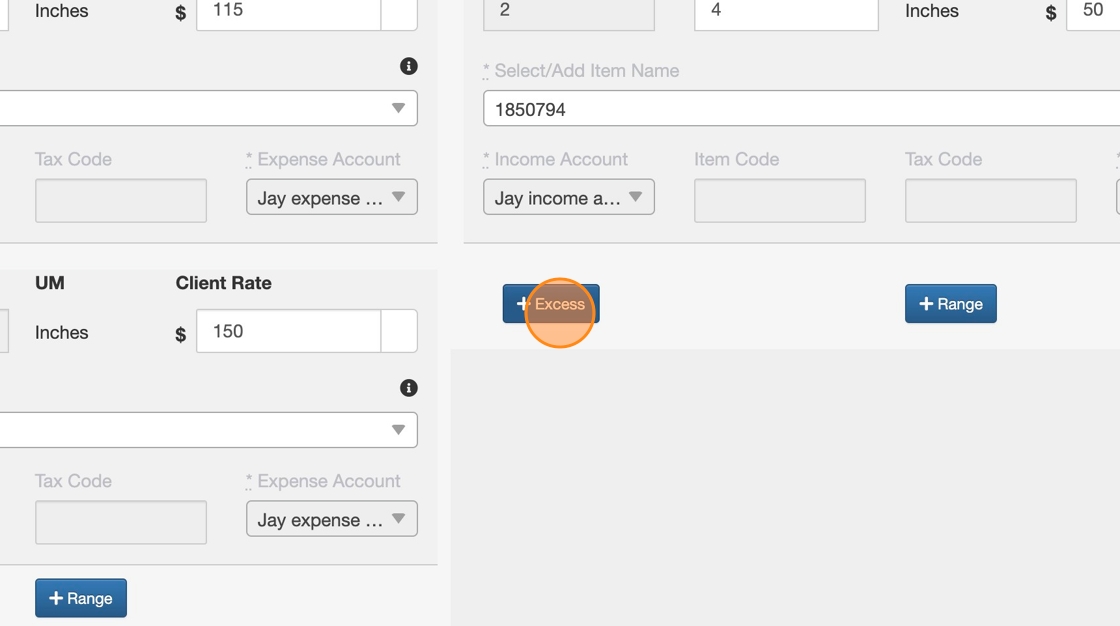
26. Follow the same steps to add an "Excess" range for Vendor Rates
27. Enter a range in the "Every" field.
Note: This row reads data as "Every ## of extra Snow inches from 4 Inches your Rate Types are $$"
28. Enter your Vendor Rate

29. Select an Item Name from the existing list or enter a new Item Name manually and press "Enter"

30. Click on the orange button "Save"

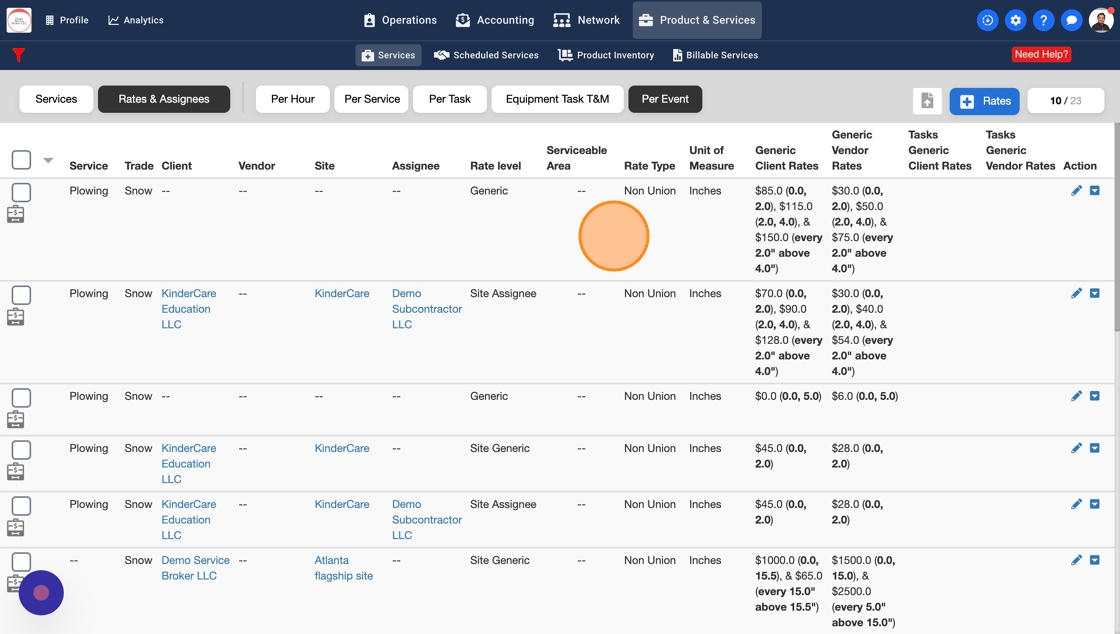
31. Your newly added Per Event Rate Type should be visible in the list and you can filter Rate Types to fid it quickly.