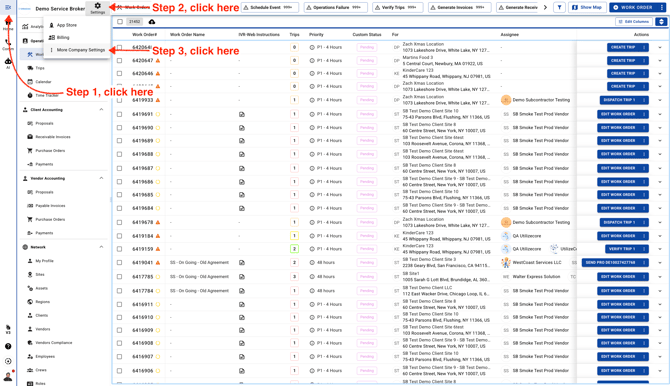
- Go to Company Settings
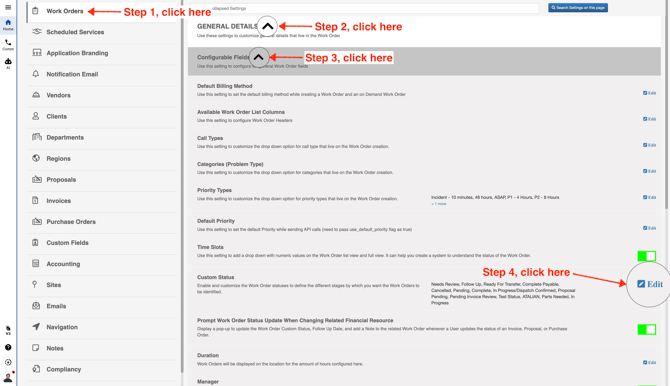
- Expand General Details and Configurable Fields sections in Work Orders settings
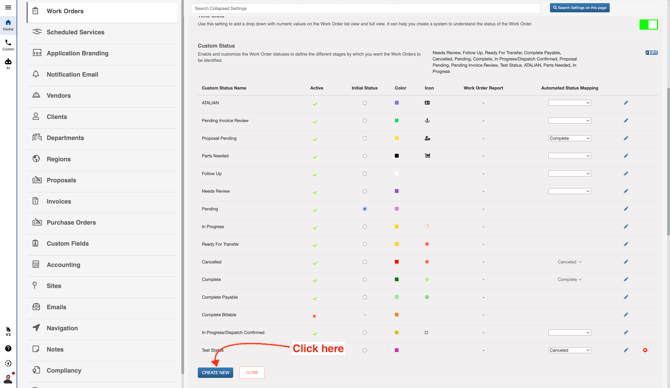
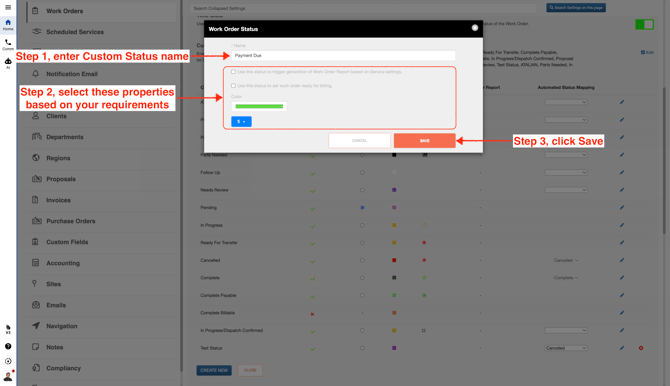
- Scroll down and click on the blue button "Create New"
- Enter a name for your Custom Status so it’s easy to sort and filter Work Orders later. You can also choose a color and icon to help it stand out. Next, review the two checkboxes. The first checkbox automates the Work Order report, which sends the report to the Client or Site contacts automatically as soon as the Work Order’s Custom Status is updated. The second checkbox marks the Work Order as ready for billing, so your Accounting team can begin the invoicing process.
Here’s how the Custom Status will appear when Work Orders are updated.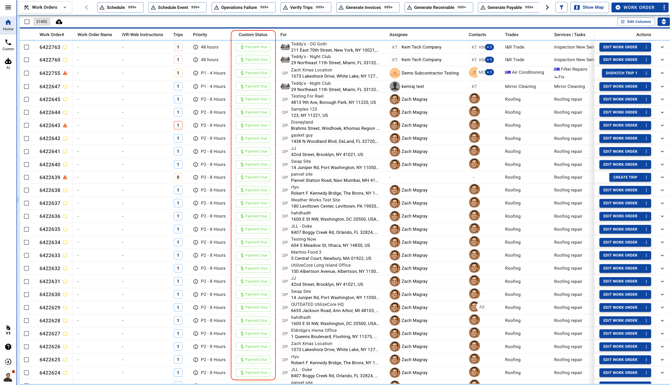
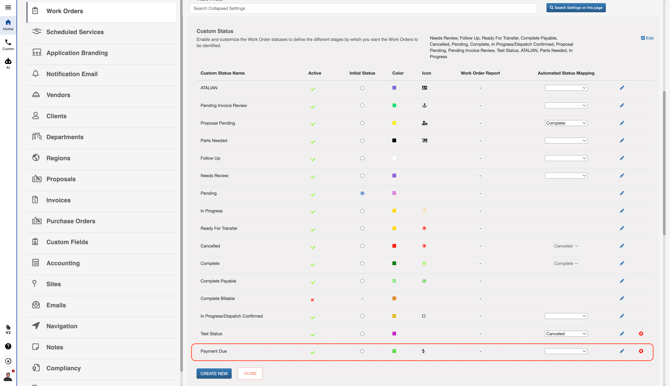
- The newly added Custom Status will be available at the bottom of all the current Custom statuses.